Full Review with Tim Haynes
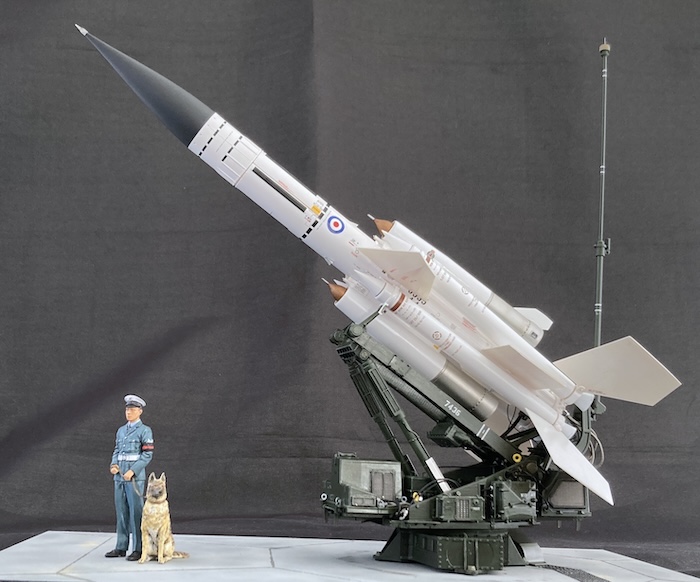
Just before we get started, here’s a look at how it all turned out…
Background
The Bristol (BAC) Bloodhound came onto my radar when like many of you out there I first saw Airfix’s 1:72 rendition. A kit which I never obtained, but has recently been re-released by Airfix as part of their Vintage Classics range. I became much more interested once I had digested some of the amazing acceleration data of a late1950s design.
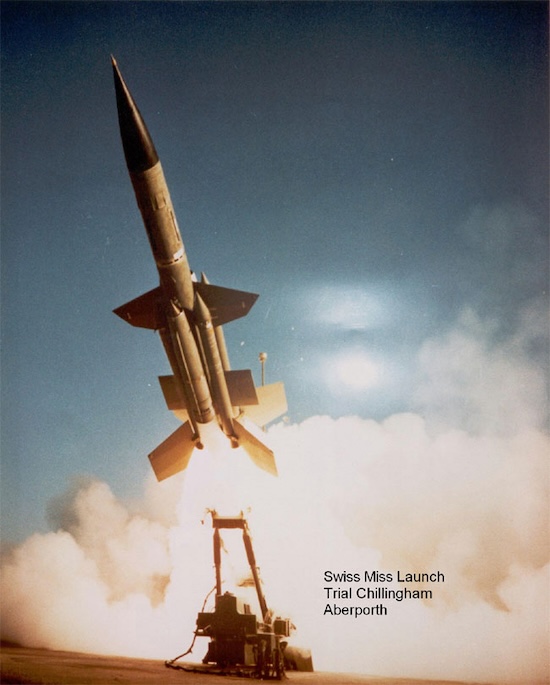
Some information from the Internet gives the following statement “By the time the missile has just cleared the launcher it is doing 400 mph. By the time the missile is 25 feet from the launcher it has reached the speed of sound (around 720 mph). Three seconds after launch, as the four boost rockets fall away, it has reached Mach 2.5 which is roughly 1,800 mph”. I’m not sure how strictly accurate this is, but it certainly got my attention, and I have been looking for a worthy representation ever since.
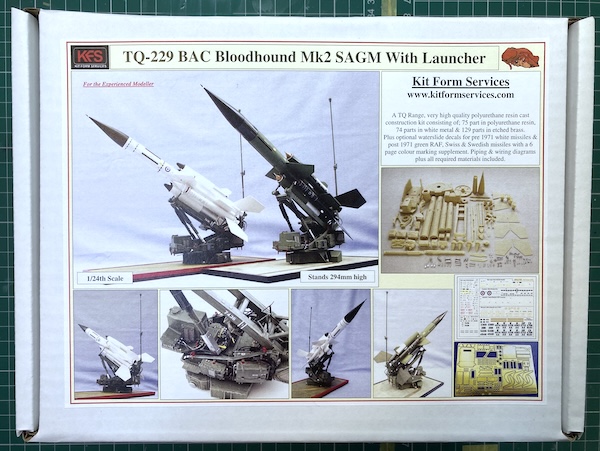
A company called “Printed Planes” who make 3D printed models of various subjects did advertise Bloodhounds with launchers on eBay in a range of scales up to 1:32, but I never took the plunge. The same goes for the 1:32 kit from Flightpath. But then in 2020 I saw an article in Airfix Model World previewing a 1:24 scale kit produced by Kit Form Services, however, the price was eye watering. There followed a full build article and I hummed and hawed for some time, eventually succumbing at Scale Model World 2021, where I got a bit of a deal (don’t ask. Kate might read this!!).
The Plan
If you’ve read any of my articles previously you will know that in general I prefer the brighter colour schemes on subjects, so it will be no surprise that I plan to do one of the earlier white subjects available in the kit. It will also need to be fixed to a base, as recommended in the instructions. I also thought about obtaining a figure to give a sense of proportion to the build, but was undecided at the outset.
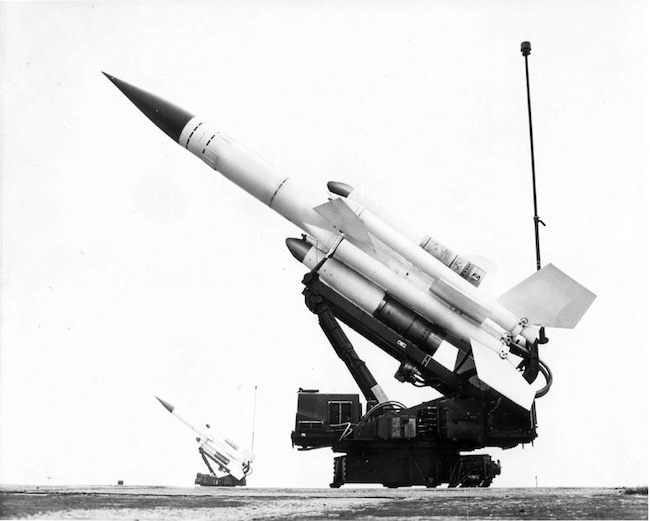
There is plenty of information in the kit, but I did do a lot of online reading up, and the Bloodhound Missile Preservation Group web site was very useful in getting more knowledge and also checking details from photographs on the site. Just to get a flavour here are a couple of photos of the real thing Courtesy of the No41 Squadron Association web site.
Unpacking the Goody Box
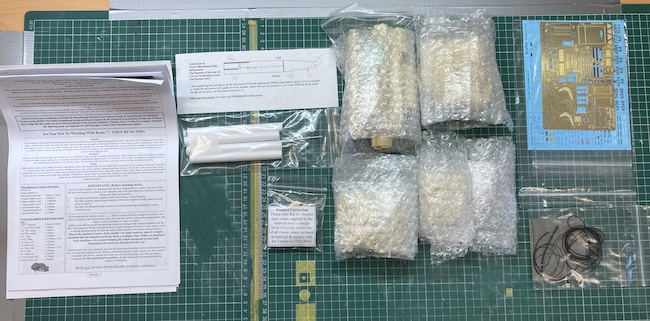
The kit comes in a very sturdy cardboard box with everything bagged up with plenty of bubble wrap and foam chips to prevent anything bashing around.
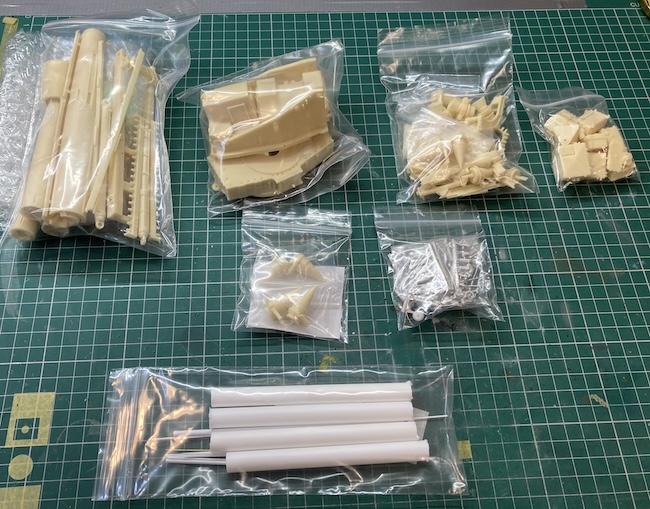
There is a very in depth set of instructions, and nice looking set of decals, lots and lots of resin, several bags of very nicely cast / moulded white metal components and a reasonably sized etched metal fret. There is a printed addendum clarifying some orientation detail on the missile body and a replacement set of booster nose cones that are clearly marked up to be used.
Additionally there are a couple of bags containing a selection of brass rod / tube, various diameters of rubber cord, plastic rod, angle and sheet, clear acetate and a sheet of metal mesh. If fact, pretty much everything you need to build the model is included, and with plenty to spare in most cases.
The next two images show just what’s in the box, the second one was taken after some re-packing to make things easier for me to find.
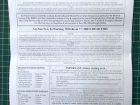
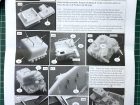
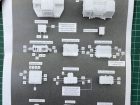
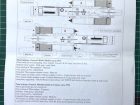
The following pictures give some idea of the detail (and complexity) in the instructions. These include a full parts list, guidance on using resin and advice on sequence, a wiring diagram, a hydraulic piping schematic and an in depth painting and decal placement guide.
References:
Airfix Model World Mag (AMW126) May 2021 – Build by Nick Shuttleworth
Bloodhound Missile Preservation Group web site
Ask a question or add feedback:
You must be logged in to post a comment.