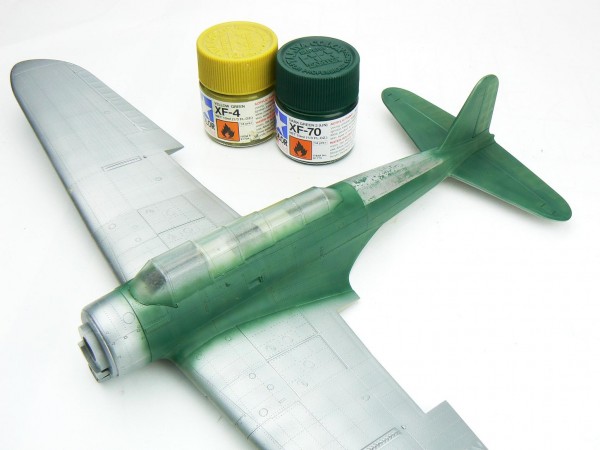
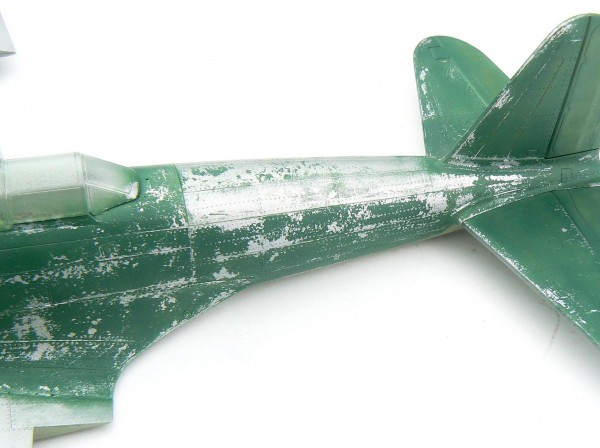
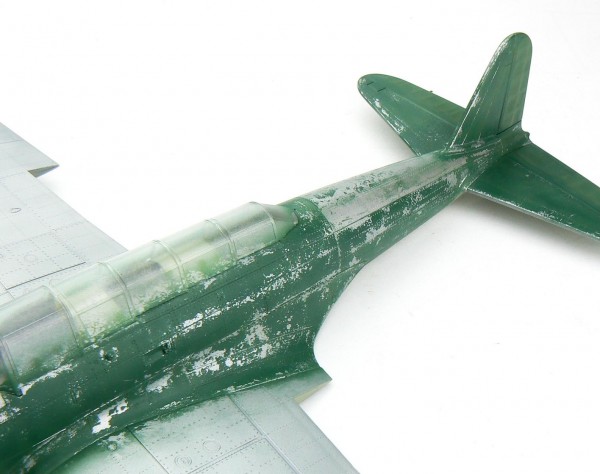
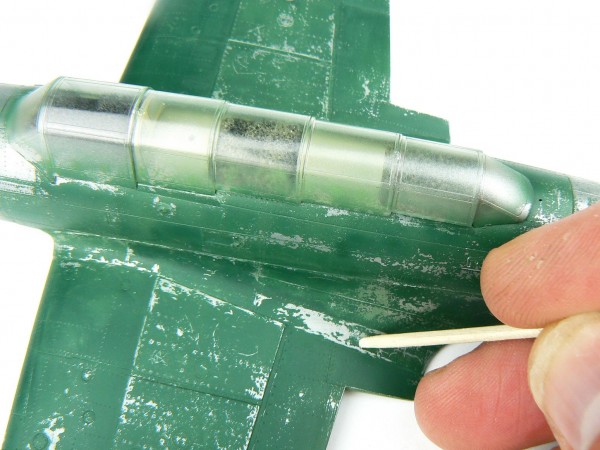
And here is the finished fuselage. In order to provide a bit of tonal variety and to fade the paint, Tamiya XF-4 was added to the mix. This was sprayed over certain panels and along highlights to break up the dark green colour.  It’s fun time again, using the same brush and keeping the area wet the chips were created using the same technique. I recommend stopping every now again and returning after a break as it’s easy to get carried away. If you do go too far fear not, just touch up the paint and go again, the chipping fluid remains effective for a few hours but bear in mind the longer you leave it the less effective the technique will be.
 Small scratches can be made by using some tweezers or other sharp object. You may not need to use water however occasionally it does help. A cut down cocktail stick is a good way for complete control, this way panels can be picked out.
Hinomarus…
Now for the markings; I had bought the Montex set for this model however unfortunately the white surrounds for the Hinomarus were not for the aircraft in the set. I wasn’t worried though as this was not an actual aircraft (but no doubt some wag will state that it was impossible for an aircraft to have camouflaged undersides and plain red roundels though!). I advise you to remove some of the tack from the vinyl masks as they are very sticky and there is a risk that they may pull up the underlying paint, ask me how I know! You’ll also see from the photos that I have used kitchen foil to masks the big areas. This is great stuff as it conforms to the contours and holds itself in place (but I did back it up with masking tape I a few areas. And here is the finished paint scheme. Note the contrast between the heavy paint chipping of the camouflage and the relatively pristine markings, the paint used for these tended to be a bit more stable. Also, as I didn’t have the relevant tail codes I decided to use part of them and depict an aircraft with a replacement rudder.


