The instrument panel is not coloured, in fact none of this set is so it must be an older one. It was quite nice going back to the old days with a brass panel and film. 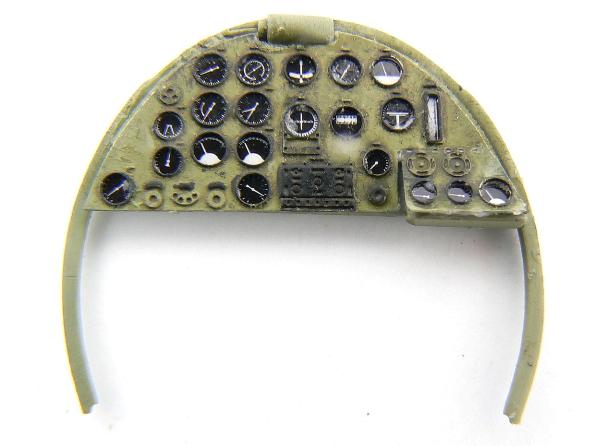
Now for the weathering…
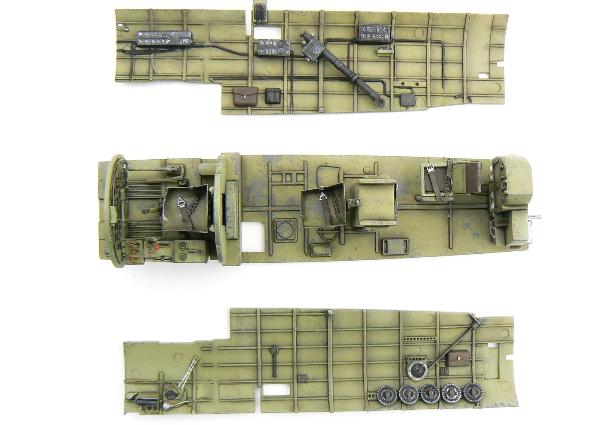
Initially I used AK Interactive’s Dark Streaking Grime as a pin wash which is thinned slightly with white spirit and touched into the nooks and crannies. Because the base coat is gloss capillary action works to draw the colour into the recessed detail. When dry (about 10 minutes), the excess is then removed using a clean brush and thinner. A matt coat of varnish is then followed by a filter and I used AK Interactive DAK filter thinned again with white spirit. The matt coat will spread the filter over the parts leaving a nice tonal shift. I also added the chipping using the sponge method back up with a small 4/0 brush. I used Citadel Bolt Gun Metal mixed with Vallejo Dark Grey for contrast as an aluminium colour would be too light. With that done it was out with the post shading and a thin mix of Tamiya black and buff was used to create false shadow and grime. With that done it was onto the detail painting. That’s the cockpit finished. 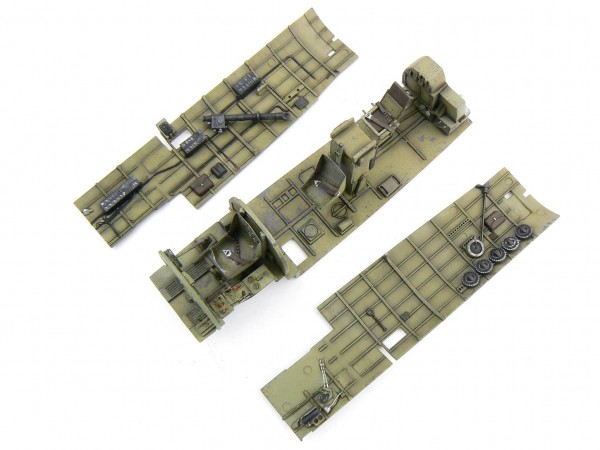
Engine…
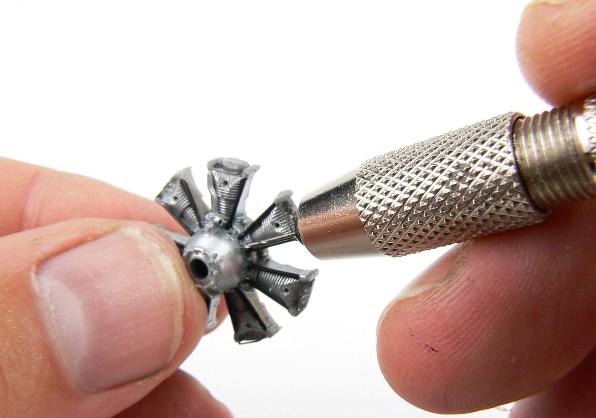
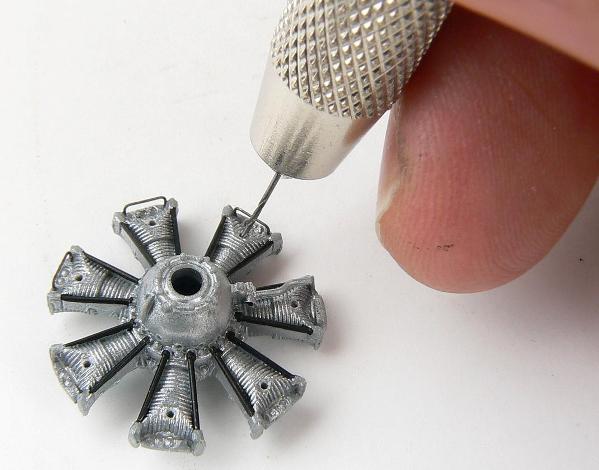
The engine supplied by Hasegawa is quite well detailed but without the spinner fitted it’s going to be quite prominent therefore time spent detailing and add a good paint job will be important. First up was a lick of paint and I decoded to have a go at spraying Vallejo Model Air Steel. I’ve brush painted this with good results but for spraying I recommend thinning it a little with either Vallejo thinner or in this case some distilled water. I found that I got best results by misting on the paint and not letting it build up too quickly. Following the metal colour, the push rods were picked out with Vallejo Black which dries to a nice semi gloss sheen. The push rods are a bit solid but this won’t be noticeable when looking head in through the cowling. With the Eduard photo etch parts glued in place I the holes for the ignition harness were drilled out with a .5mm drill bit. 