Take your time and do it in stages symmetrically, that way it’s easier to avoid getting lost and forgetting lines or making them unbalanced. I stay away from seams as the rivets will be lost when rubbing them down, likewise around fuselage halves as they might not match so it’s better to do those at the end of the construction. 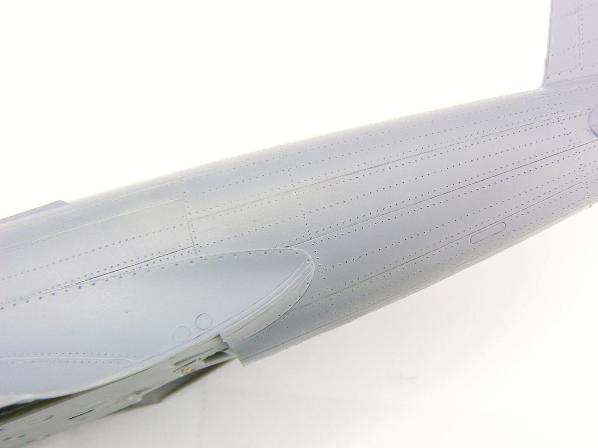
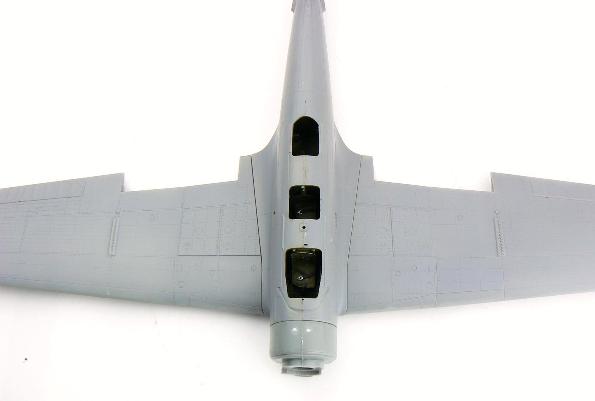
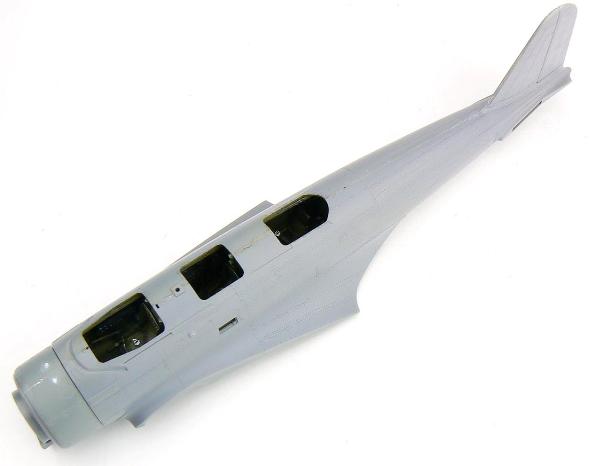 Now it’s time to start putting things together, the wings are straight forward and the fit is very good. The only snag was some of the panel lines that wrap around the leading edge didn’t match up which was a right pain.
 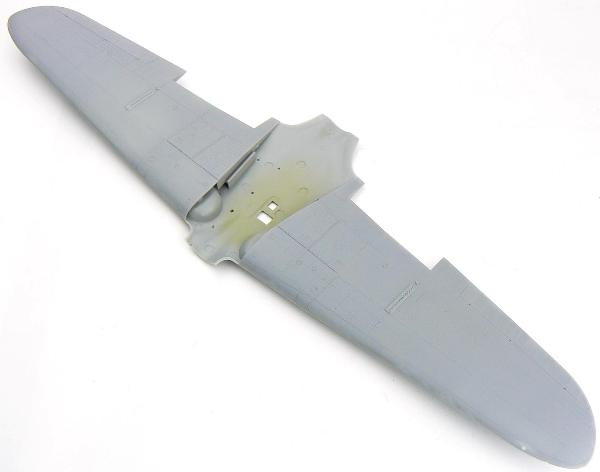 When it came to the fuselage I paid particular attention to the seam, this tends to be a focal point and it will stand out if not done right, especially if there is a natural metal finish to consider. The fuselage halves are put together and then Mr Cement S touched along the join, after a few seconds the join is pushed together with the intention of squeezing out some melted plastic. The pressure is maintained for a few minutes before tape is wrapped tightly around the join and then this is left for a minimum of 72 hours. Don’t be tempted to come back too early as the plastic will still be drying, even after all that time and it will shrink with the risk of a ghost seam returning. When ready, the seam is sanded back using Master caster’s sanding pads and polished back up to remove any scratches before more Alclad primer is sprayed on to check the join. Luckily all was well so taking a scriber (another of RB Productions’ tools) the panel lines are restored, as are the rivets.
 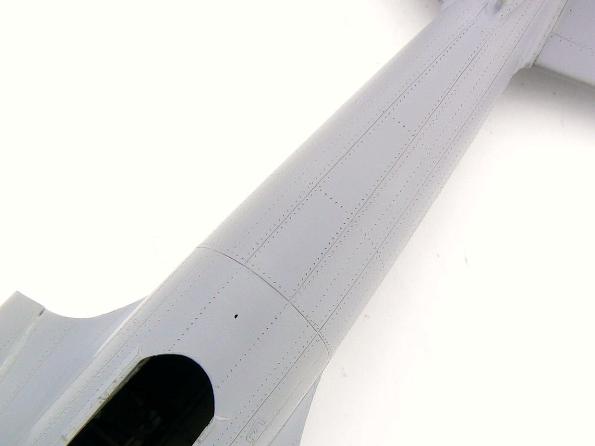 Dry fitting revealed a bit of a wing root gap however the fuselage is quite flexible so Mr Cement S was touched in the gap and the parts held in the correct place.
Pages: Page 1 Page 2 Page 3 Page 4 Page 5 Page 6 Page 7 Page 8 Page 9 Page 10 Page 11 Page 12 Page 13 Page 14 Page 15 Page 16 Page 17