To help things along, Tristar masking tape was attached to maintain the dihedral. I don’t think this was necessary as the glue sets quickly but it’s a belt and braces approach. Why take the risk? 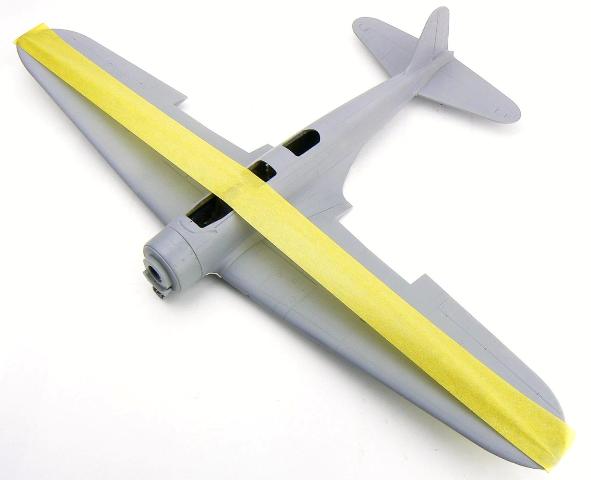 The join wasn’t trouble free so Tamiya Filler was used to fill the gaps. This dries quite quickly but again it will continue to shrink for a while so it’s best left for a while.
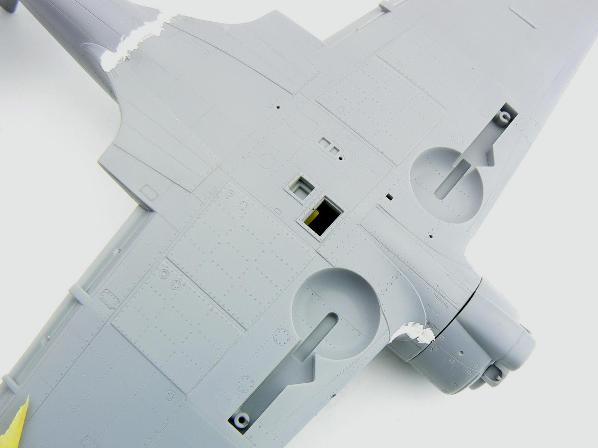
Bomb…
On with the bomb, the two halves were glued together and the seam eliminated. The rear part had the moulded fins removed and all the gaps filled with a mix of super glue and talc. This gloop is a great filler as it can be dried instantly with accelerator, doesn’t shrink and never goes too hard like neat super glue, it also behaves just like plastic so is easy to sand and scribe. The brass parts are sanded with a gentle sanding sponge to remove the plating and the parts glued together, I tried to solder the fin supports but they kept breaking off the the attachments are tiny so they ended up being glued on. 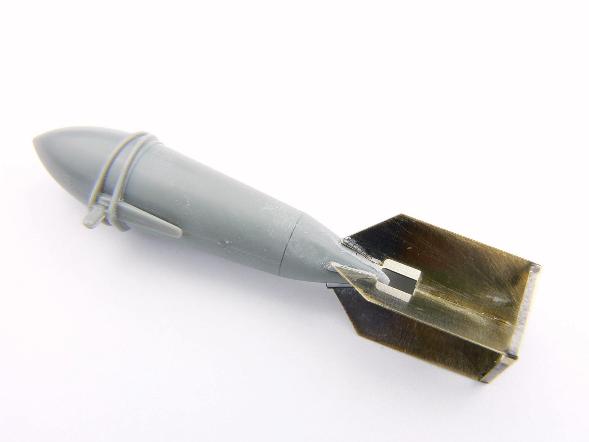 It’s important to prime when a component is made of different materials.
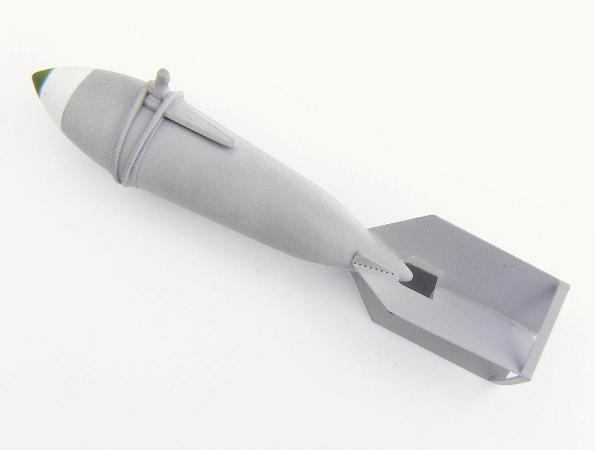
 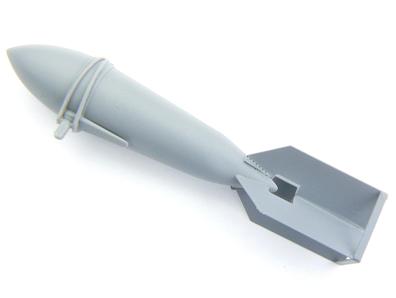 The painting was quite fun. The body was sprayed with Tamiya Sky Grey and then the white and green nose bands were masked off and sprayed with Tamiya White and XF-5 Green respectively. There are no colour call outs in the instructions which was a pain but a quick Google search revealed the answer.