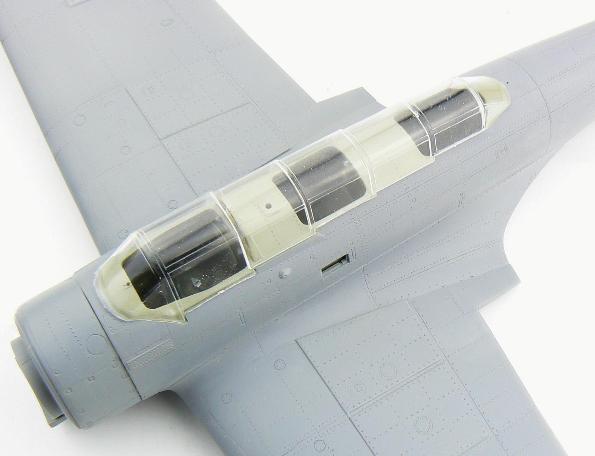
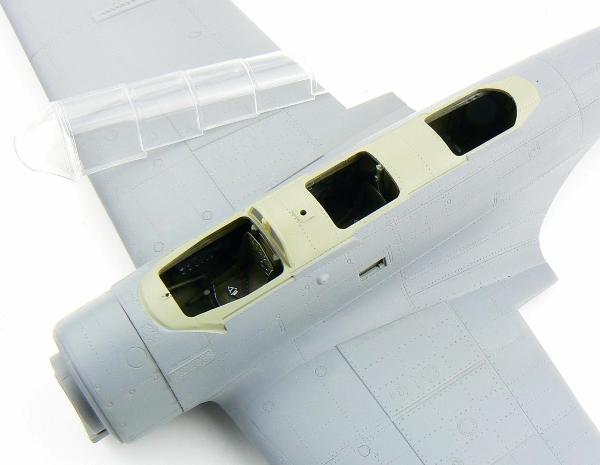
A small amount of work was done to the airframe. All the filler was rubbed down and the areas primed, scribed and riveted. On the actual aircraft, the area underneath the canopy was interior green so using the all in one closed canopy as a guide; the area was masked off and sprayed. It will be weathered at the same time as the airframe, but that will come later. 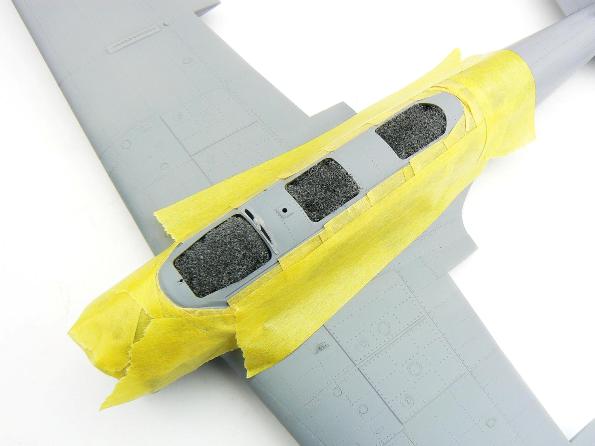
 As I mentionedearlier, this aircraft is based on a photo of an original. This particular aircraft didn’t exist, I’m using the photo to reproduce an aircraft that may have existed but is a good canvass for the paint chipping effects. The reason I decided to do this is because it would be almost impossible to reproduce each scratch, chip and ding with accuracy so be doing a conjectural aircraft we don’t have to be so accurate. As long as the effect is in keeping with the photographs you can’t go far wrong.
Base…
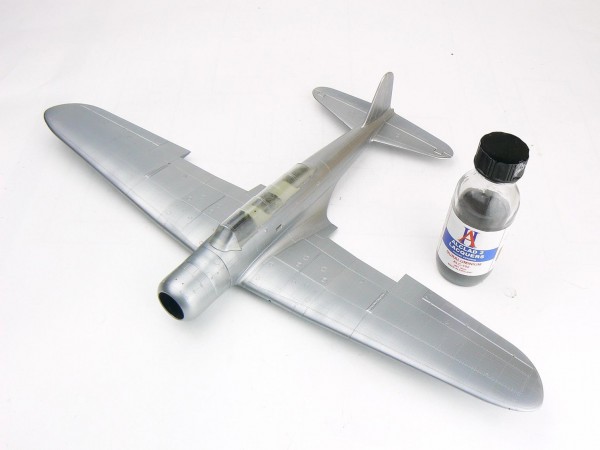
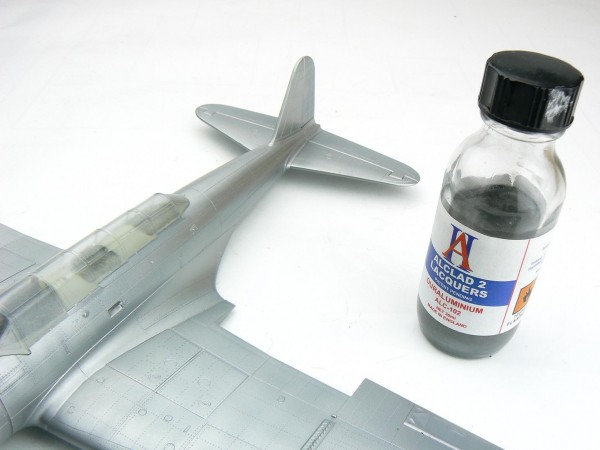
With everything ready it’s time for the natural metal undercoat and my preferred paint is Alclad. It’s lacquer based so it’s very tough and it goes down extremely well, it’s quite smelly so good ventilation and a mask is a must. The shade I prefer is Duralumin as it tends to be a smoother finish and isn’t overly bright so we should get some contrast with the lighter underside. 