Short Feature article: Mirage F1CK – Kuwait Air Force 1992
Kit ref: KH 80111
By Mick Stephen
Background
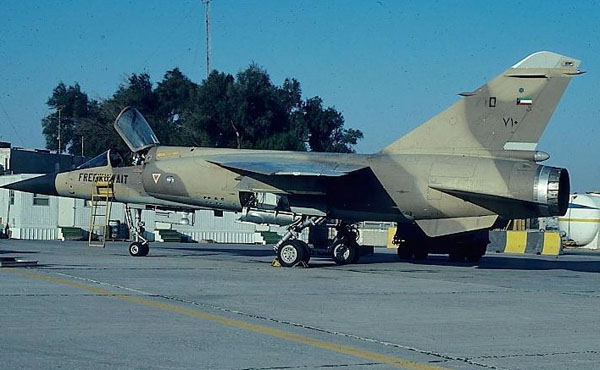
To continue the Kuwait Air Force theme following on from the Hawk Mk64, next on the bench is the Mirage F1CK. This was a logical next build, as I have plenty paint left over from the Hawk and the camouflage shades were identical between types.
Kuwait began acquiring the Mirage F1 in 1974, with the last of 27 single seat CK and 7 twin seat BK versions delivered in 1983. Operated by two squadrons No9 & 25, the primary role was air defence, although a ground attack capability was available and trained for. Ground attack was the role of the A4 Skyhawk which I will address in a future build.
A little known fact during the Iraqi invasion in 1991 was bad weather delayed the Iraqi air strikes on the Kuwaiti airfields, giving the KAF sufficient time to launch a single counter strike on advancing Republican Guard forces. On returning to their base the Mirages found the Iraqis had disrupted the runways with air-dropped sub-munitions, so landing was made on the taxiways and the aircraft refuelled and rearmed on the perimeter road. As Iraqi forces overran the bases, the Mirage and Skyhawks escaped over the border to Saudi Arabia, where they continued to participate in the coalition campaign to retake Kuwait in a day attack role. It was here that the infamous “Free Kuwait” lettering appeared on the airframes.

Following the war the Mirage returned to Kuwait and resumed their air defence role with Matra 530D radar guided and Matra R550 Infrared missiles as the standard lead-out. Within a year the Mirage F1 started to be phased out as the F/A 18 Hornet deliveries began and was phased into service, having been ordered prior to the 1991 action.
The kit
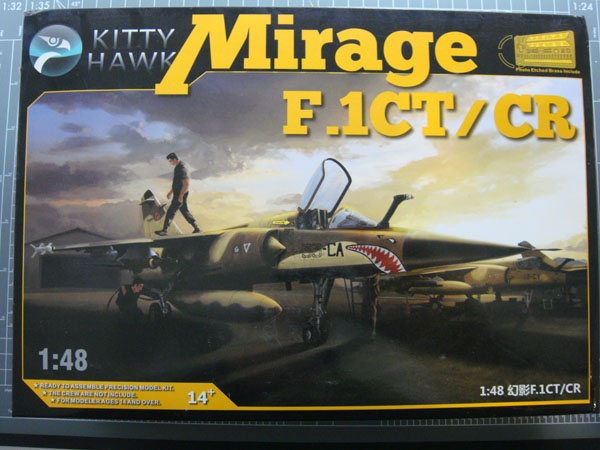
I’m using the Kitty Hawk Mirage F1 CT/CR kit as the basis, not that there was any real external differences for a CK version, the differences being primarily avionics fit.
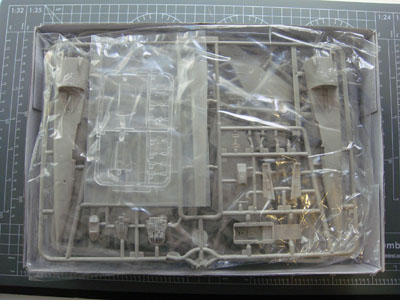
As usual the deceptively small Kitty Hawk box is stuffed with plastic, almost half the sprues being weapons and external fuel tank options, plenty choice there.


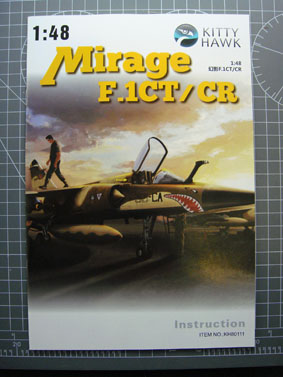
The instructions are in Kitty Hawk’s usual A5 booklet format with glossy colour callouts for the airframe and weapons, however as is also usual the instructions themselves are full of errors and mis-numbering of parts, so beware and dry fit.
It will come as no surprise to many that I will not be building OOB, so the Eduard PE sets for exterior and self-coloured cockpit interior are to hand, along with replacement resin intakes by Aries.
Now, before we get this build underway, an admission of guilt and an apology. You will find this review a little light on photographs to my norm, courtesy of a moment of madness in clearing the data card on my camera, without checking the images had saved correctly. Oops…