Review by James DiCesare
Introduction
It’s interesting how our modeling tastes change and evolve over time. A few short years ago my “stash” was much less eclectic than it has become recently. Once dominated by single engine fighters, I find myself being more and more drawn to the less “sexy” subjects; or the workhorses of the war.
In fact, a few short months ago when Kitty Hawk started teasing their impending release of the 1:32 scale Kingfisher I clearly remember adamantly saying “neat, but I’m not going to build it.” And why would I? It wasn’t a cool fighter, or an iconic bomber after all.
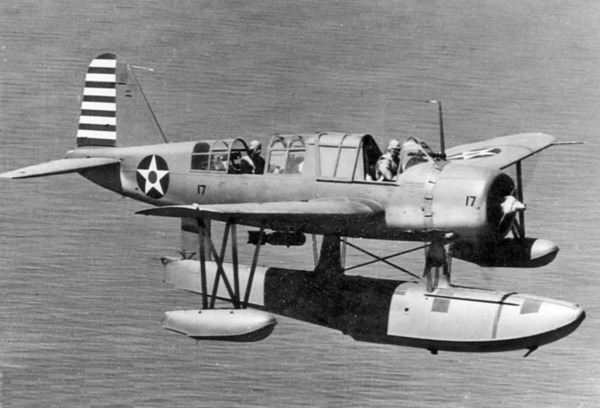
However, the Kingfisher, no matter how unsexy, played a very important role during WW2 for both the US and Allied Navies as a reconnaissance and ship-spotting plane. The Kingfisher was used as both a floatplane and a land-based wheeled aircraft. The airplane made a name for itself as a ship borne floatplane used by the fleets for aerial recon. It’s life at sea has made it a very interesting modeling subject for my as I’ve grown to love photo replication weathering.
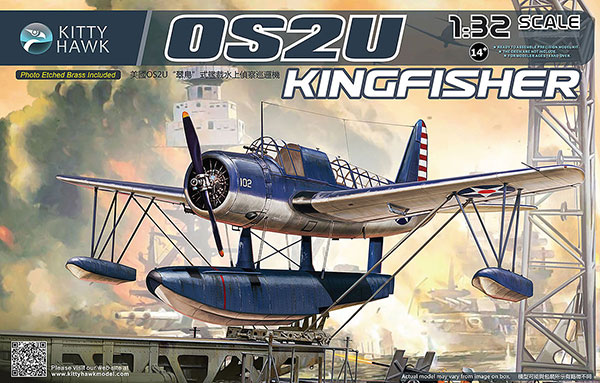
I honestly never thought I’d see the day when one would be molded in injection plastic in 1:32 scale. To the best of my knowledge the only other kit of the subject out there is the ageing Revell/Monogram tooling from a few decades ago. Some friends in the modeling community were pretty excited when this kit was released, and as such, reference photos started to show up in my modeling feeds on Facebook and forums.

After pouring over these pictures and seeing the weathering possibilities I was hooked and had to build the kit. So, my purpose here will be to step by step the exterior painting and weathering to mimic reference photos. It’s time to dig into the kit.