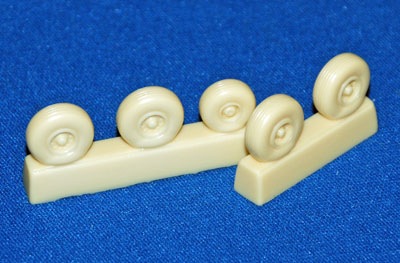
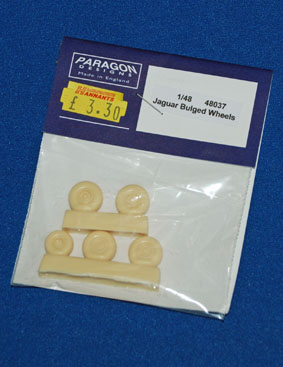
Wheels
OK, now to look at those wheels while everything dries hard; the kit wheels are simply too inaccurate to use in my view – too ‘square’ when looking from the front (see attached pics). Luckily those resin Paragon replacements I found in that old Airfix Jag kit box are ideal replacements because they look so much better on the finished model.
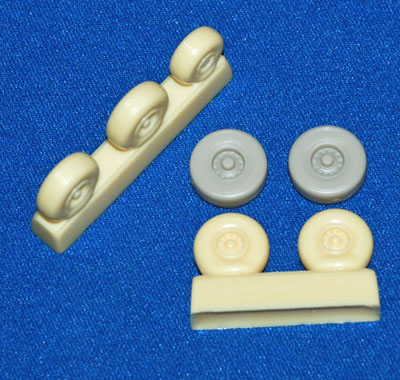
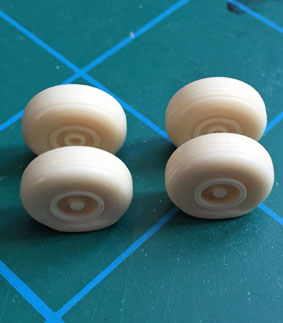
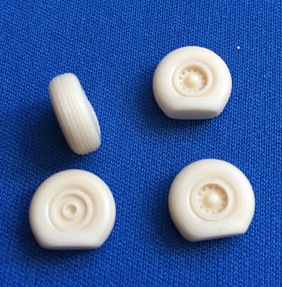
Removing the resin wheels from their mould blocks is easy enough using a razor saw, just take care to avoid inhaling any of the dust. A fine sander/buffer removed any excess and the tyres were gently swiped across some rougher grade sandpaper to get a uniform look; this should ensure that all 4 wheels sit squarely on the ground when added much later on.
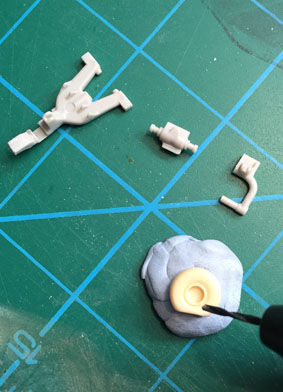
Nose gear
The kit parts are broken down unnecessarily I feel and so can be a little fiddly but nothing too taxing at this stage as you can see in the photo. I am drilling out a small hole for the nose wheel leg axle.
Metallic areas and back end
Not too much is painted metallic, just the underside of the fuselage aft of the jet exhausts and the cans themselves. Various shades of Alclad are used including Matt Aluminium, Stainless Steel, Pale Burnt Metal with some thinned Jet Exhaust for the rear fuselage. Interestingly, most Jags didn’t seem to get too ‘black’ under the rear fuselage, unlike the F-4 Phantom with its smokin’ J-79s.
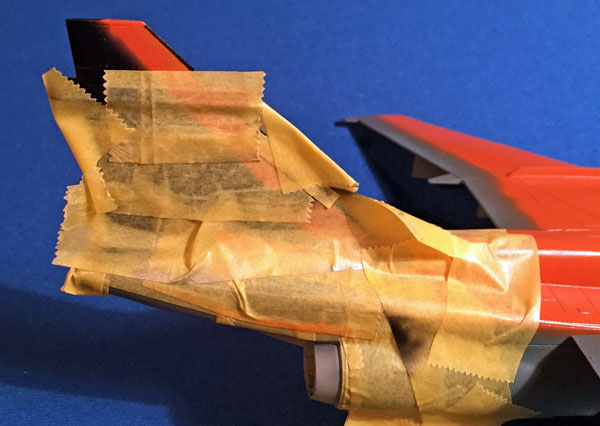
Back soon for more…
Geoff C.
NOTE:
“Occasionally I think a build has a jinx on it and I think this build is one of those! In the recent house/office move the completed flap sections and, very oddly, only those parts have gone missing. I cannot continue this build until I get replacement parts from Kitty Hawk at our cost. The request is made and as soon as I have them we will press on to a conclusion. Apologies for the delay in completing this one – it’s been a challenge as you’ll know from what I’ve written above and I guess that this is just the latest test! I’ll keep you posted. Geoff”