Model Alliance decal sheet
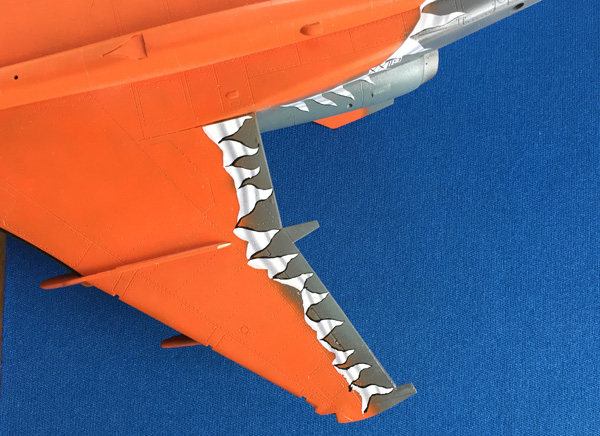
It was a tragedy that this company stopped production as their decals were and still are if you can get hold of any, some of the best on the market. Great care has been taken by all those involved in their creation to match the clear numbered instructions with all the tiny Jaguar ‘spots’, each one being separate and its location identified for you.
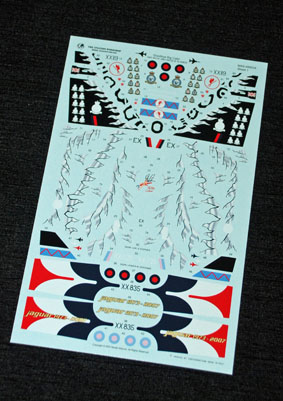
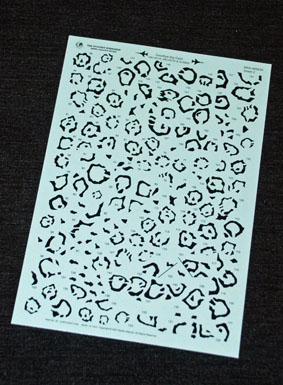
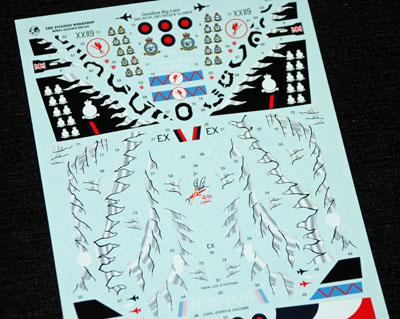
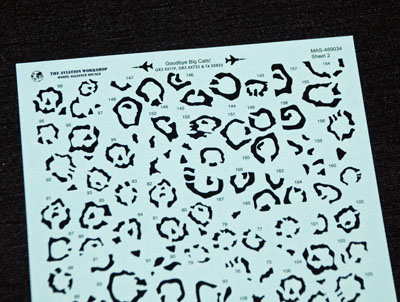
Progress is painstaking and what becomes clear is that the closer you can get to accurately spraying the grey and orange, the less touching up there will be later on, and that’s likely to be tricky. The rear side fuselage decals showing the metal peeling back should look fine when the flaps are in place and touching up done.
Still, we’ll cover that when I get to it and I will offer any tips and advice at that time although the plan is to use very low tack Post-it notes and lightly spray the grey or orange into the ‘V’ of each decal as required to make the markings and overall feel of the model look right.
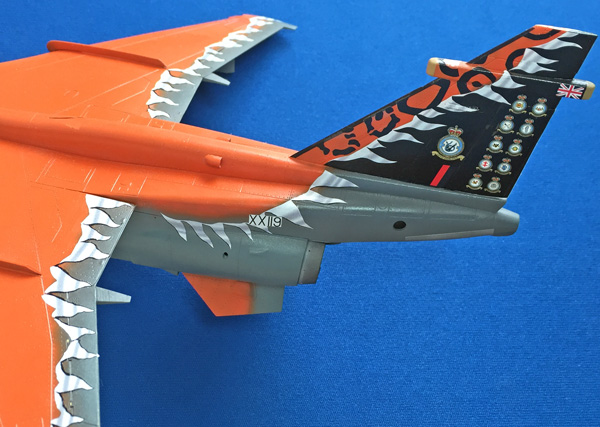
For now though, the fin is a great place to start with all the RAF Jaguar squadron badges applied to each side – they are stunningly produced and look great and authentic to the original against that black background.
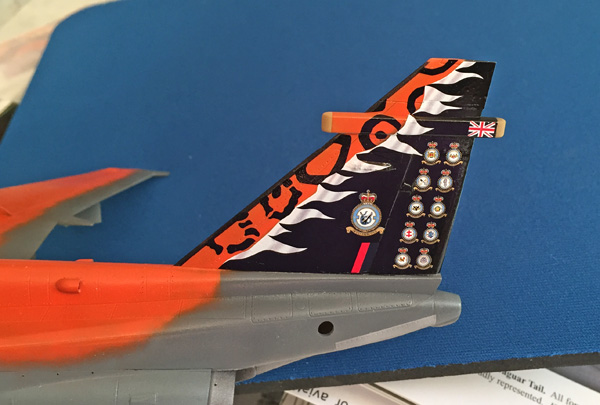
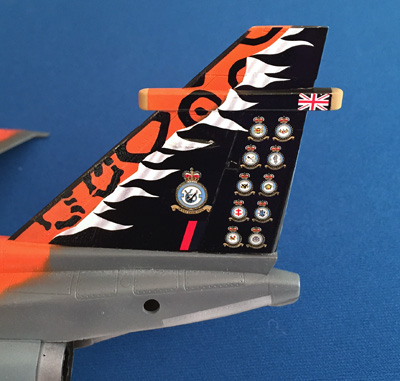
I’ll just go and get the flaps now
So that you can see them and I can test-fit them around the decals to see what the best angle for the dropped flaps will be. Let me look in the box where I found them after all this time, come on now, where are you?
An hour passes, no in fact an hour and a half, all the boxes, places that I would have put them are bare – no flaps! You have to be joking… surely not, missing again?
You just couldn’t make this up – I can’t believe what I am feeling…what I am writing to you – again, gone!
(an hour passes)

Sometimes you just have to say what you feel and share what you know and make a difficult decision and that’s where I have got to with this build – that’s it, STOP NOW! Or, lose the plot, and I don’t want to do that!
This is where I’m at – This build is finished and isn’t going to be completed – sorry!
This is why, this model:
- has ruined my motivation because all the fun and enjoyment has been knocked out of me towards it
- has so many faults and misfitting parts
- badly moulded parts
- poor and imprecise instructions
- cost me 2 hours trying and failing to work out how the main gear units fit together
I do accept that losing the flaps (twice) is entirely my fault, that’s a minor issue when compared to my experience of building and trying to finish this kit.
If you want to read the story, you are free to do so – go ahead! I will not be re-visiting this one in a hurry :(
This is my SMN rating for this project at the point I have reached (applying decals)
| FEATURE | STAR RATING |
|---|---|
| Quality of moulding | ** |
| Accuracy | *** |
| Fit of parts | ** |
| Level of detail | *** |
| Instructions | ** |
| Decals | not used |
| Subject choice | ***** |
| Build enjoyment | * |
| Overall | ** |