Onto construction – Nose and cockpit
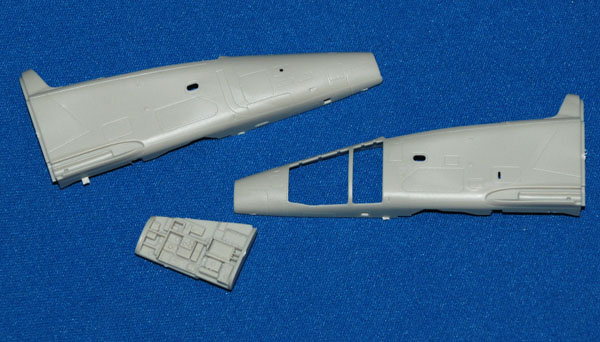
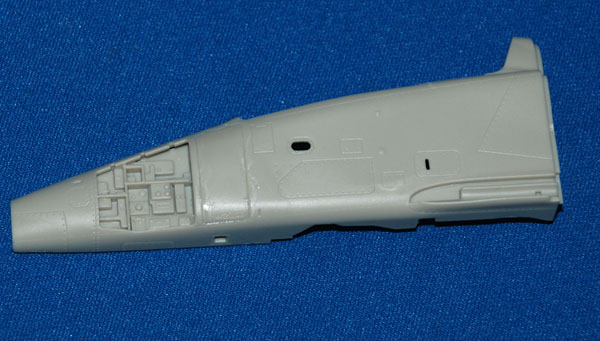
Kitty Hawk does supply the nose avionics bay on the port side that can be displayed open. I didn’t want that so if you add the interior insert and then add the door the fit is ok but the door doesn’t sit level with the fuselage. The fix I used is to add a small lump of Blu-Tack (or use plasticine) on the inside and squash the door down onto it – doing this and then adding the liquid cement works a treat!
The small clear window parts fit well and go in at this stage.
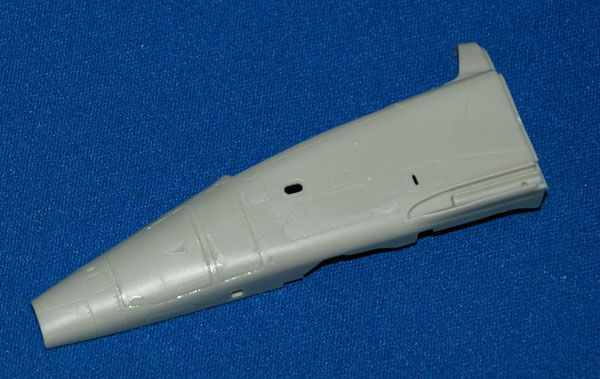
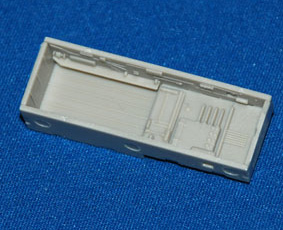
Having decided to use the replacement Aires resin cockpit I set about test-fitting this inside the separate kit forward fuselage halves. You need to temporarily add the nose gear bay box to make sure everything lines up correctly. It seems logical to line the back of the resin rear cockpit deck/bulkhead with the curved rear nose sections as this is how the real aircraft looks from the photos I have.
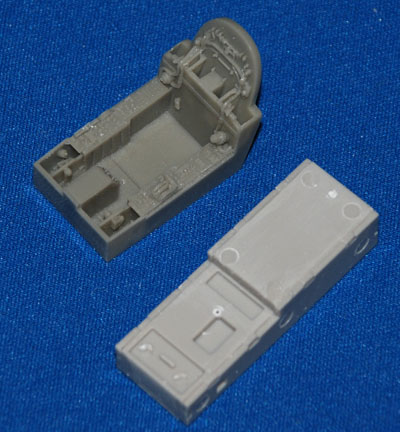
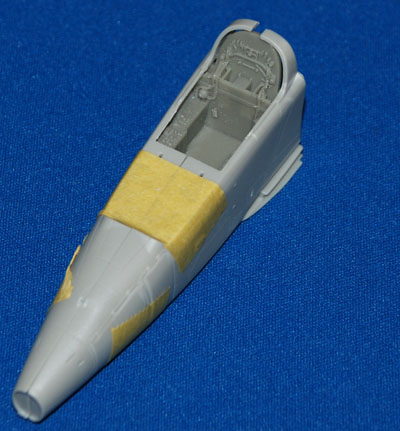
To be fair, Aires does say that excess plastic/resin will need to be removed to get the resin replacement tub to fit and that is certainly true – I needed to thin the kit side walls using a small chisel with slightly curved blade – considerably before the resin tub could be satisfactorily closed in the nose section. It’s a very tight fit, but it will go in there if you’re patient and hold your nerve! To be honest, this all became a bit of a chore test-fitting continually until a decent fit could be achieved and so in the end relief got the better of me and I glued the tub in place and set the whole sub-assembly aside to dry; I’ll paint it later.
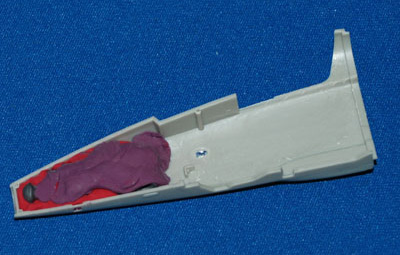
Remember to add some nose weight – there’s plenty of space and some plasticine and metal pellets did the trick.