Intakes
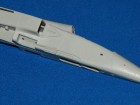
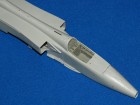
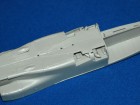
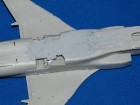
The separate intakes are not too bad a shape but slightly too square (looking in from the front) when compared to the real thing. This isn’t an easy fit but equally isn’t so bad I can’t live with it so adding the parts they are set aside and when completely dry plenty of sanding is needed to get them to fair into the fuselage so that they look authentic. Now they are on I think that their curved side wall shape is exactly that, too curved and ‘bulging’ and so I have sanded them back slightly and I think their profile looks better for it – the doors and detail needs to be re-scribed though.
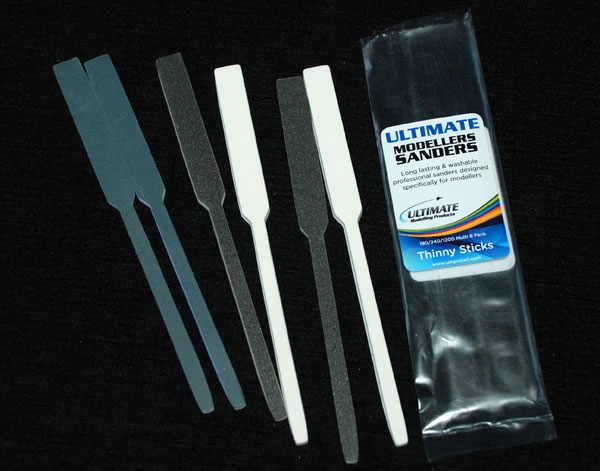
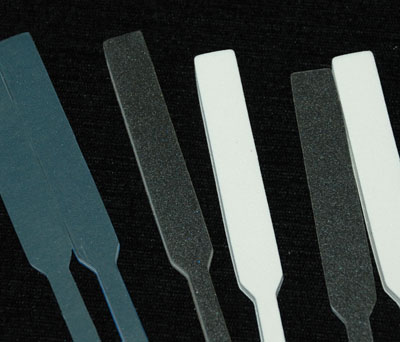
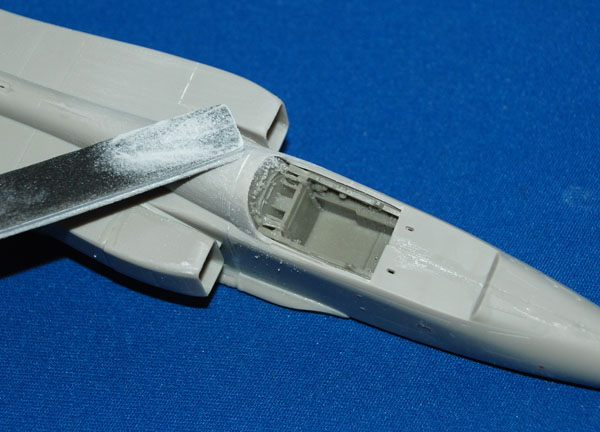
Ultimate Modellers Sanders
I have to say that I think these are great, they come in packs of different coarse to smooth grades and the shapes I’ve found to be excellent for all the tasks in this challenging project – nice one Ultimate. You can check out their Ultimate page here in SMN that has links and reviews to help you.
Re-scribing panel line detail?
Yes, plenty of this will be needed, especially after you have added the wings, but I’m saving this whole task for after those wings are on but before the pylons are attached.
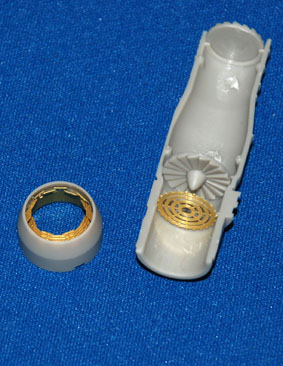
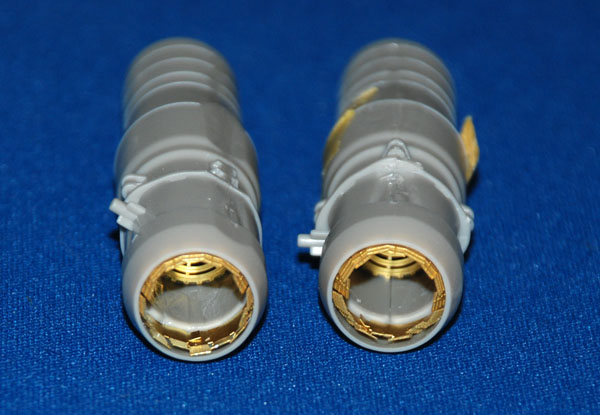
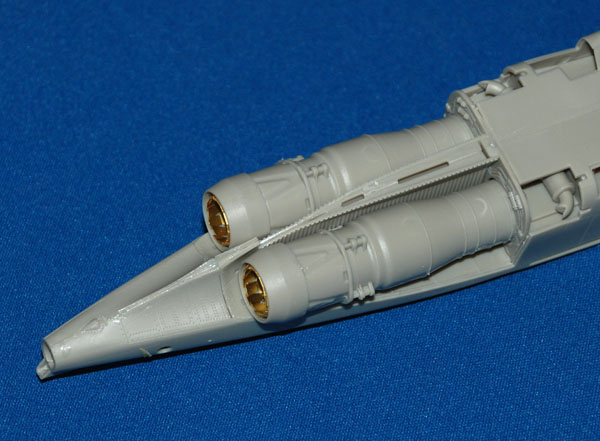
Engines
It’s a good option that these are supplied as detailed separate parts but I have no intention of displaying the engines open for the reasons I’ve already given. It was when adding the engines to the holes in their forward bay bulkhead that I realised I had slightly misaligned the bulkhead – I had attached it flush with the centre fuselage (wrong) it has to just sit just inside the centre fuselage section. I don’t think that the instructions are clear on this at all – come to think of it the instructions are about as bad as they get, offering a simply absurd instruction sequence that could put off less-experienced modellers for life! (and rest….)
Photo Etch (PE)… engine detail
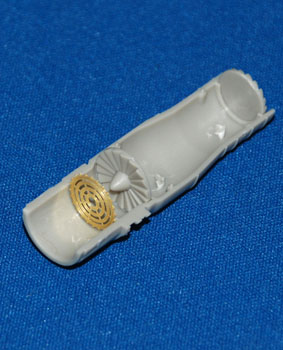
A nice PE fret is included in the kit with some useful small additions, including an instrument panel, although I will be using the Aires set. The kit does include some fine representations of the afterburner (reheat) petals. With care, these just slot inside the plastic rings, you just need to take care to make sure that they sit very slightly proud of the ring, but only just from looking at reference pics. The engines then go into their location points and usefully a small peg attached to each engine helps them line up correctly.
You can now add the three-part rear engine fuselage sections. They do mate up quite well, but not perfectly – plenty of liquid poly and masking tape to draw everything in together and setting aside to dry for a couple of days.
