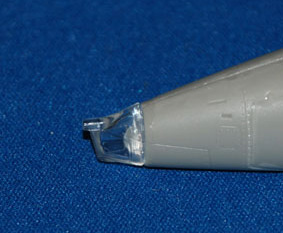
Nose glazing
The nose laser rangefinder glazing is also a poor fit and this was attached using cyano glue and when dry sanded all over to blend in with the surrounding nose section, finishing off with sanding and polishing pads (more pics to follow below later) to restore the full shine and clarity.
Underside re-scribing
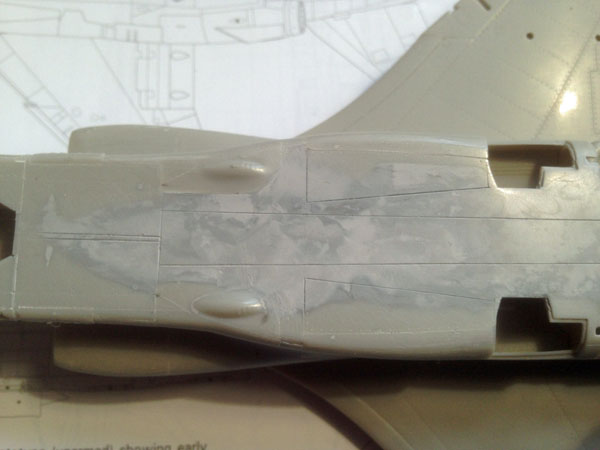
Eventually… I am just about happy with this area of the model – there’s a little more scribing and some riveting to do here but I’m not going to town too much given we are talking the underside of the model.
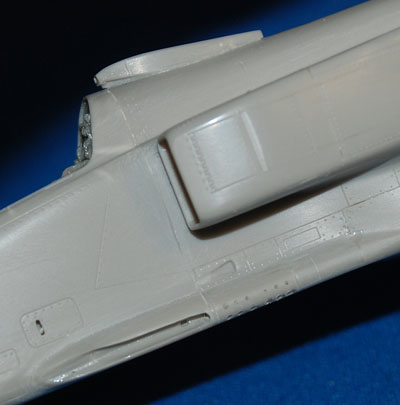
Dorsal intake
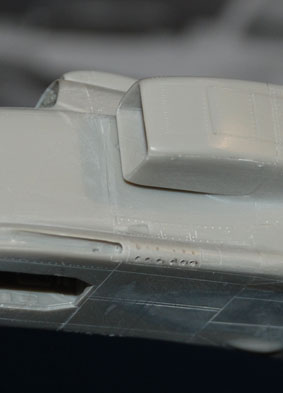
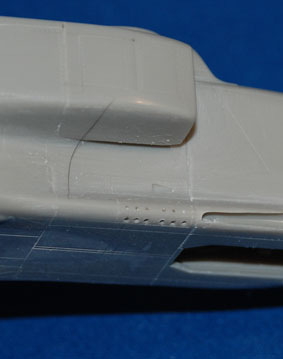
Well this is another area that needs work – the dorsal intake fairing that sits just behind the cockpit just looks way over-scale and not the right profile. All can be remedied using plenty of sanding, re-shaping and a little re-scribing done while the kit part is glued onto the spine – phew… this model is beginning to get taxing – it seems as though everything you come across needs work – way beyond what I think is reasonable for a new, detailed ‘state-of-the-art’ (not) model from a main manufacturer (and rest….).
Gun ports
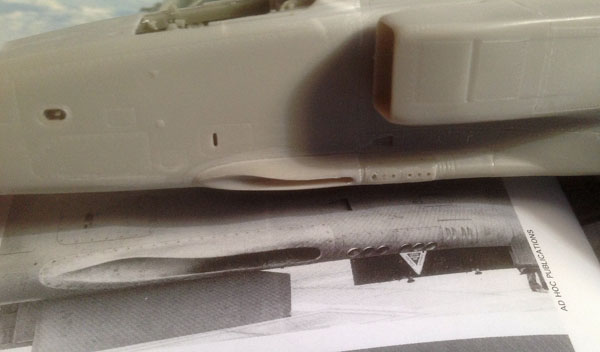
Apart from the join line that runs right through them on each side, they are a good shape. With care using a rat-tail needle file and glue I managed to get rid of the worst of the join. Perhaps the most annoying thing with these parts (that are separate and also don’t fit very well at all) is the location of the six exhaust gas deflector holes. These are moulded at about 90 degrees to the centre line and look silly – they should be angled downwards. Out with the cyano as a filler and I used kicker (activator/accelerator) to set it quickly, the areas were sanded smooth, then, using a drill bit the right size and pin-vice drill I added the new holes and think they look much better.
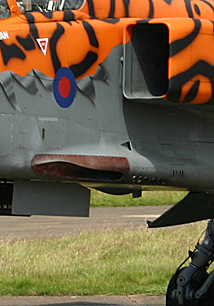 There are a pair of what look like the ends of tubular vents/ejection/pipes that protrude from the underside of the fuselage near the guns and I will need to add these soon – mustn’t forget.