Preparing the parts
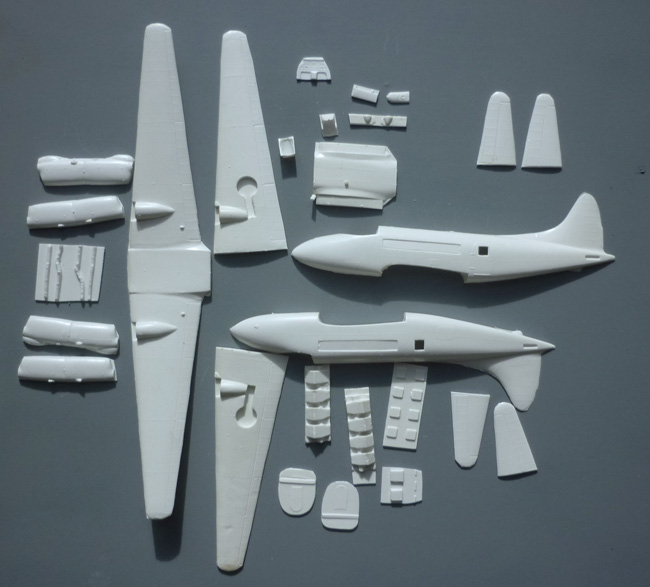
The starting point as with all vacform kits, is to cut out the pieces from the single vacform sheet. Some modellers do this by first drawing around the shapes with a felt tipped pen. I go straight at it with a heavy duty scissors.
Next, there is the process of sanding down the parts and trimming the edges until one ends up with a set of parts. The wing and rudder trailing edges need to be sanded and scraped so as to produce a thin profile. It is, however, also important to ensure that the leading edges are not sanded down too much in order to show the wing’s aerofoil shape and to fit the wing to the fuselage at the wing root. .
Fitting windows
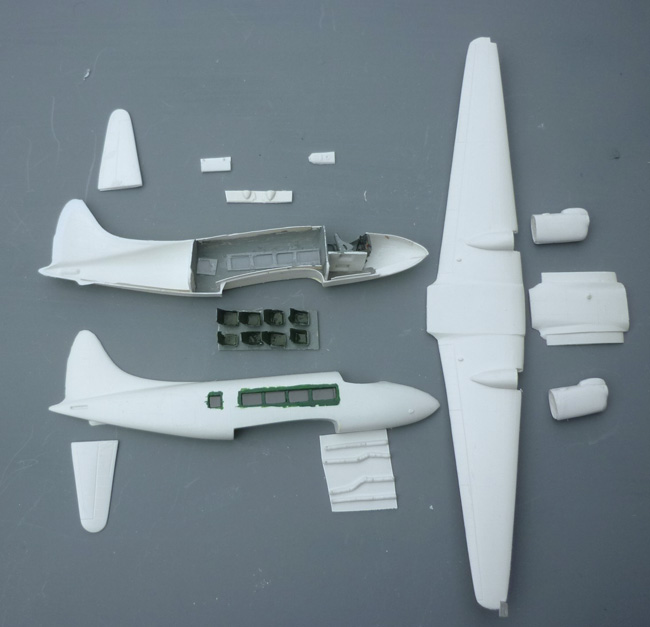
The windows on this kit are slightly unusual in that there is a rectangular recessed area in the plastic, rather than showing the shapes for individual windows. Moulded windows are provided with the kit.
My approach was to cut out the rectangular shape, but to leave small uprights to mark the dividing line between the windows. My thinking was that this would allow me to push the moulded windows up between the strips so that they were flush with the fuselage. Thin strips of plastic card could then be laid on top of the uprights to make the windows and uprights flush with the fuselage, or near enough. Before doing that, I painted the area around the windows in dark green to avoid having to do it after the windows were in place. The windows have a curve at the corners that I could and should have represented rather better.
On the inside
The kits provides flight deck and cabin detail that can if required, be improved. I took the easy route, knowing that little would be seen. I did not intend to open a fuselage door, the glazing was not crystal clear and the glazed areas were not big. I made up the seats, added a few bits such as control sticks to the flight deck, painted the parts and left it at that.
I inserted narrow strips of plastic card along one side of the fuselage, making sure to avoid the bulkheads. This was to help line up the edges and to make a stronger join. I then packed as much filler in the forward area as I could to avoid the model being a tail-sitter. With that done, I joined the fuselage halves.
Work with the wings
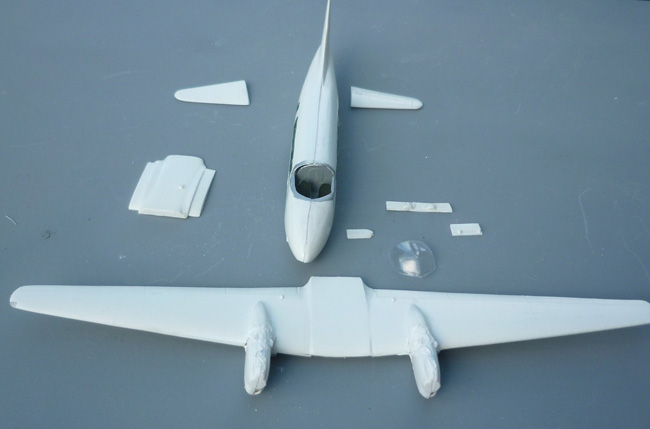
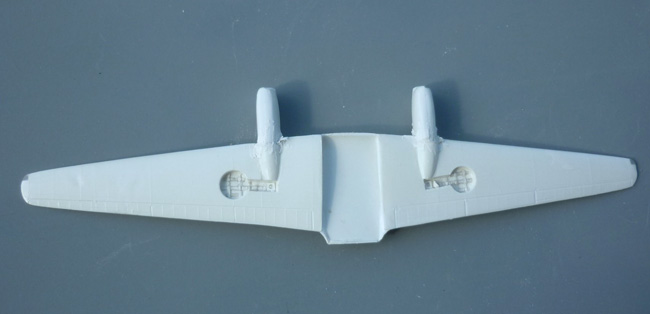
I chose the right style of engines for the Sea Devon as the kit has alternative parts for the earlier Devon. I packed the engines with filler on the assumption that even with the nose packed full, it could still be a tail-sitter. My approach is one of better safe than sitter. The engines were then attached to the wings and filler used to smooth over the join.
I cut out small slots for the wing tip navigation lights and inserted clear plastic sprue. These were then sanded gently to shape.
In the wheel wells, I inserted a cross pattern of thin plastic strips to give the illusion of an internal structure.
Painting begins
Wings were then attached to the fuselage using filler to blend in the joins. I painted the fuselage top in white then masked it with some Tamiya tape. This was to ensure a straight clean dividing line between the white and green. I painted Klear along the edges of the tape to help avoid paint from bleeding underneath. This usually, though not always, works.
The canopy was attached with a small streamlined piece cut from clear plastic card added to the top.
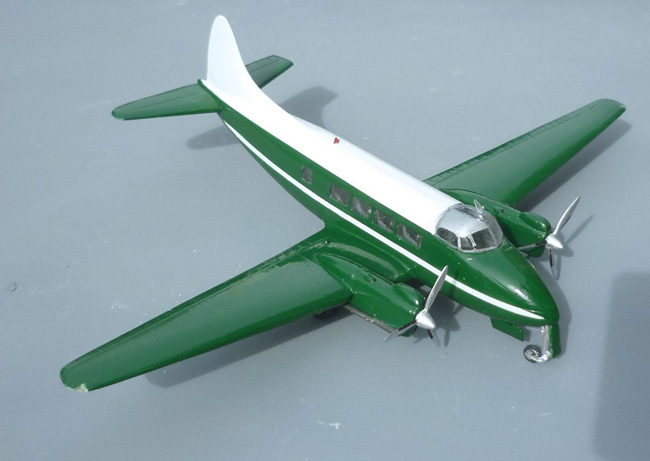
I also painted a white area along the length of the fuselage under the windows. This was for a white cheat line. I covered the line with a strip of thin masking tape. Then I painted the rest of the aircraft using a dark Brunswick green acrylic (Hu 3). This was done by brush. When the paint had dried, I peeled off the masking tape leaving a clean line between the white and green and a thin white cheat line.
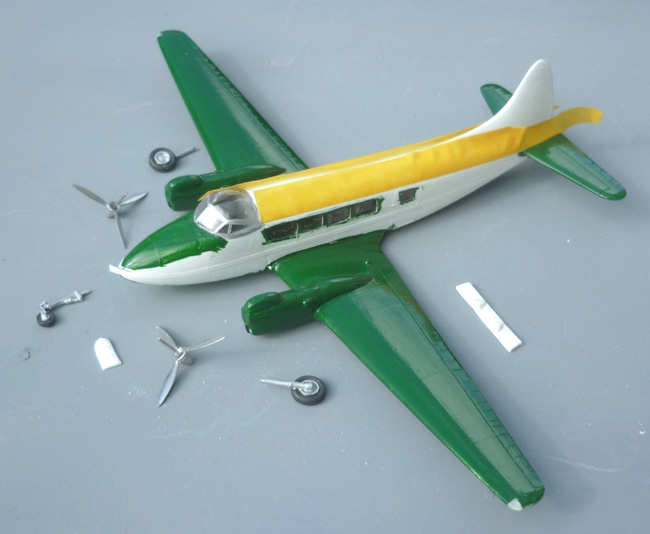
Propellers, wheels and bits
The metal parts had to be cleaned up using files and sandpaper. The props and spinners were painted in a bright chrome paint.
Undercarriage legs and wheels were attached. Making sure that the sit looked right. That was a challenge that involved considerable trial and error. It got there in the end.
To my relief, the amount of filler I had used was enough to avoid it from sitting on its tail.
Mass balances were added to the ailerons underneath. A small navigation light was added to the top of the fuselage using a small piece of clear sprue painted red.
Ask a question or add feedback:
You must be logged in to post a comment.