Construction
Having made the GR.4 version previously I knew that this kit had its fit issues due to the complex breakdown of parts – especially for the fuselage. With this in mind my plan was to be as careful and accurate as possible with the construction to minimise any misalignments of the fuselage parts as I knew one small error at the start would cause far larger fit issues further down the assembly process. This meant lots of dry-fitting / sanding / scrapping and repeating this process until I was happy with the fit of every part. This did greatly improve the overall assembly process and minimised the use of filler. The resulting sanding and re-scribing stages were a massive improvement on my experience with the GR4 but it’s still not perfect by any means so be prepared for a ‘challenging’ build with this kit.
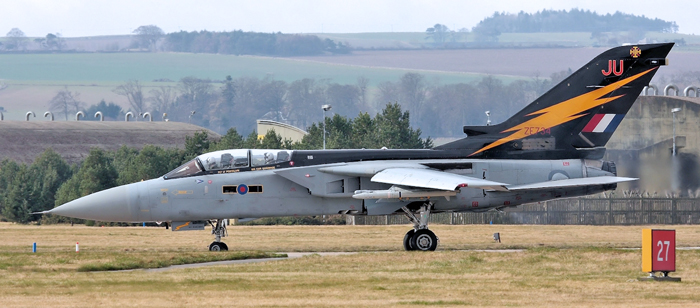
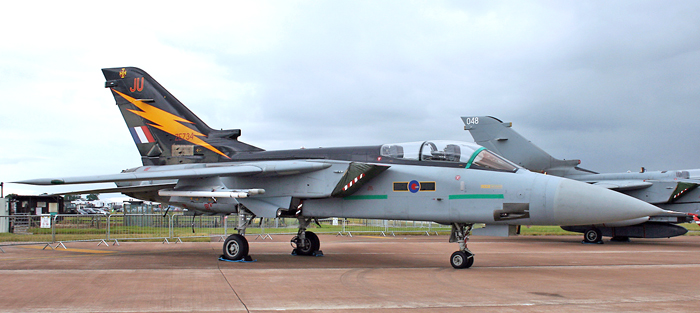
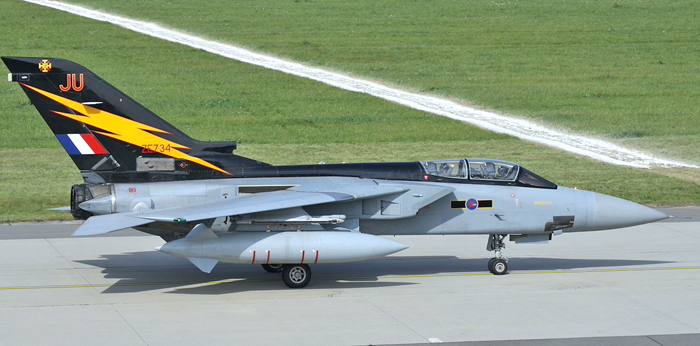
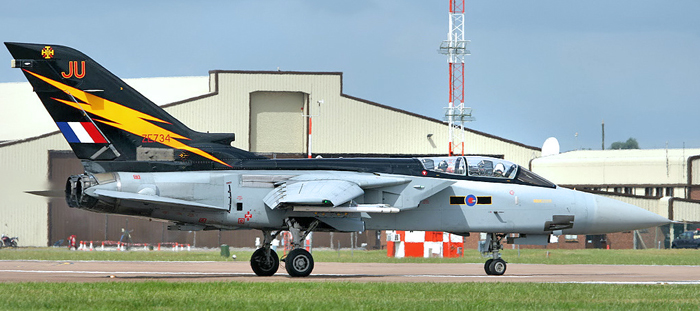
My plan as outlined in the video was to build a late F.3 in the overall Medium Sea Grey scheme with AMRAAM and ASRAAM missiles and BOL launchers on the inner wing pylons. Fortunately, a quick search on the internet provided lots of reference pictures of the particular aircraft I wanted to model. One thing to note from these pictures is the rear part of the fuselage around the tailerons must have been a replacement part as it was in a lighter grey (I suspect Barley Grey as it will have come from an aircraft with the earlier scheme).
The Fuselage
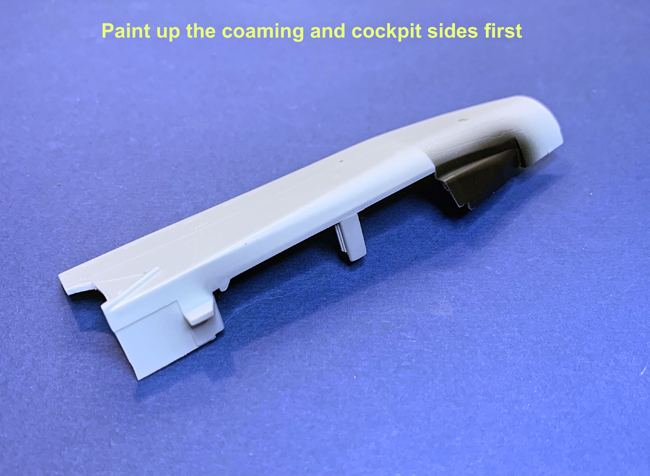
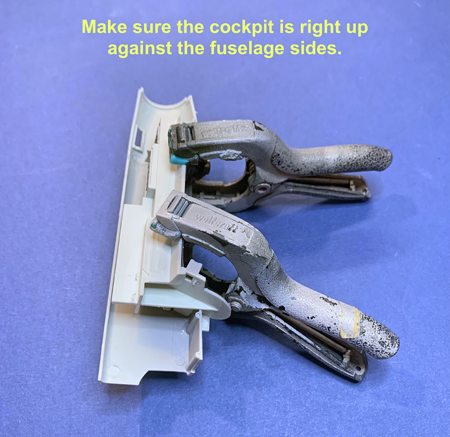
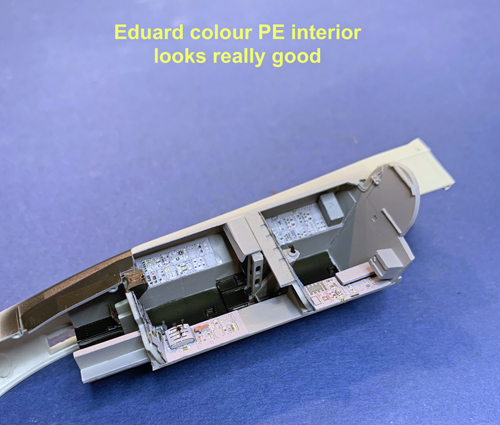
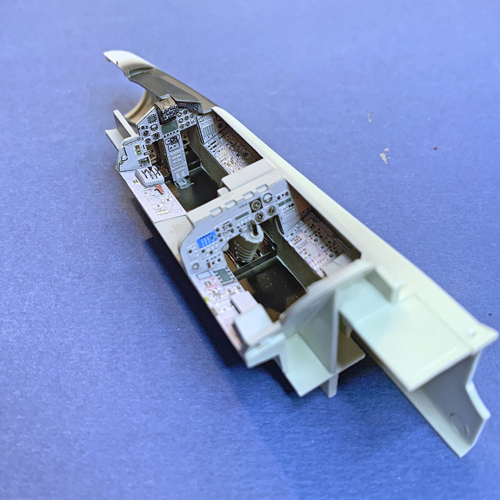
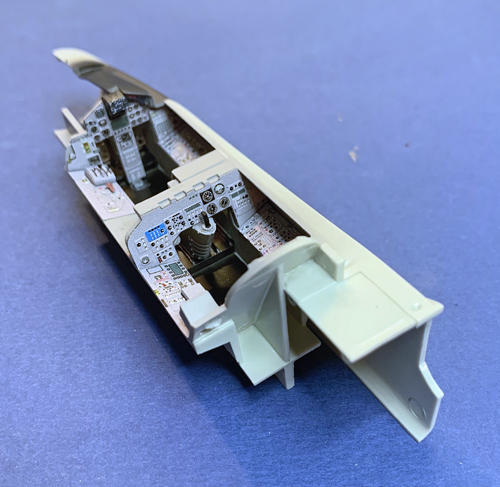
So on with the build and it starts with the aforementioned fuselage and cockpit assembly.
NOTE: THE INSTRUCTION WILL HAVE YOU FIT THE WINGS DURING THE FUSELAGE ASSEMBLY PROCESS – I DID NOT DO THIS AS FITTING THE WINGS LATER MAKES ASSEMBLY AND PAINTING EASIER SO WHAT IS DESCRIBED BELOW IS MY ASSEMBLY SEQUENCE NOT THAT SHOWN IN THE INSTRUCTIONS.
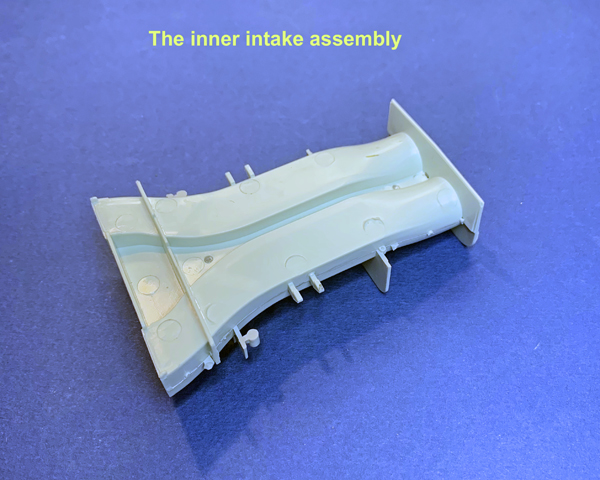
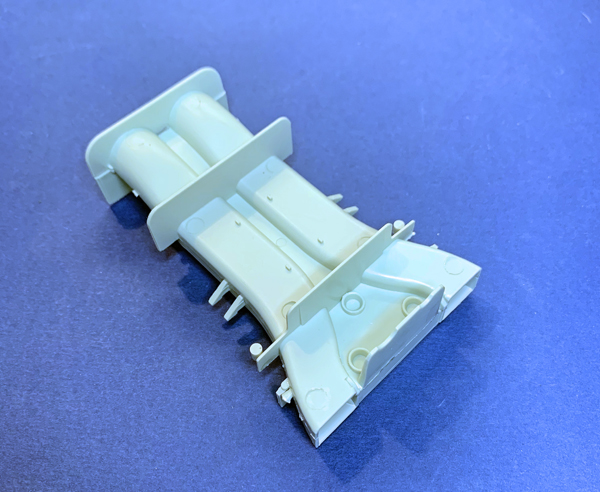
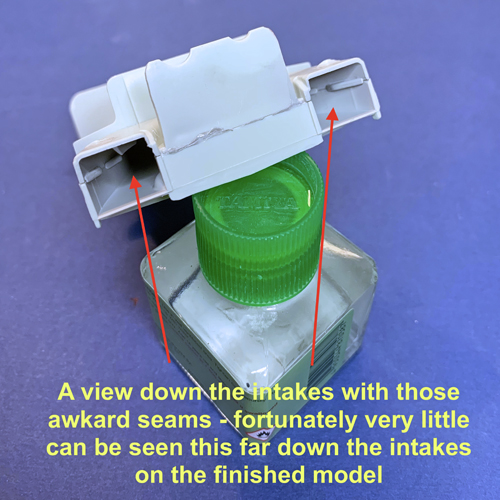
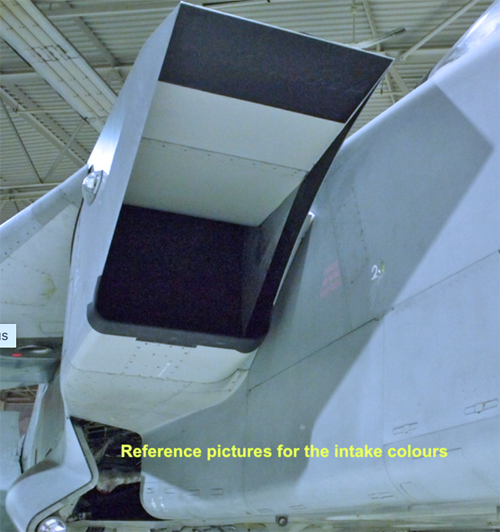
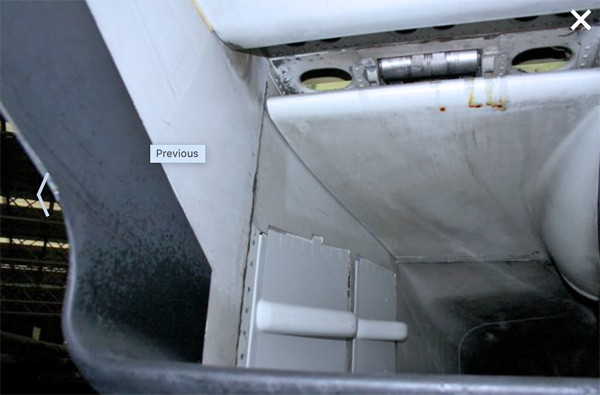
The intakes come next and these I remember being a challenge in the GR.4 build especially with regards to getting rid of the seam lines in them. There is no easy way around this except careful alignment initially and filling/sanding if necessary. If this still fails there is always the option for FOD covers over the intakes!! One saving grace is not a lot can be seen of the insides of the intakes so you have just got to be deal with the outer section.
Ask a question or add feedback:
You must be logged in to post a comment.