The Wings
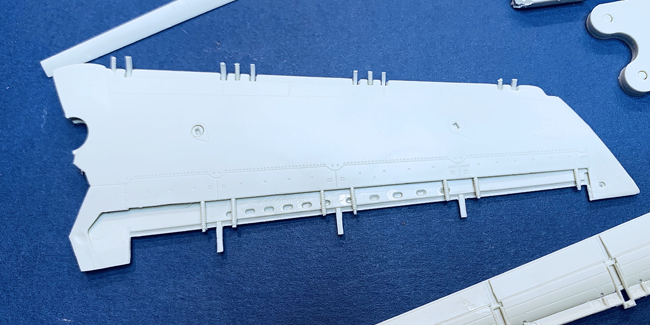
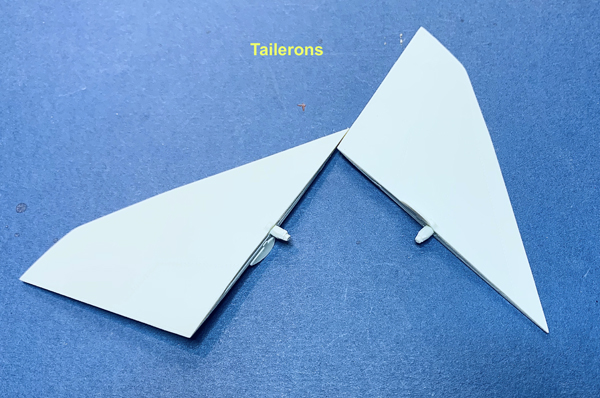
If you build the kit as dictated in the instructions you will need to fit the wings in place as I stated at the start of the build. The wings will be adapted in the next part of the build to allow them to slot into place later on in the build.
VIDEO DEMO
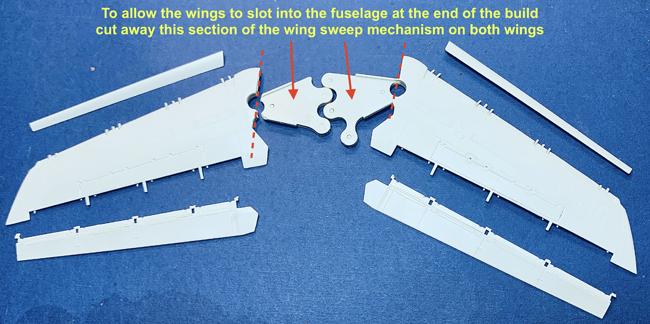
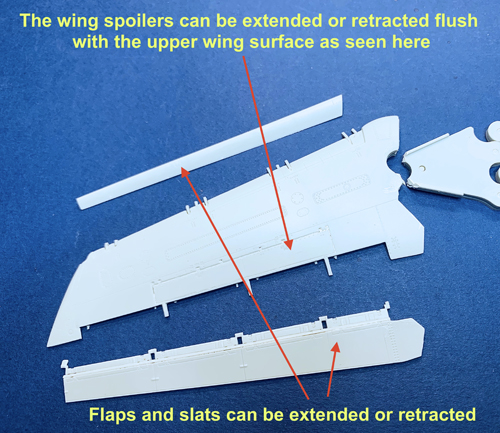
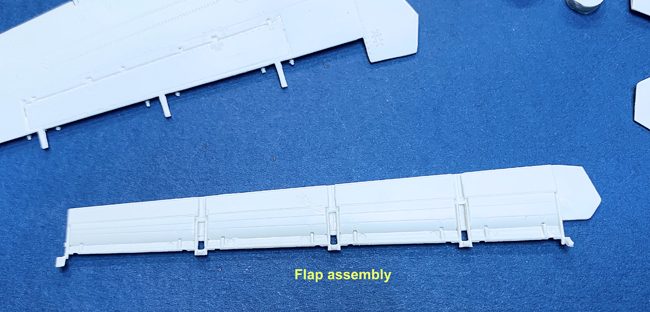
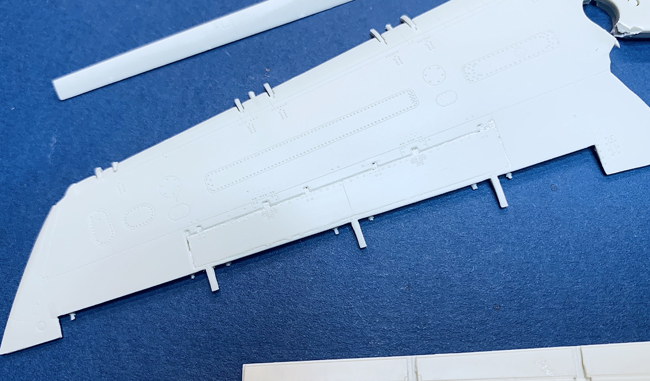
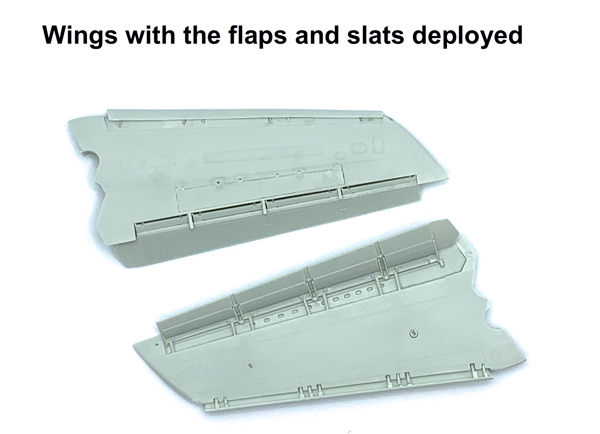
The kit gives you lots of wing options and the easiest option is to have the flaps/slats/spoilers deployed. I opted to have the spoilers retracted but the flaps and slats down.
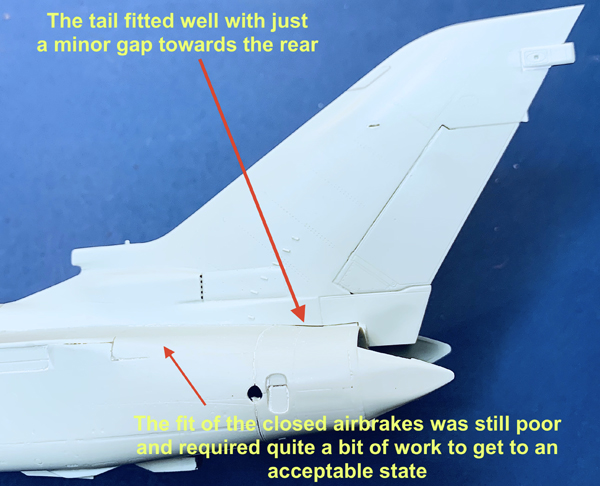
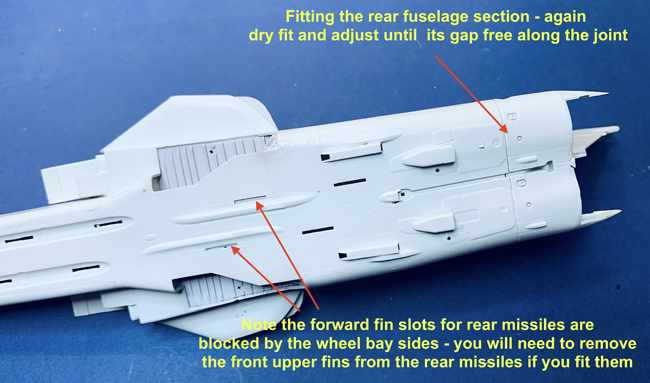
The tail fits relatively well but I advise gluing the front section first, letting it dry and then pushing down the rear section to get a gap free join and then capillary glue along the joint – this will give a good (almost) gap free joint.
The airbrakes were a poor fit in the closed position on the GR.4 and unfortunately, it’s no different on this kit. The easy answer is to have them in the extended position but I wanted to keep the clean lines of the airframe so I put them in the closed configuration. This resulted in quite a bit of filling/sanding/re-scribing – be warned!!
The only other issue I had which unfortunately I forgot to photograph was the attachment of the front intake sections. These were a poor fit on the GR.4 and they are not much better with this kit although careful assembly early on did reduce this misalignment considerably.
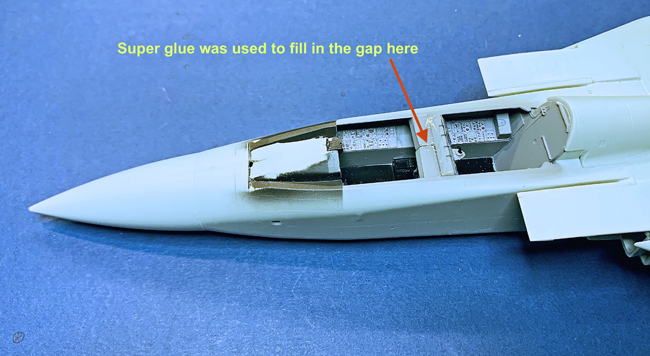
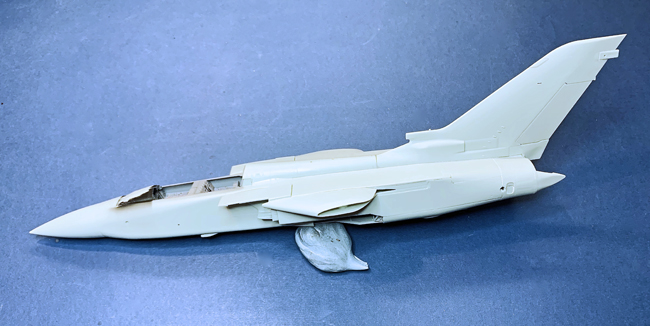
With this done the main assembly was complete and it’s on with the paint job in the next part.
Ask a question or add feedback:
You must be logged in to post a comment.