Lighting options
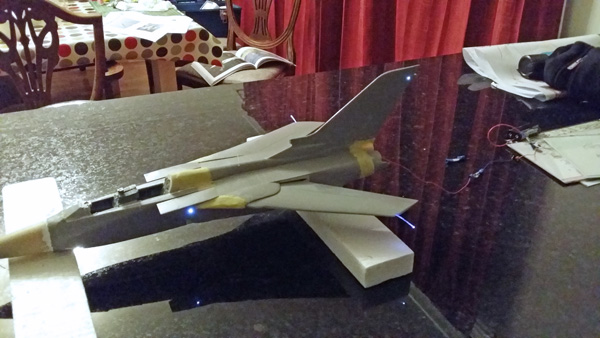
I also had decided to try for the first time in this project to add exterior lighting LED’s and fibre optics. I had found whilst scanning the internet that a company called Tyridium Models had an LED kit specifically for the Revell 1:32 kit. The kit was extremely easy to use and the instructions comprehensive enough to make installation a doddle. The only trouble I had was to decide were to put the battery pack as cutting a plate into the belly which was removable was made harder by the decision to have the Skyflash missiles that the F.3 carried on this project. So I would have to run the wires out of the rear exhaust cans and to the base where a battery pack could be hidden.
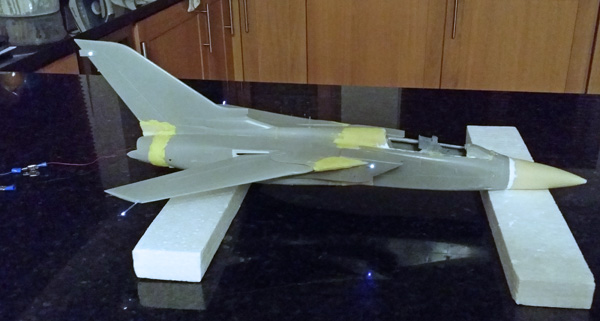
Painting
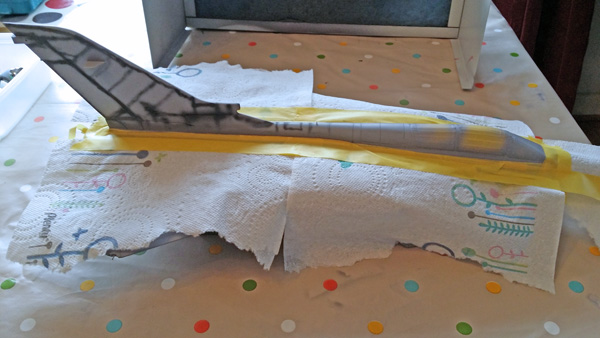
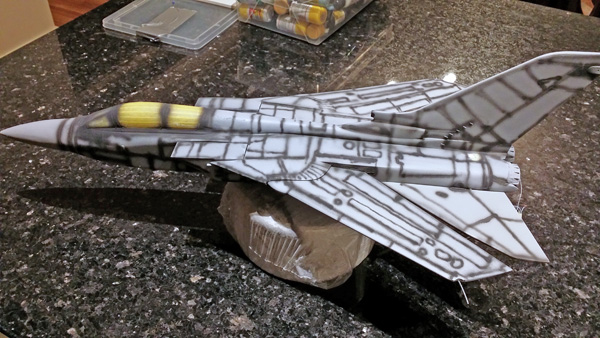
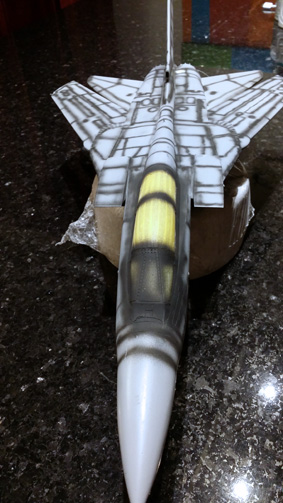
Now that the main build was done and all the sanding, polishing and re-scribing had been done it was time to start painting. I primed the F.3 with Vallejo Surface Primer USN Light Ghost Grey as I had some left from another project. I then took the opportunity to make any final adjustments with my sanding stick – using Vallejo Nato Black in order to roughly pre-shade along panel lines. I am not one for doing this neatly and with any precise nature as I think the final piece can look unrealistic, and resemble a Burberry scarf
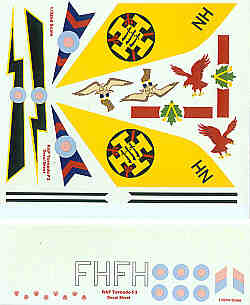 For this model I decided that I would use Flightpath’s 1:32 decals. The aircraft I was going to do was 111 Sqn 75th Anniversary paint scheme as it would add a little more colour into an otherwise grey brick.
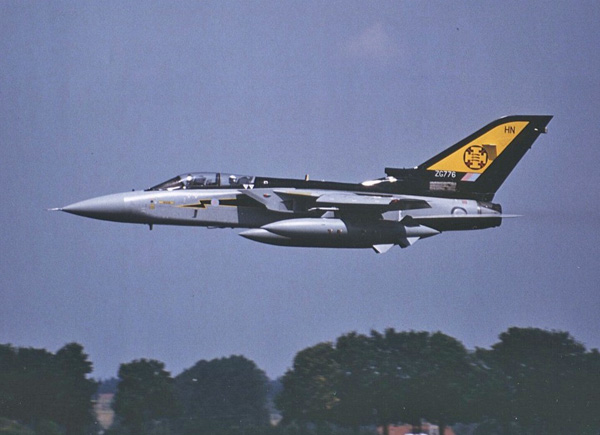
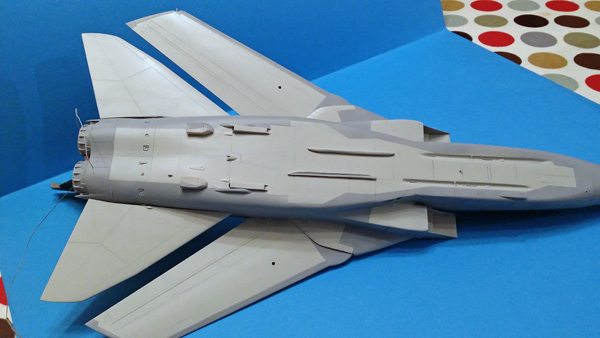
My research revealed that the paint scheme for the F.3 contained two grey colours with Light Aircraft Grey on the underside and a more dark shade on the upper and side surfaces. I started with the undersides and used Humbrol acrylic 166 (Light Aircraft Grey). I referred back to my reference photos and masked the undersides off.
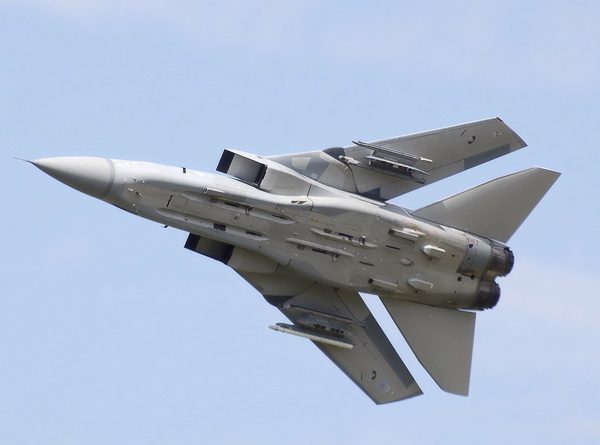
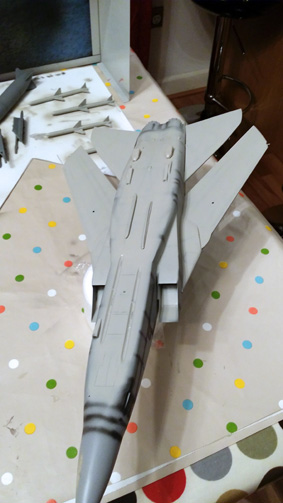
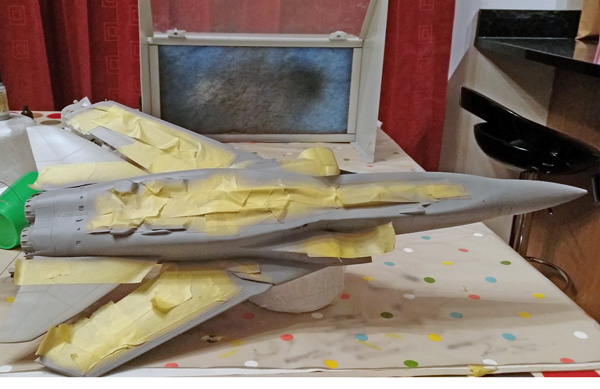
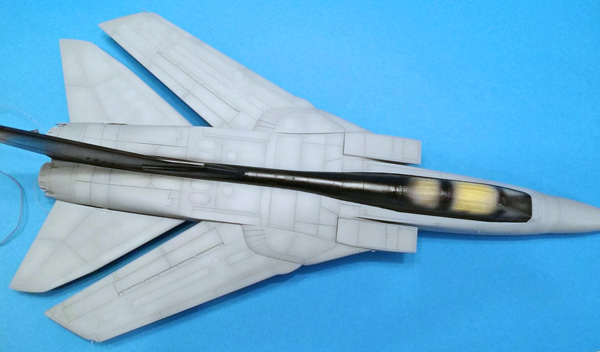
The upper and side surfaces were then sprayed with Vallejo Air 71.050 (light grey) making sure that only a slight amount of the pre-shade showed through. I then thinned down the paint by 50% and lightened with two drops of Vallejo white and randomly sprayed in the centre of some panels and then a misting over all to add a slight weathered effect to the paint. Once dried I proceeded to mask off the tail, and fuselage spine and sprayed it with Tamiya X-1 (Gloss Black).
