Decals
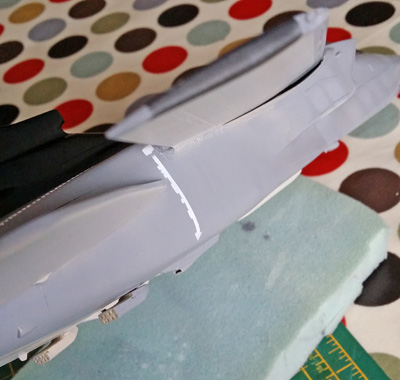
The next milestone to overcome was that some of the kit decals were not the correct colour for the F.3 variant, these are white. The walkways on the top of the wings and fuselage and the angle indicators for the rear stabilisers located on the side of the fuselage just in front of the rear stabilisers. With my printer not able to print white and I wasn’t going to go and spend a fortune on a printer that could I decided that the walkways I would mask of and hand paint the dashed lines for the walkways and the angle indicator I would make a mask out of Tamiya tape using the kit decal as a template.
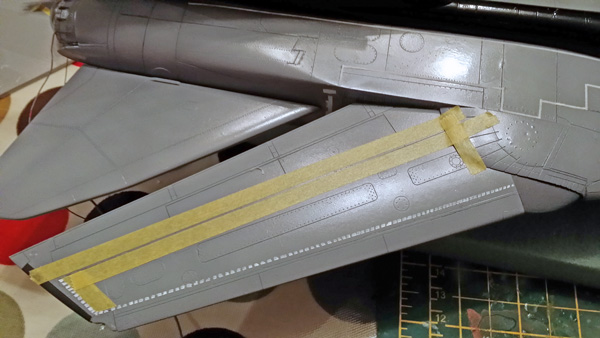
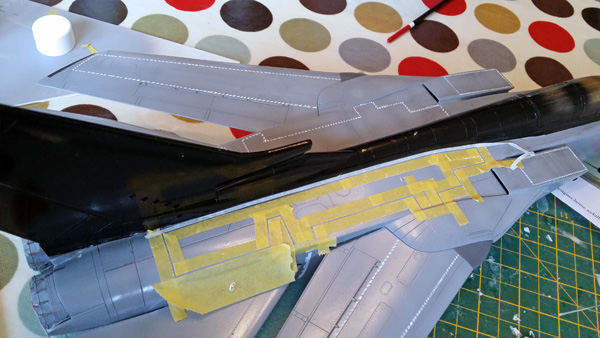
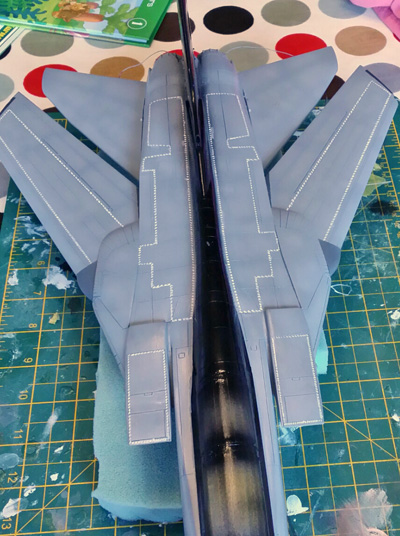
The whole aircraft then got a coat of Vallejo Gloss varnish ready for decaling. I started with the larger decals on the tail as I would need to mask off an area the shape of the decal and spray a white coloured base so that the yellow would show up bright enough and that the black wouldn’t show through the decal. This was the only real issue during decaling. The Flightpath decals didn’t perform badly at all and sat down nicely with the aid of Micro Sol and Micro Set. All the stencils were the same as the GR variant so I could use the kit decals, except for the “No Walk” stencils located on the moving surfaces of the wings. These again for this variant were white and not black, they were too small to make a stencil so I went and raided my HobbyBoss 1:48 kit and used the decals from that. In my opinion these were probably a more accurate representation of the size they should have been for 1:32 scale of this aircraft. Finally I used Vallejo Gloss varnish to seal all decals in.
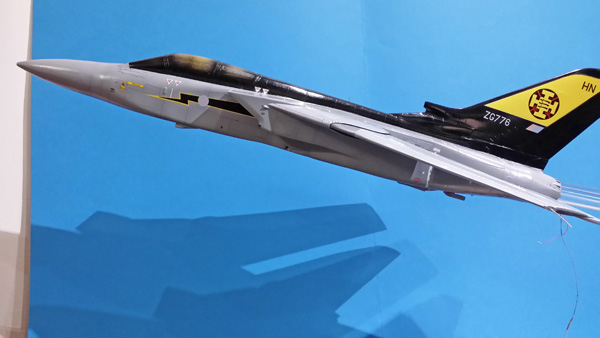
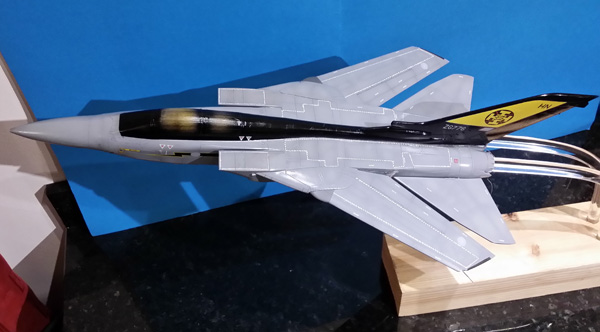
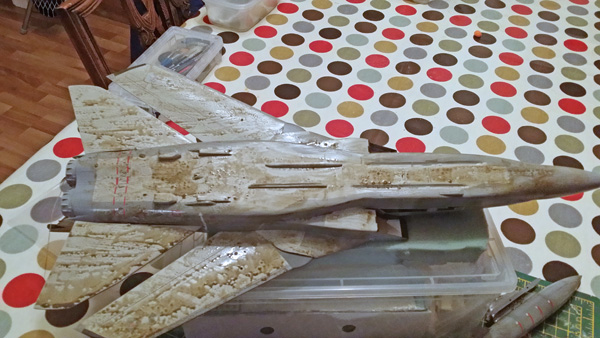
Before painting any metallic areas I had decided to give the model an all over wash just to add a little depth to the panel lines. For this I used Flory Models Dark Grime clay-based wash all over. Once dried I used a very slightly damp cloth to wipe it back leaving the wash only in the panel lines.
