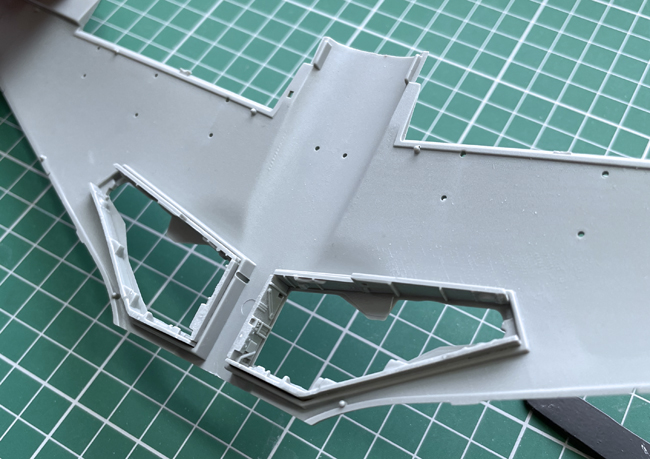
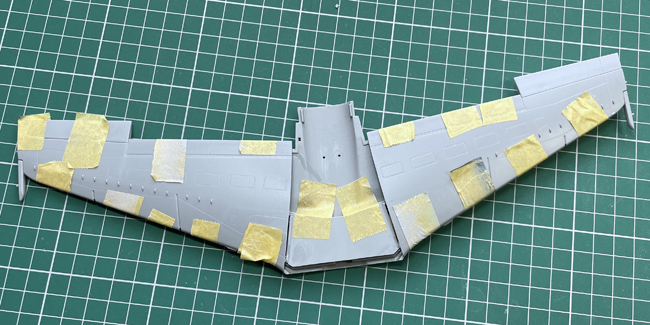
The wings are assembled and include decent wheel bay detail, glued and set aside for a couple of days to dry.
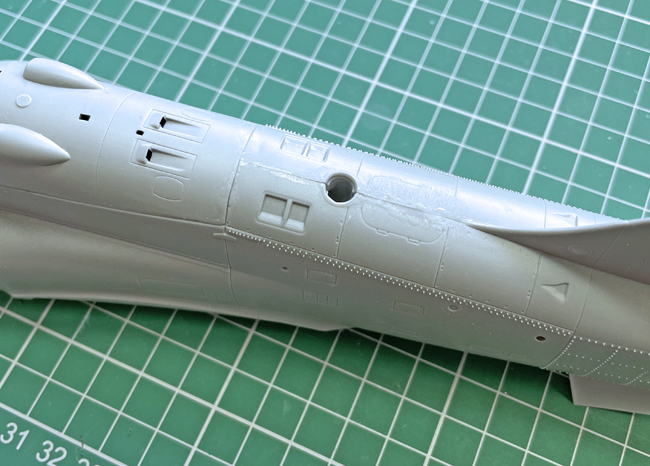
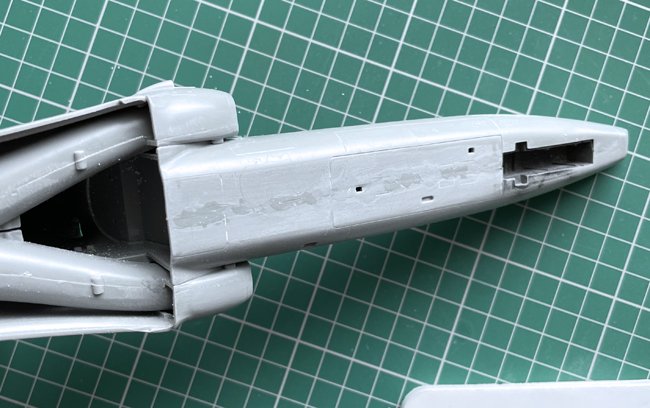
Fuselage again and I added some nose weight (just in case) using plasticine and metal pellets. The fit is fine and all clicks together ok. After a couple of days, the clean up begins and including the intakes, there is quite a lot to do, especially around the latter. I used my usual mix of cyano and talc for the filler – much easier to sand than using straight cyano glue.
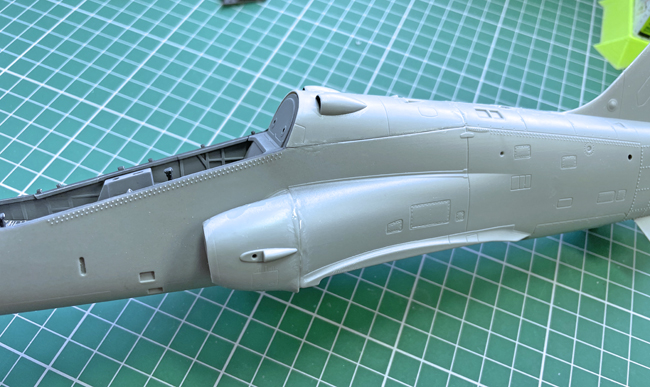
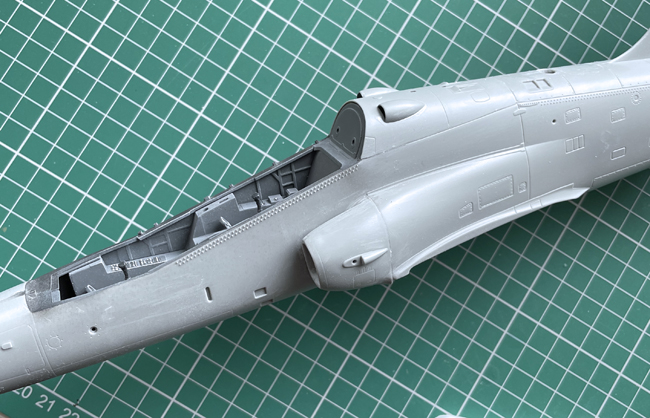
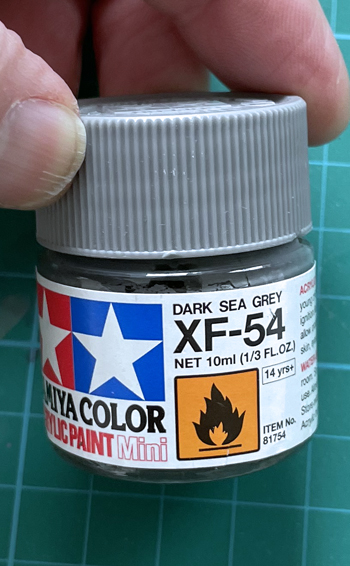
After the main clean up, I sprayed the base grey in the cockpit, Tamiya Dark Sea Grey XF-54. Then added some basic detail painting: instrument panels, knobs and switches – more to come, but a start. I used XF-54 because it’s a good match for the grey on the instrument decals and should help everything to blend in.
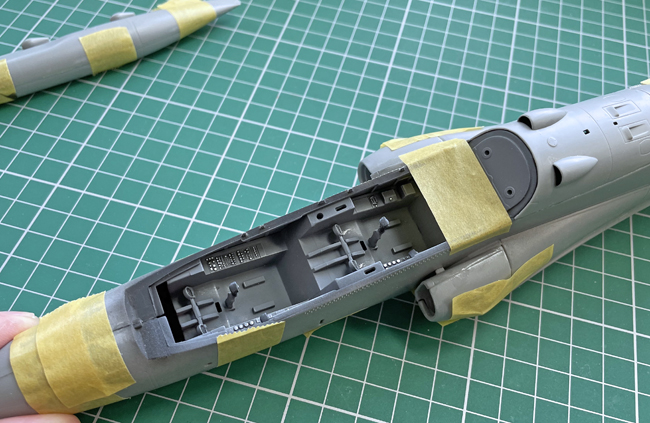
The good news is that the front and rear main instrument panels can be added later and I’ll have a look at them next. The decals provided differ to the moulded on detail and I have a plan for that.
James Ashton says
Nice work on the flag Geoff and the rest.
I am working on my first Kitty Hawk kit and it is not an easy build. This kit seems to be an improvement over their earlier kits. (not so many poor fitting inserts) I do want a Hawk in my collection and your build has convinced me to get this kit from Revell.
James
James Ashton says
My bad, I said Kitty Hawk this is ex Kinetic. LOL
How embarrasing.
Sorry Geoff.
Geoff Coughlin says
Easily done James – no worries my friend…:) G
Geoff Coughlin says
Good news! Revell have been in touch and are sending the replacement front windscreen. As soon as I get it will can finish off this build :) GC
Richard Graham says
I had been thinking about getting this kit and last night watched a video of 25 Sqn Hawk T2’s from RAF Valley on YouTube. They looked fantastic taking off in the evening gloom – kinda menacing in all black. I knew the Revell kit had markings for a 4 Sqn scheme but where to get those 25 Sqn decals? Searched the internet without success and came here to check out the kit review and guess what…? There they were on the kit sheet all the time…! Click! Order placed for the kit (6 quid off & free postage too). Thanks guys
Sid says
Brilliant build Geoff, fantastic finish the airbrush work around the flag envy envy! By coincidence I’m on the closing stages of completing Airfix A50031 Red Arrow Hawk from 2008 and have an issue with the portside cheat stripe. The decal appeared to be very brittle and ended up in pieces. I have requested replacement but note your alternative solution. What did you use to cut out the roundel template?
Kind regards
Sid
IMRAN ASHRAF says
Hi Geoff
what an amazing build, really loved it. It got me in mood of finishing my some WIP, and also got my Hobby boss 1/48 Red arrows out.
I have a quick question, the white or light grey outline on canopy, plz explain what it is? paint or decal, if its paint what colour it is?
Plz also guide for the middle line of the canopy too
Thanks a lot
Imran
chris addis says
Hi Geoff that is one excellent build. If Telford is on this year(which it is ) you should think about entering it into the competion. The effort you have put into this build shows and the finish is exceptional.
When i saw the first photo I couldnt work out if it was a real one or a model an then when i started to read the article I was astounded how well you have done.I also think you should adopt it as your flagship in some way. Im now going to watch all your videos as no doubt they must pay off. IMPRESSIVE.
Chris Addis
Howard Kilburn says
As others have said Geoff, brilliant build… and i agree, you should enter it at Telford.
BTW brilliant idea about using a buffer to smooth down acrylic paint…. this from yr Revell Phantom build…. love that it not only smooths the paint but adds a touch of weathering as well
Power to yr elbow sir
Regards Howard
Tmurph says
Great build Geoff and if the people in charge of looking at the replacement for the current Red Arrows Hawk should look at your model, I’m sure it would persuade them to go ahead and get the Hawk T2 ASP…Brilliant Geoff.
Geoff Coughlin says
Thanks Tmurph – really appreciate your comments. I really enjoyed the challenge of this project and the Airfix Vulcan B.2 in 1:72 has just arrived so that might be up next! Very different…GC
Geoff Coughlin says
Thanks so much Howard – really appreciate your thoughts on the T2. I just hope Telford will go ahead this year without any restrictions. Best, GC
Geoff Coughlin says
Hi Imran – sorry for the delay in replying to your questions. The canopy edging strips are all masked and sprayed. The white edging is Tamiya Flat White and the beige colour Tamiya Deck Tan (I think). GC
Geoff Coughlin says
Hello Sid – thanks for your comments. I used a metal scribing template that had the right diameter circles in it and used a scalpel to cut around some Tamiya tape. Spray the white and apply the the new masks when dry before spraying the red. The kit roundel decals go over these. GC
Geoff Coughlin says
Hi Richard – nice work from what you say! Good luck GC
Geoff Coughlin says
Thanks so much Chris A – really appreciate your comments and much appreciated. All the best, GC
Christopher Woolford says
Saw the T1 up close at Valley, guided tour, about 1979/80. Shortly after that watched the Reds fairly often at Shawbury, very close to our Shropshire home in the ’80s. This build is terrific work. Inspiring. I’ve got an echo of the Reds’ thunder in my head!
Geoff Coughlin says
Great stuff Christopher – glad you like how it all turned out :) The Reds are so emotive, just love them and all they do and stand for :) G