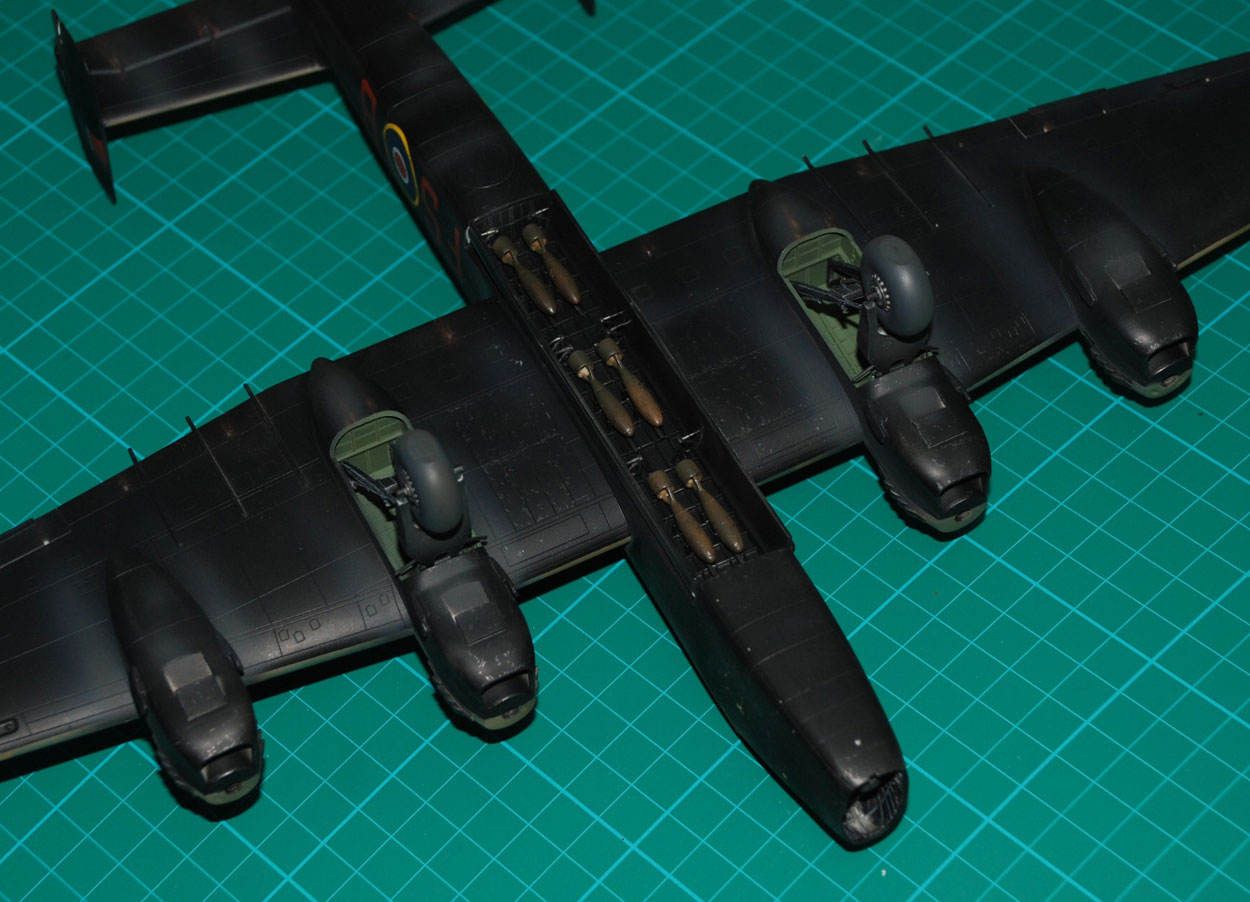
Final weathering
Various tones of brown and grey are used in conjunction with low-tack Post-It notes to act as masks to help create subtle shaded tones and areas across the model, using various images of Halifax aircraft as a guide. Extra pastel dust is applied to the rear lower underside of the aircraft given the area of ops I am trying to represent.
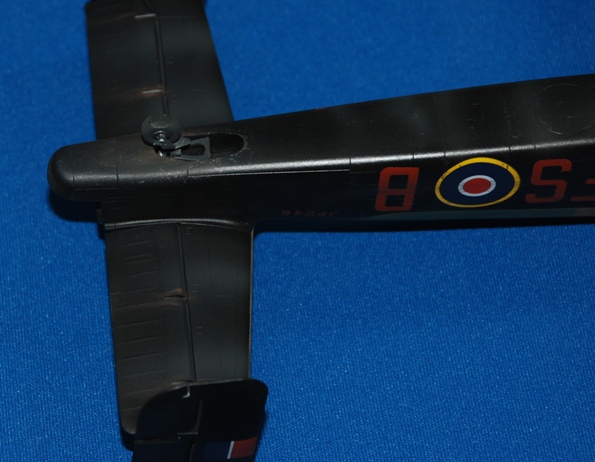
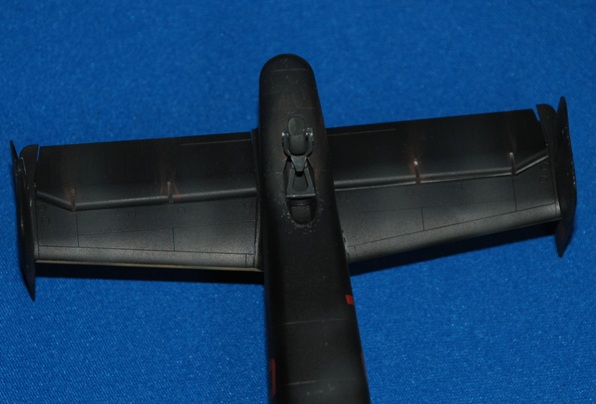
ZOOM - Move your mouse over image
Exhaust staining was sprayed with well-thinned grey – a darker tone first, then a lighter shade for the inner area. Some of this is run out across the underside of the real tailplanes and above to further suggest a bit of a workhorse in Theatre. You can also see the bombs are installed in this set of images, along with the main undercarriage units.
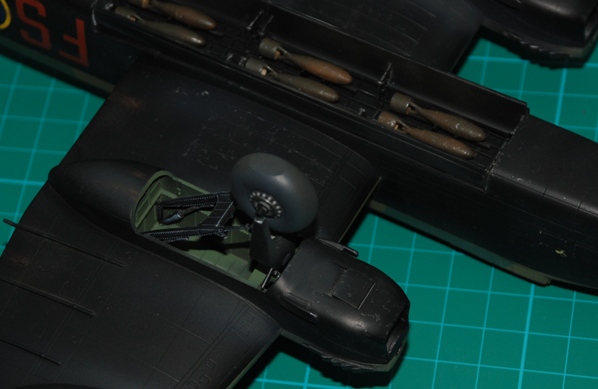
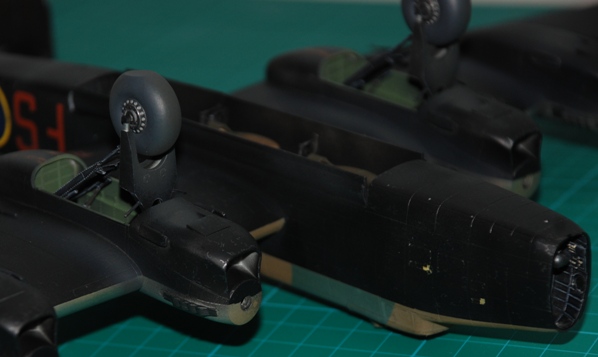
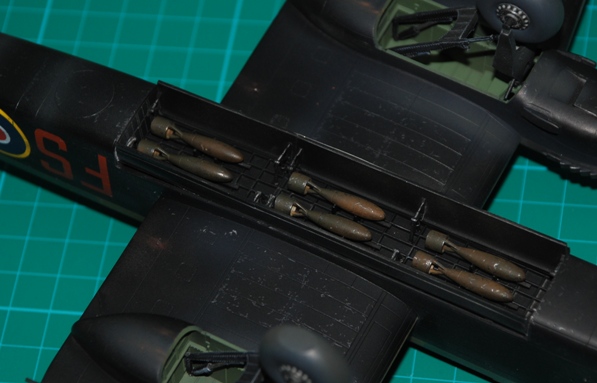
Main gear units
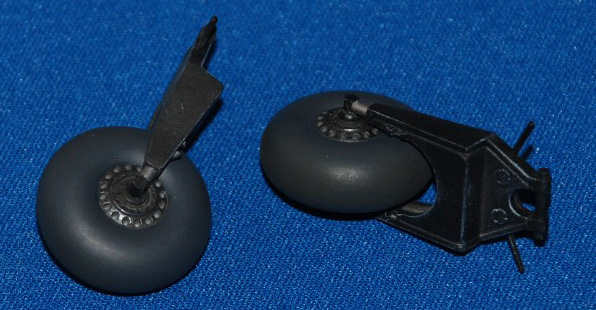
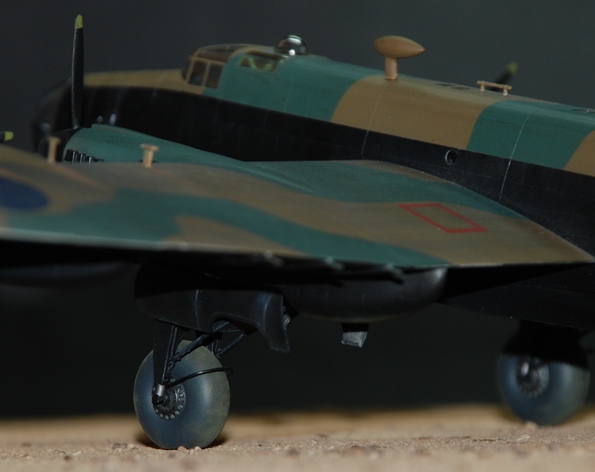
These are well detailed and fit easily into their respective locations. One feature missing from the huge Messier units is the metal ‘band’ that extends outward around the rear of the main tyres. This is another of those odd omissions by the manufacturer and one for each side is fabricated using fuse wire and attached with cyano. You can see it clearly on the pic of my finished model.
There are many variations in aerial fit across the Halifax aircraft of the period and I used the image above of the real aircraft as the basis to decide what to fit and what to leave off.
And that, as they say, is that!
