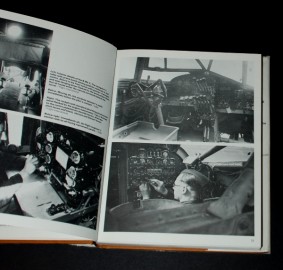
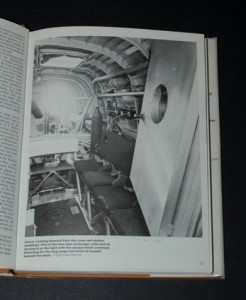
Cockpit detail
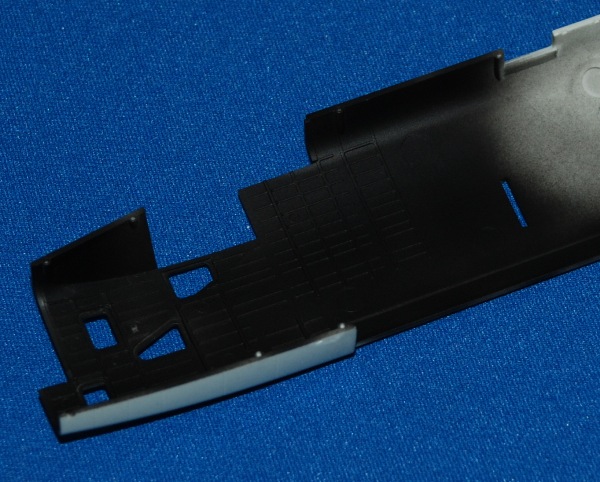
There’s plenty of detail in the front fuselage; I’ve included some images here that show most of it.
I’ve been caught out plenty of times adding lots of great extra detail only to discover that precious little can be seen. Some nice raised detail adorns the instrument panels, which will dry brush well later after I’ve sprayed the basic interior colours of dark grey (Nato Black in this case) and RAF Interior Grey-Green.
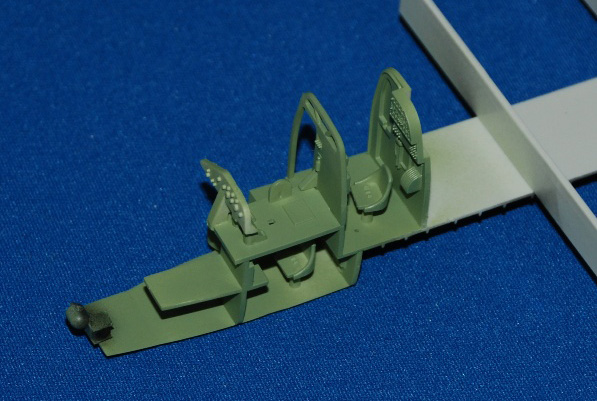
I’ve taken the view that details like the seat belts and leather cushions, as well as the pilot, navigator and engineer’s panels can all be painted after attaching to the aircraft floor.
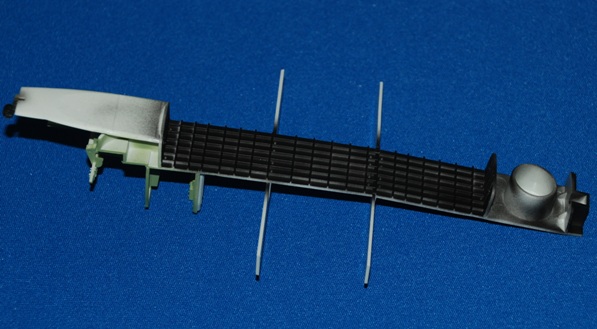
Speaking of which, the underside of the fuselage floor doubles as the roof for the bomb bay and this has some good ribbed detail. I’ve sprayed that here roughly in Nato Black and will ghost of some lighter grey shortly to the bomb bay, as well as the fuselage side walls, before dry brushing with even lighter grey.
When the fuselage is sealed up it will be very dark in there and we’ll need something lighter than black if you’re to see anything at all!
Before I go much further with this project, I wanted to let you know about the three main reference sources I’m using.
They are:
- Halifax, Second to None by Victor Bingham
- Halifax Special by Bruce Robertson and
- Halifax, an illustrated history of a classic WWII bomber by K.A. (Ken) Merrick
Click on the Thumbnails to enlarge images.
The last of these is especially useful as it has a couple of images of the very aircraft featured on Revell’s decal sheet: W7710 LQ-R “Ruhr Valley Express” of No. 405 Squadron, which was the first of the Canadian units to operate the Handley Page Halifax.
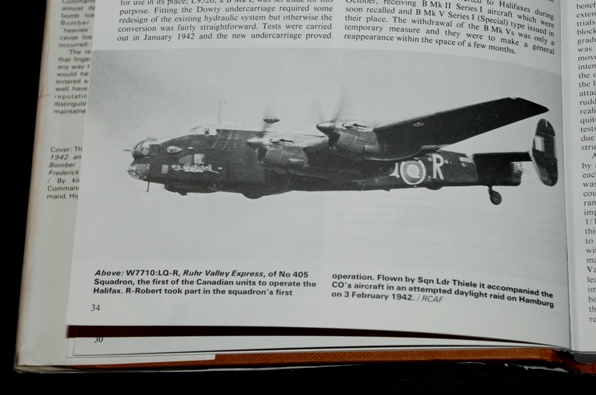
In addition, this great title (if you can still get hold of it) also has some excellent internal images showing the cockpit and those enormous throttle levers, as well as other internals.
