Cockpit and Fuselage (again)…
As you will see the seats have now been painted, as well as the instrument panels and other small details like the switches etc at the very front of the right fuselage.
This build is almost totally from the box and, apart from the aerial ‘wire’, the only thing that I just had to add are those developing throttle levers protruding from the main instrument panel.
As you can see on previous pages, there are eleven of them and so I expect some are to do with other functions, but they are missing from the kit and will be visible on the completed model.
So…out with the fuse wire and new additions are cut to length and fixed in place carefully using cyano.
It’s a bit fiddly but the natural metal of the fuse wire can stay unpainted, as you’ll want them to be seen and light will reflect better of them as is. A small blob of paint goes on top to finish them off.
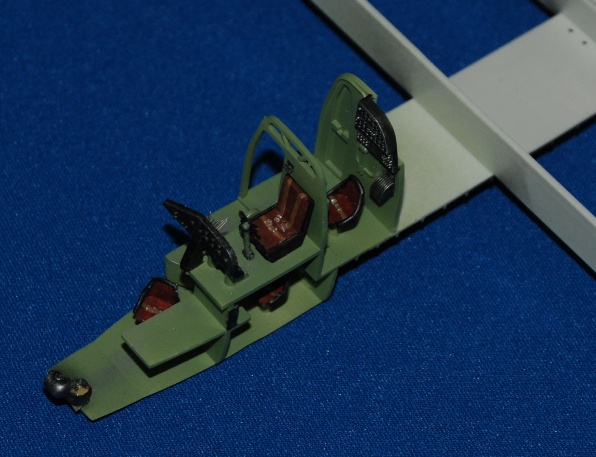
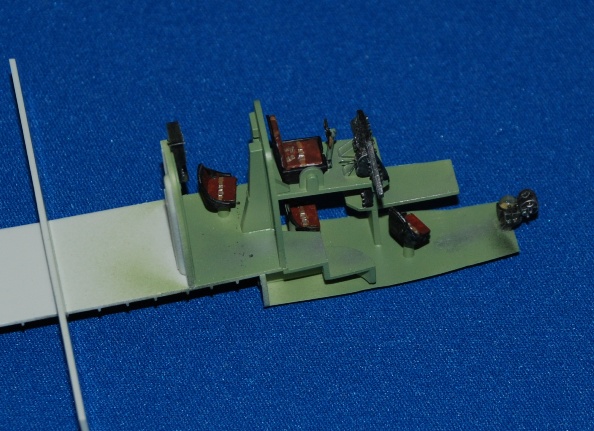
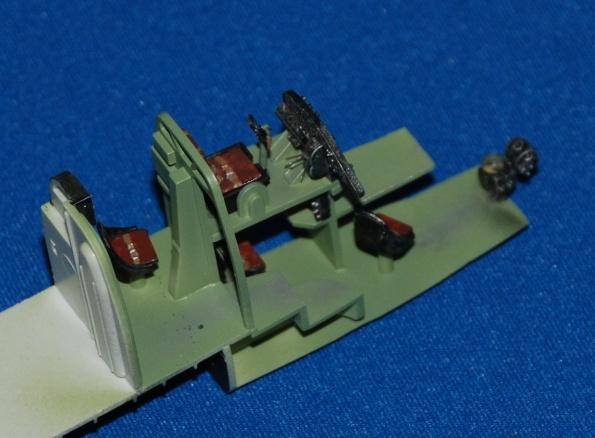
Windows in…
The fit of the clear parts is superb; I just added some Gaitor Glue to the recesses and dropped them in.
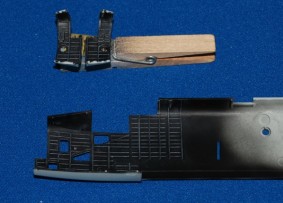
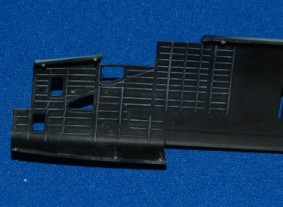
You can see in these images that the glue dries clear and bonds well, so hopefully they should remain secure for the rest of the build. Nato Black (dark grey) is used for the interior for a decent scale black effect, but you could probably go a shade or two lighter still – your call.
Close up that fuselage…
You can see below that I have attached the two separate forward side sections of the fuselage to their respective fuselage halves and the fit is excellent.
I reckon this is safer than joining the two small sections and trying to (in effect) add a nose cone that may, or may not, fit so well. You can see here that the fuselage has closed very well and is set aside to dry.
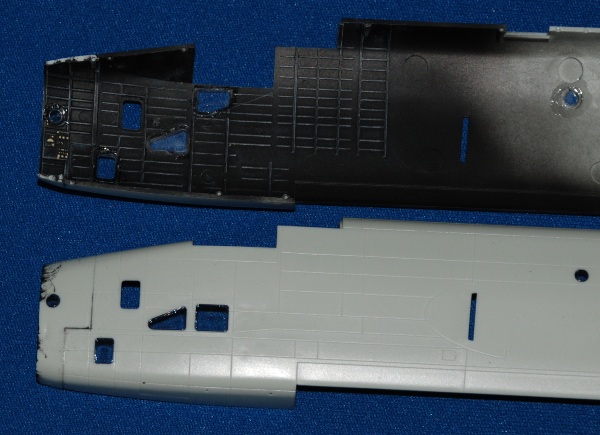
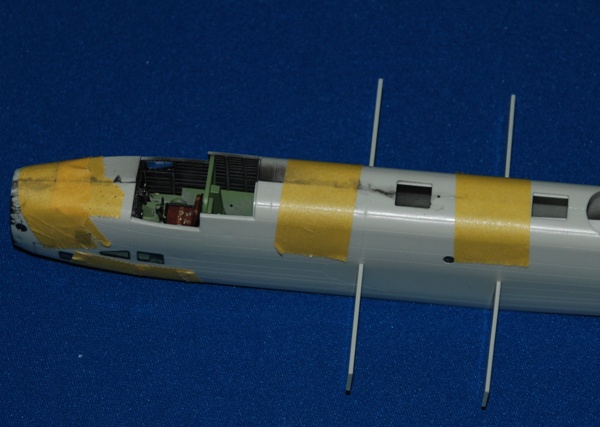
Looking good so far, no problems at all.