Forward Fuselage
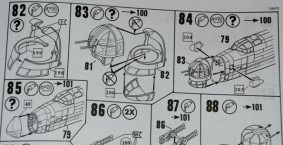
Here’s your first tip: Before you start building, make sure that you decide exactly what aircraft you are going to build!
I was merrily following the instructions and added the forward fuselage side sections at Stage 12, only to realise after the glue had set that this is only applicable to the glazed nose, not an aircraft with the nose turret arrangement. How annoying is that?!
OK, hands up, I should have been paying closer attention, but in my mind (and maybe defence) I thought (simplistically as it turned out) that the nose turret assembly would be added later to what I had assembled. Wrong!
A simple warning in the instructions wouldn’t have gone amiss though.
So now I better find an aircraft that I want to build from what’s available, albeit I am determined to finish my Halifax in a Night and Brown/Green camo scheme. Hmmm.
Change of Tack…
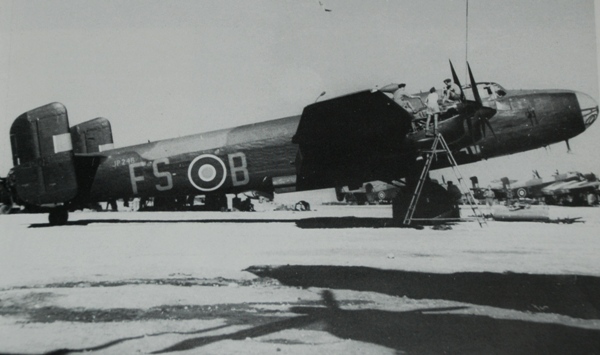
From the references it became apparent that an interesting subject would be a B.Mk.II operating overseas and long-haul ops such as this No. 148 Squadron B.II JP246, which crashed at Brindisi, Italy on 8 October 1944. Note the rectangular tail fins, lack of a mid-upper turret, Messier undercarriage units, engine intake design, glazed nose and distinctive forward side fuselage glazing arrangement.
Right, I’ll sort some decals from those supplied in the kit and my spares box later, but this is my subject from now on in. Let’s see how we go from here…
Forward Fuselage Glazing
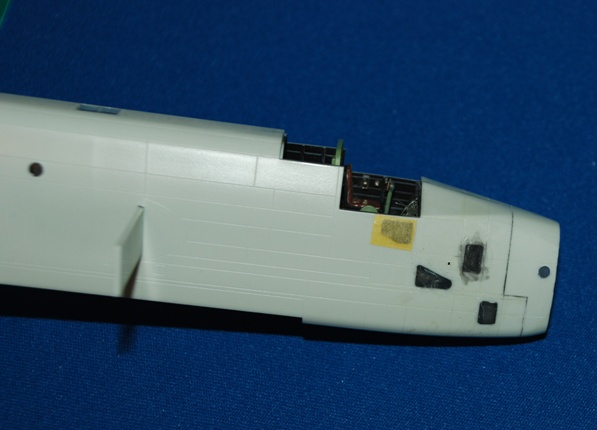
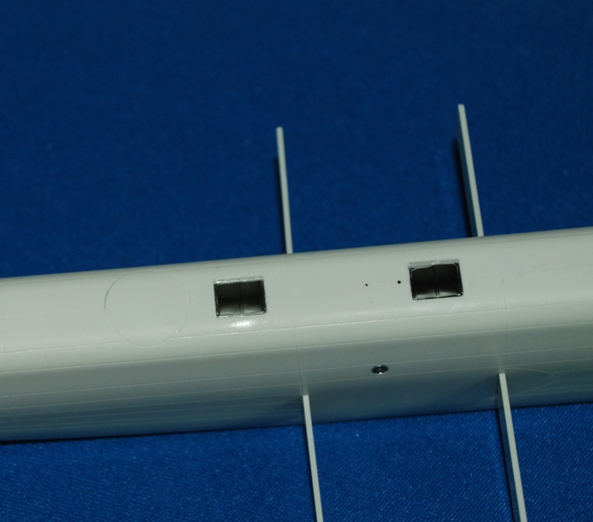
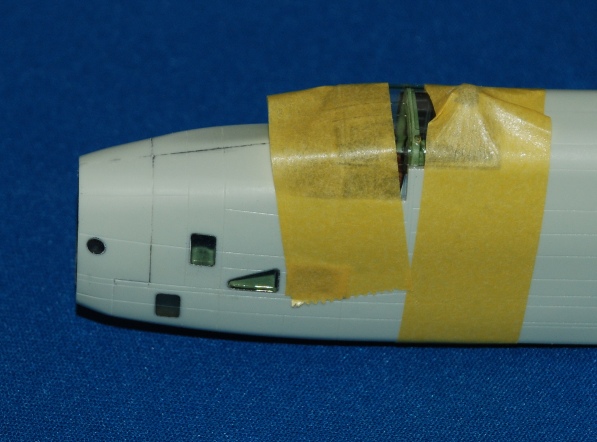
Given this subject, some of the windows installed earlier need to be filled and smoothed into the surrounding plastic. By adding the clear parts I had originally intended to leave off, the corrections are simple and easy to achieve.
Using cyano will help, as the panel lines need to be replaced across the faired in clear parts. The remaining joins were sanded and made good, then all damaged or missing panel lines were scribed using sticky Dymo tape (see your Techniques Bank for how to do this – there’s a HD video to help).
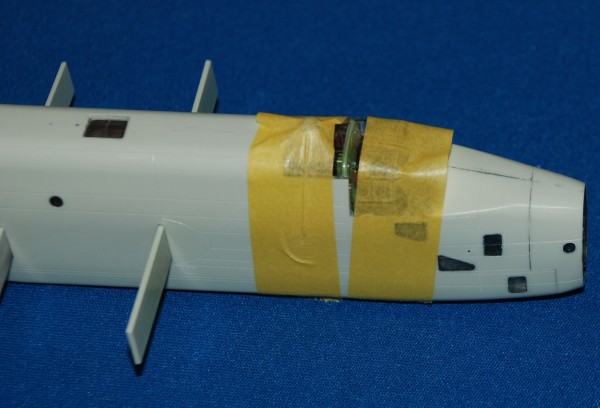
The two clear panels in the roof were also added; I used Gator glue for this as it dries clear and doesn’t fog the clear parts.
Additionally, the canopy can be tested at this stage and it fitted very well, just like all the clear parts – their fit is perfect. The canopy can then be secured, again using Gator glue. You can see it is secured firmly while it dries overnight using Tamiya tape.
