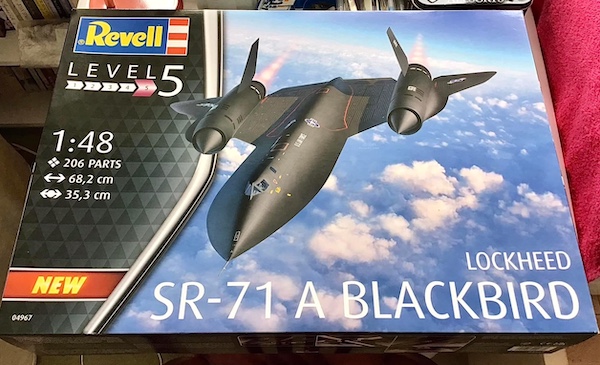
Feature Article with Paul Ainsworth
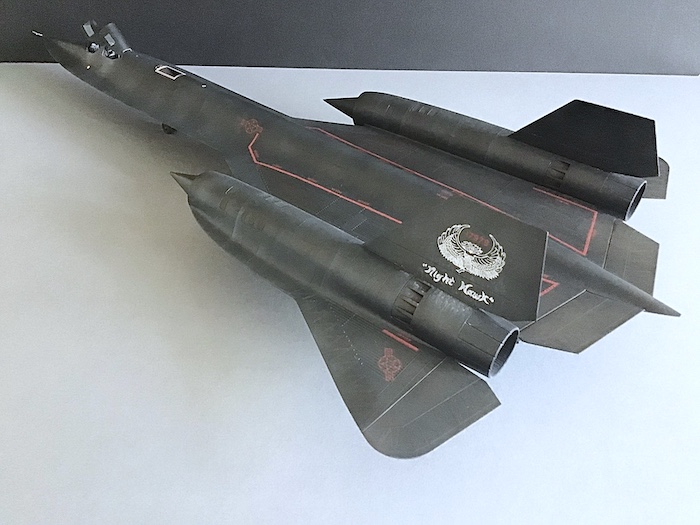
Just before we get started, here’s a look at how it all turned out…
Stage 1 – Inspection and Preparation of Parts…
The huge size of the kit’s box is justified due to the vast amount of plastic inside which looks quite daunting as a result.
The recessed detail is very fine and precisely done but thinking ahead for the painting/weathering stages I decided to further enhance their definition with a light pass of the scriber. There’s a lot of it but in hindsight it’s well worth the effort and bit of time to carry out and a stage I highly recommend.
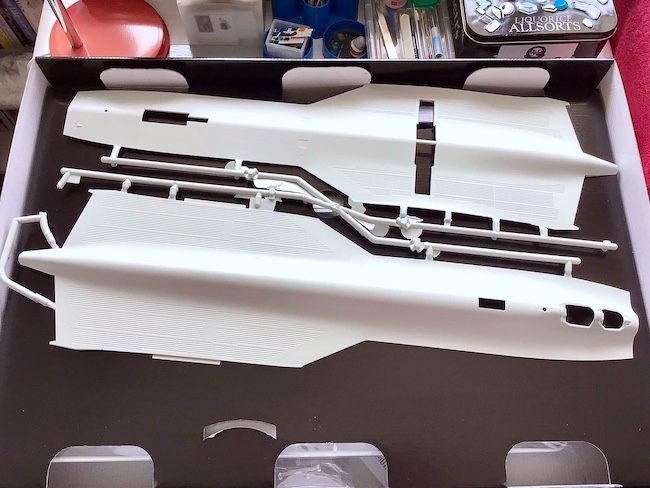
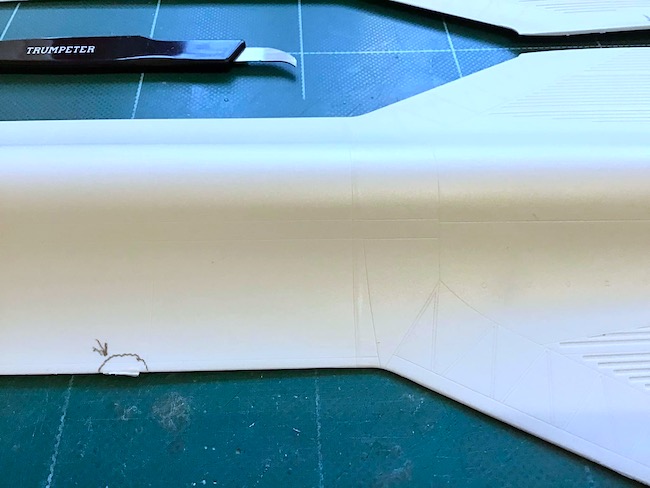
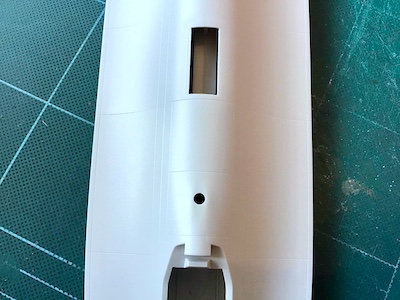
As with any kit, care needs to be taken in removing the parts from the formers (sprue frame) and those for the enormous upper and lower fuselage halves are certainly of an industrial size.
Tim Haynes says
Fabulous work Paul. Its great to see your SR-71 and how you went about it. I have taken note of the key point you have identified for when I eventually unbox mine. The use of the brown shading in particular give the finished model the same look as the one I have seen at Duxford (especially from the side). Bravo…
Paul Ainsworth says
Hello and thank you so much,Tim.I’m pleased you like it.
This was my first ‘serious’ attempt at creating such a finish and thought the shading looked somewhat ‘snake-like’ before the blending layers were added.
I hope you enjoy building this kit as much as I did.
I know you’ll do a superb job.
I must also say a very big ‘Thank You’ to Geoff and Francis for their invaluable help in preparing this build feature.Again,this is a first for me and I now look forward to using this format for some future projects.😉👍
All The Best,
Paul.