Here’s a documentation of my building process of the Supermarine Spitfire Mk. XVI in 1:48th scale by Revell. To keep things simple, the kit will be built straight out of the box, with no additional photo-etched or resin parts. Also, to orient some of our more inexperienced friends with the joys of aircraft modelling, we shall attempt to build a convincing replica of the real aeroplane using readily available and relatively inexpensive tools (locally sourced acrylic paints, brushes, and so on), so weathering powders and chipping media are out of the question. The myriad of modelling products available on the market can be intimidating to choose from, so we shall use rather more humble products that one may find in a local stationery store. What follows is an honest-to-goodness record of my Spitfire build that will hopefully acquaint those of you just starting out in the hobby with the process, or maybe even remind more accomplished builders of the austerity of it all.
Right, to business!
So, before we can get started on the kit itself, it is a good idea to hit the internet and look for pictures of the real aeroplane that you’re going to be reproducing. The idea behind this is that one can have a better understanding of what conditions the aeroplane may have been operated in by looking at these pictures. Real life pictures are also more useful in understanding how the camouflage runs across the body of the aircraft than the two-dimensional drawings as you may find in your instruction manual.
The Revell kit
What I like to do when starting out on a model is getting rid of as many sprues as possible. This particular kit has north of 150 parts and is at the top of the Revell skill level scale (Level 5), and that can be very daunting. So it’s a good idea to get some of the most recognisable parts off the sprue and into a nice, big bowl. The preferred tool here is a craft knife. These are available at any decent arts and crafts store. When cutting the parts off the sprue, make sure to do it against a flat surface, you may end up cutting into the part itself if you hold the sprue in the air. These knives tend to be quite a bit sharper than your ordinary kitchen knives so you should also remember to have a cutting mat to work on. These too are available at most craft stores and are essential if you don’t want to end putting deep scratches into the family dining table. I start by getting the fuselage and wings off as these are the most easily recognised parts. Don’t touch the smaller parts though, they’re easily lost. And we don’t want to lose something like the tail landing gear, do we?
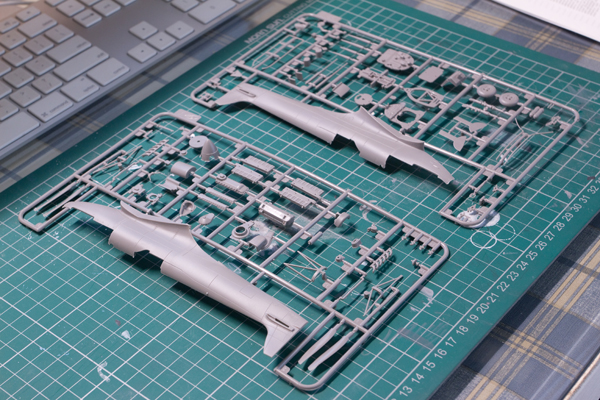
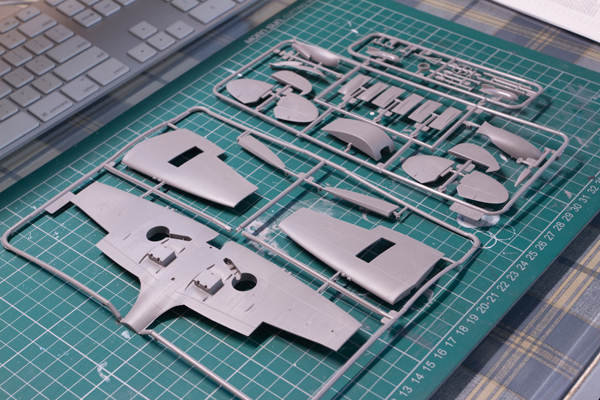
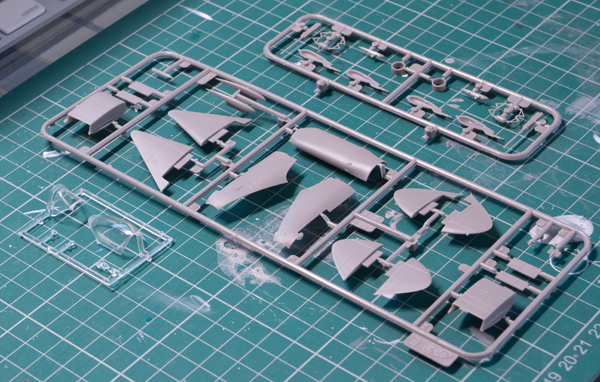
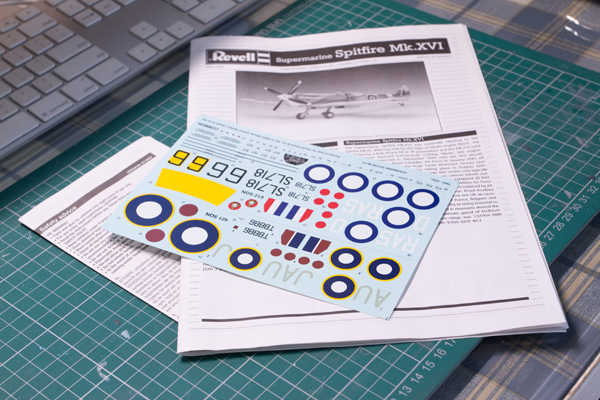
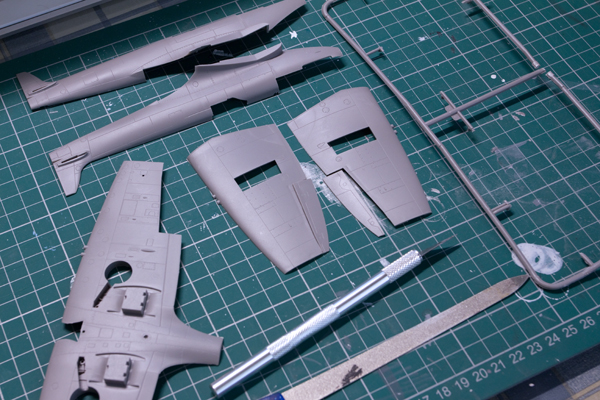
One of the great joys of life is seeing a few sprues full of parts come together to form a complete aeroplane. These kits do rob us of that joy in the way that there is a lot of work to be done before the thing even starts to resemble an aeroplane. First you’ve got to assemble and paint the cockpit, then the engine. And that’s a lot of work, especially since the cockpit and engine each have 20-25 parts each.
Now, since we are in such a big hurry to be looking at a whole aeroplane on our desks, we may end up rushing through certain stages or doing a shabby job somewhere just because it gets us that little bit closer to finishing the build. It doesn’t sound that bad, but just a little bit of oversight can lead to catastrophic blunders. Like getting glue stains over the fuselage, or spraying a clear coat over the canopy. Even though we may think we are impervious to this effect, the best of us aren’t. To counter this, I find that finishing up the smaller parts like the propellor or the landing gear is helpful. The finished parts give you a sense of accomplishment, even if it isn’t as great as the time when you actually finish the whole aeroplane. But, I think I’m right in assuming that nobody wants to ruin a good kit out of submission to this impulse. So why not?
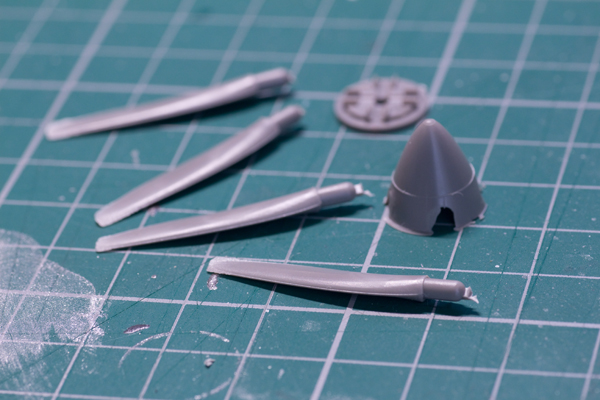
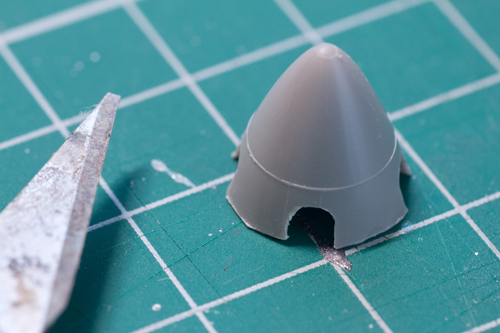
You might notice some extra plastic protruding from the spinner (the nose of the aircraft). This is a real eyesore and I just have to get it out. But I also don’t want to be knifing around the part for fear of doing irreparable damage. On further inspection, I find that the bit of plastic that needs to be cut off is actually thinner than the main piece. This is an easy fix, I just run the knife along the very edge of the spinner with a light hand, careful not to cut into the surface, and the extra bit comes right off.
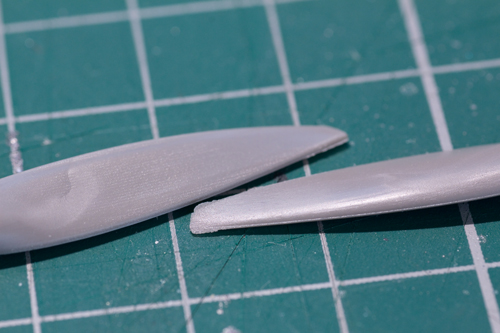
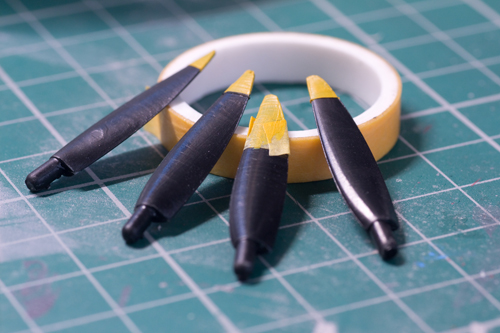
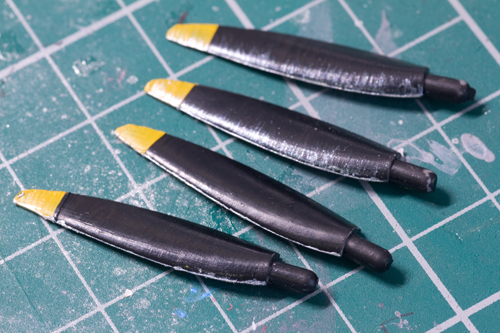
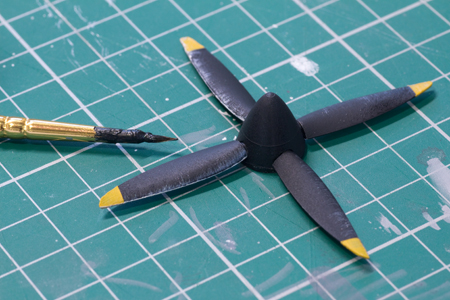
Some sanding with mum’s nail file, and the spinner looks ready for assembly. Some more cutting and sanding on the propellor blades too and they become ready for painting. After everything has been painted black, some dry-brushed streaks in silver paint ought to do well as paint degradation. Although, it is important to know in which direction the propellor would have spun. An easy way to identify this is to look at the blade sideways. Like the wings, these propellors too had an aerofoil shape to aid in aerodynamics. What this means is that the upper surface of the blade had a curved cross-section. You will find that the crest of the curve on the propellor is not in the centre. Whatever side the crest is on, is the side that hits the wind first, and by extension the direction in which the propellor spins.
