Making good the join seams
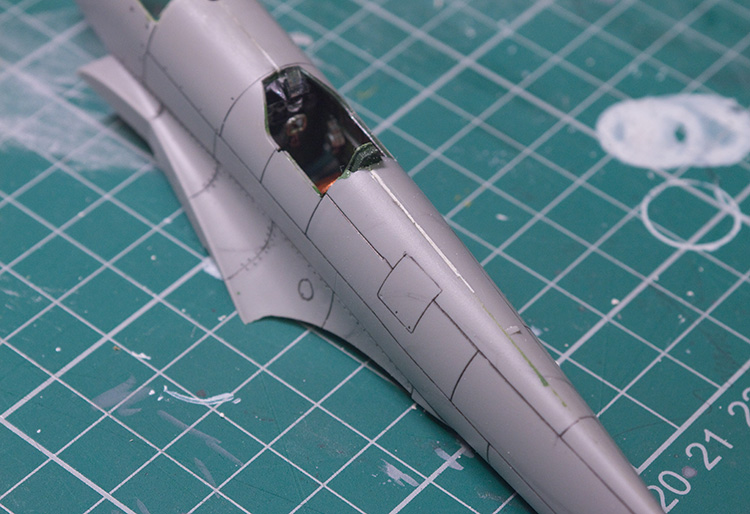
When the fuselage is in place, there are bound to be tiny panel gaps. If you have a kit with great fit, they might not be so apparent but we have a few whoppers on this particular kit. This can be fixed with carpenter’s putty, you can find it at a decent hardware store. I mask the edges of the panel gap so I don’t get the putty on the good bit of the fuselage and then lay a layer on, which I then flatten with an old guitar pick. You can use anything for this purpose as long as it is flat. After the putty has dried, a little bit of sanding should get it settled on the panel. Masking tape off, and we have successfully filled the panel gap!
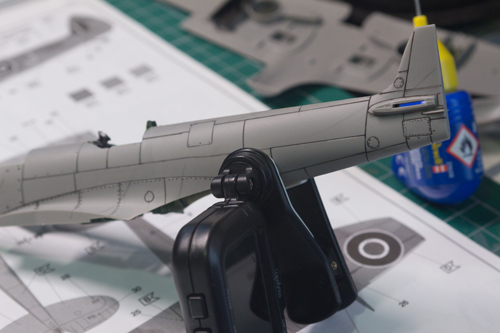
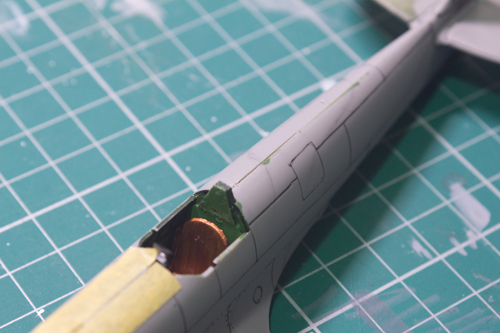
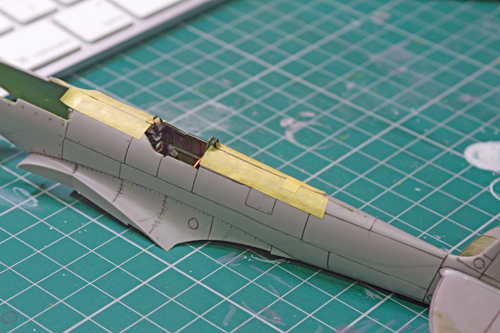
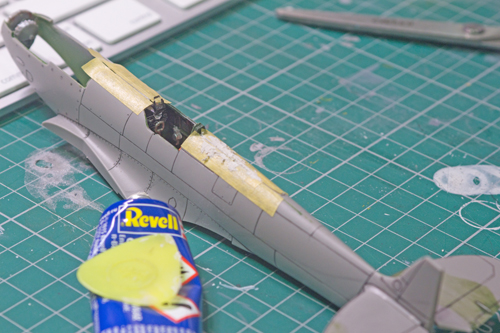
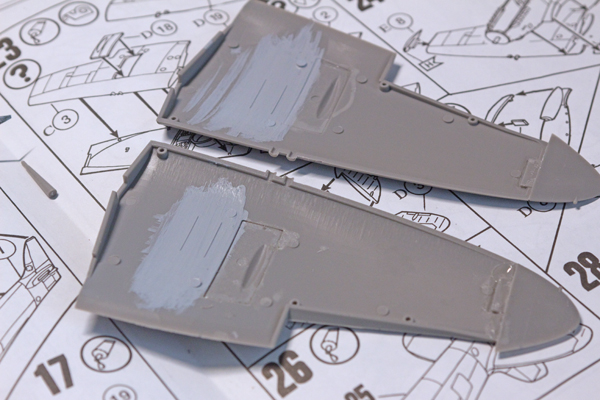
Before gluing on the wings, I paint the well of the landing gear beforehand. You should only do this if you’re sure you can mix the same colour again. Otherwise, the rest of the underside of the plane and the wells will have different colours on them.
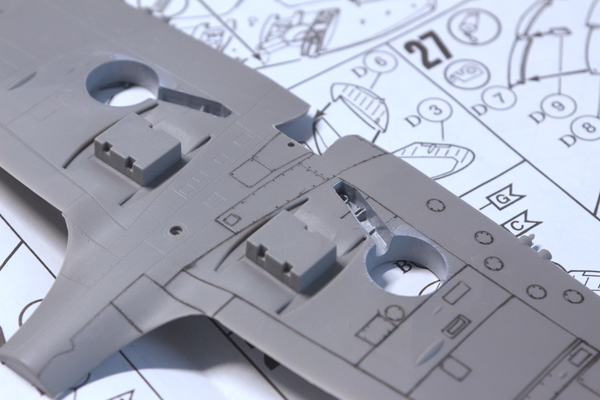
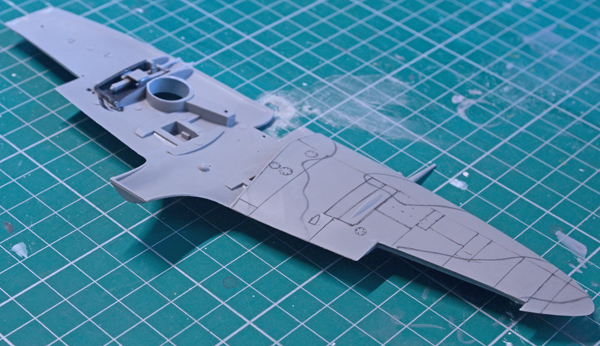
Once you have the entire body of the plane glued together (remember to use padded clips extensively as these parts have to be held together to fit perfectly), you can draw the camouflage pattern on the aircraft with a 4B or darker pencil. I like drawing in the recessed panel lines with a 0.05 fineliner but you don’t have to do it. It barely makes a difference. With the camouflage marked out, we can start painting.