Weathering
Now, weathering is a tricky business. Damn near impossible to replicate perfectly. But we can do our best, right? The very important thing to remember when building any model is that the weathering is never uniform. What I mean by that is, the same degree of weathering will almost never be found on two different parts of the aircraft. So, the leading-edge of the wing will always be more weathered than the trailing-edge because of its very nature. This little bit of knowledge is undeniably crucial to create a convincing model. Otherwise, someone looking at your model is going to see an equal amount of chipping on the leading and trailing edges and wonder how exactly that happened.
For the first stage of weathering, I draw in the panel lines with a 6B pencil and smudge it with a cotton bud. Be careful when doing this, as darker pencils smudge easily and you don’t want to go overboard with the effect. Here, I find that it is okay to uniformalise the panel line shading as this is a rather subtle effect. When you’ve done this over the entire aircraft, clear coat it and you should have an outcome similar to that created by airbrush pre-shading. The matte clear coat also gets rid of the shine of the graphite of the pencil.
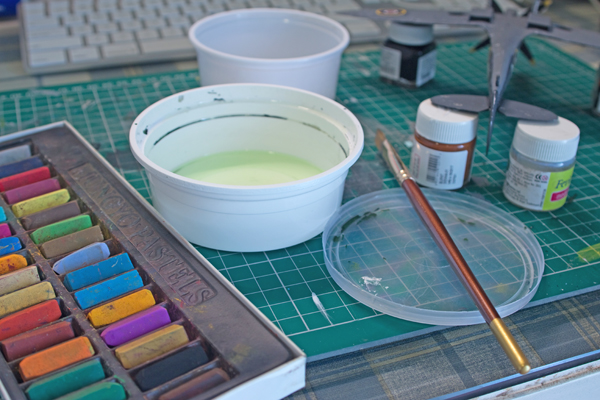
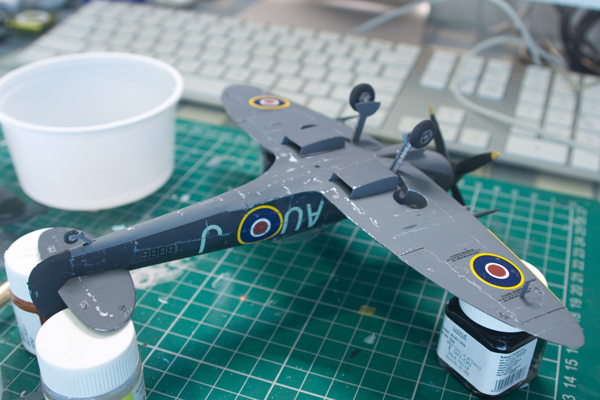
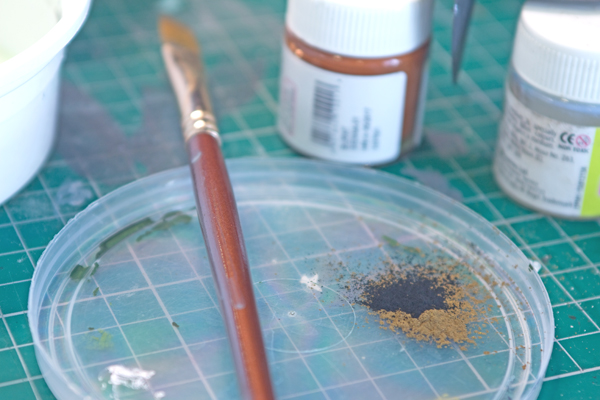
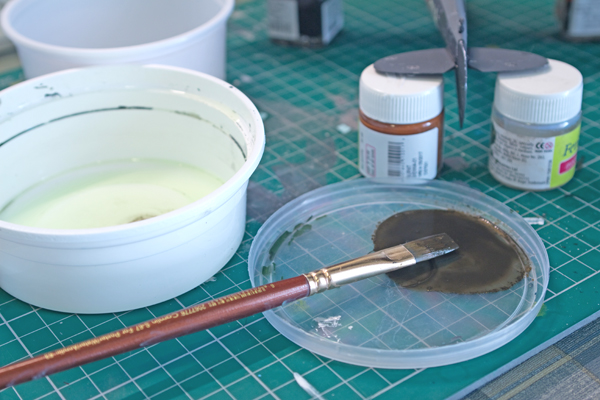
According to the reference images that I have, I ought to go easy on the panel line shading, so I shall do so. The real aircraft displays heavy chipping, so that’s where I should concentrate. Now the problem here is that I only have 2 pictures of the real thing and none of them show me the complete aircraft, so I shall have to take liberties with the paint chipping. The general guideline here is that the most chipping will be found on those surfaces of the aeroplane that experience the most friction. These include the flight control surfaces, leading-edges, the canopy, the ammunition bay covers on the wings, and so on. Also, when the pilots got into these planes, they walked over the port side trailing-edge, so there is bound to be more chipping there as compared to the starboard side. As for the chipping itself, I dry-brush over the aircraft as seen in the attached pictures. For the purpose of representation, I shall display a little bit of chipping on the port side wing before actually putting on all the decals. I strongly advise against this when you build your own models, don’t do it.
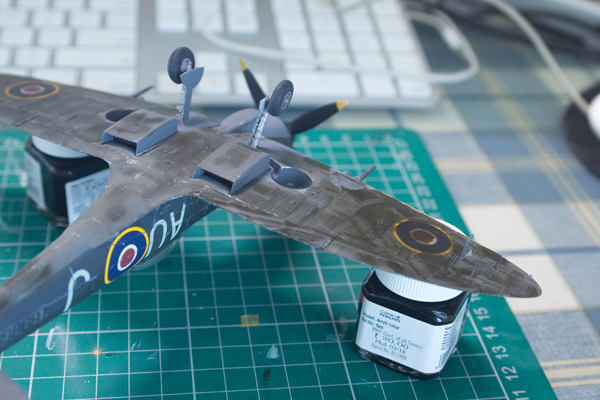
Once I have the chipping down on the camouflage, I put another clear coat over it and that’s that. On to the underside. The chipping here shall be much lighter than on the underside as the underside is rarely exposed to the harsh sunlight (an agent of paint chips).