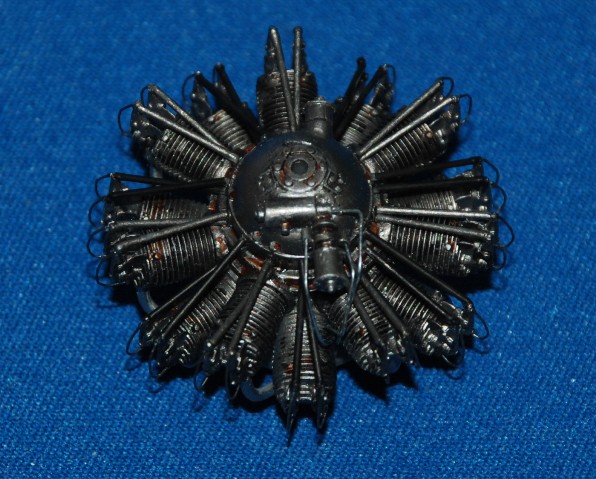
Lastly just three sections of metal tubing need to be added to the front lower section of the crankcase and you can see these in the pics of my completed engine.
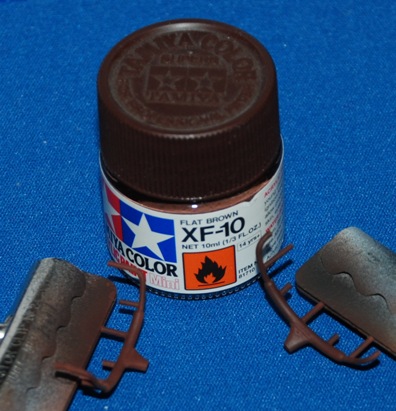 Exhaust collectors…
These need careful trimming and slight bending to fit into the backs of their respective cylinders. I’ve decided to leave them off for now and get on with the remainder of construction – the plan being to return to the engine and mounting this when I think I need to – it’s all getting a bit delicate! Tamiya XF-10 Flat Brown is a good base for the rusty colour, followed by some light dusting with pencil graphite to give that slightly metallic look. These, along with the long separate exhaust pipes are also set aside; they will need to be attached to the collectors and require locating holes drilling into the fuselage sides and I’ll need to remember to do that.
This’ll have you in stitches!
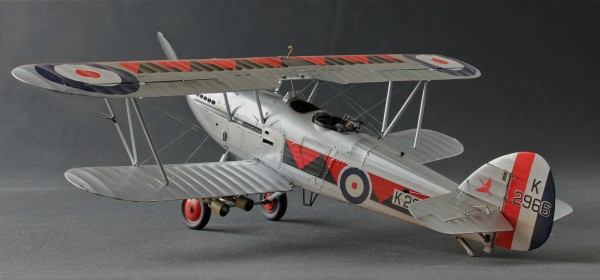
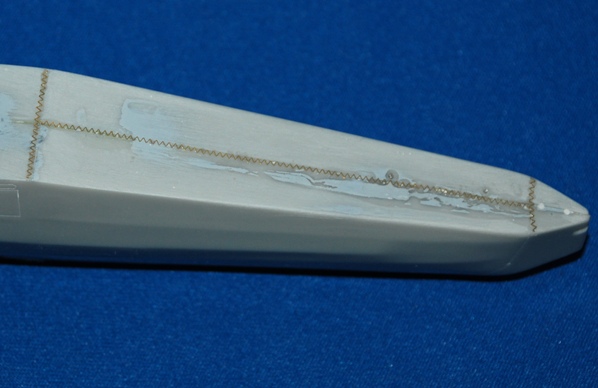
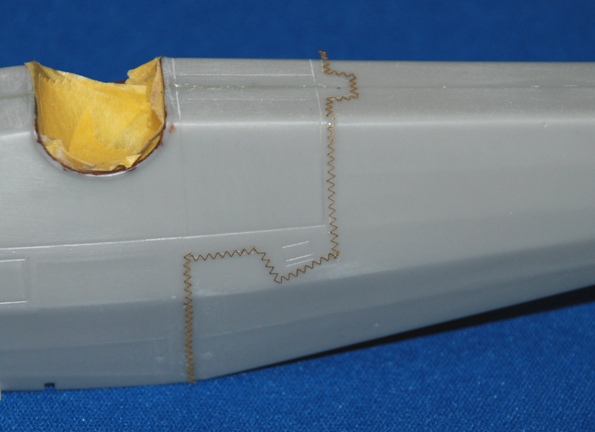
You may have noticed in Julian’s great build of his SW Hawker Hart that the noticeable fuselage fabric stitching is provided as delicate lengths of PE (photo etched brass) and the same method is included here. It remains to be seen how effective my efforts are when we see the final paint finish but I have to say the jury’s out for me on this. Wingnut Wings for example mould this detail into their plastic and I have to say that would be my preference any day, making this a separate process, I guess in an attempt to provide higher levels of refinement is the reason for the SW approach but for me, having just spent 3 hours carefully cutting, measuring and attaching all the small lengths it caused me more stress than pleasure. Still…this is how I approached the task.
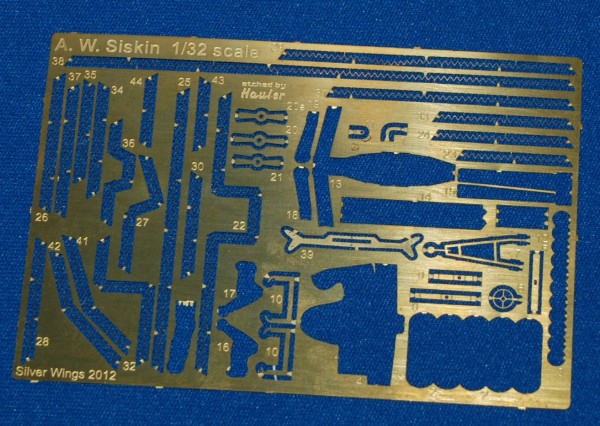
You can see in this image the PE fret and delicate lengths of stitching. The instructions are clear though and it is mainly just a case of being very patient; cutting and attaching each length as you go. As ever you need a plan – I found this important to help with handling, trying to make sure I left as much area free for handling along the way. It soon becomes obvious that you need to make absolutely sure that you add cyano along the whole length to ensure the stitching stays in place along its whole length. Early on in the process just basic handling caused a couple of areas to distort and getting the stitching back into shape and reattached is a nightmare – be warned!
