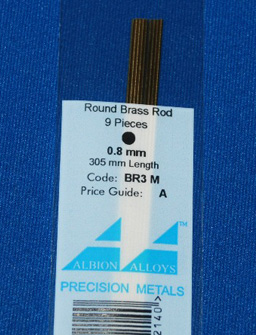
Out with Albion Alloy brass rod
I fabricated two simple replacement pins for the forward two moulded resin items and by cutting small lengths of brass rod the tailplane is secured in place with cyano. It’s much more rigid now and I feel that it should be able to withstand the handling to come. The rudder too can be added at this stage and as you can probably see it’s set slightly deflected to create a bit more interest on the finished model.
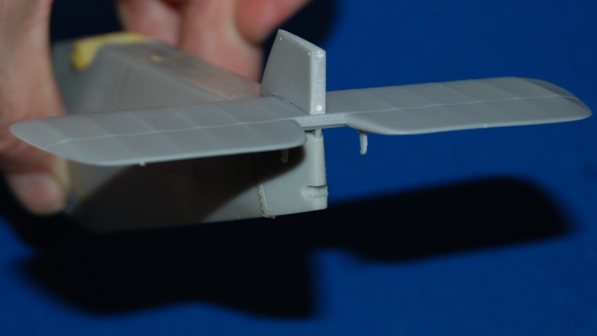
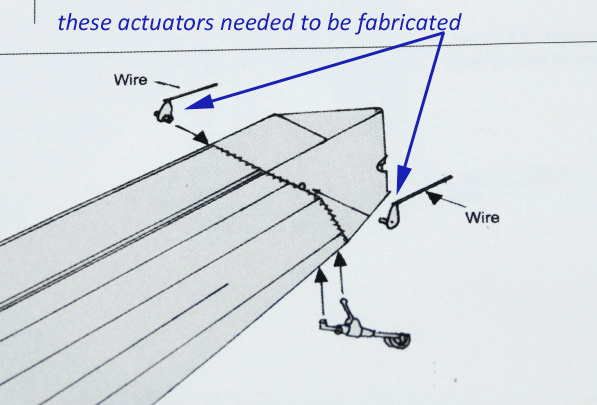
Two small actuator arms are located and need to be added either side of the fuselage just under the tailplane leading edge and later short lengths of fuse wire will need to run from these to the elevators. For the life of me I couldn’t find the small resin parts that should form these in the kit box so I simply made two small round pegs from plastic rod and fabricated roughly triangular shaped faces to sit on top of these; again securing with cyano.
Lower wings
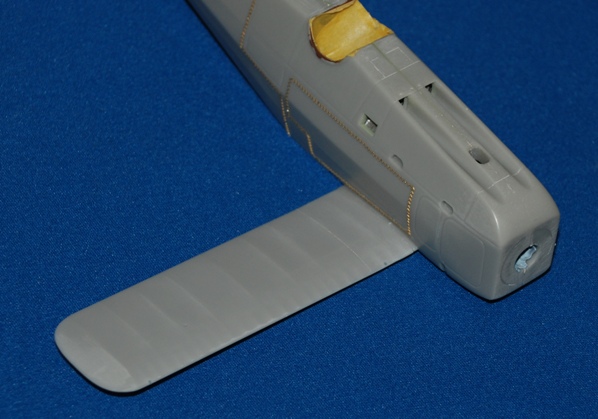
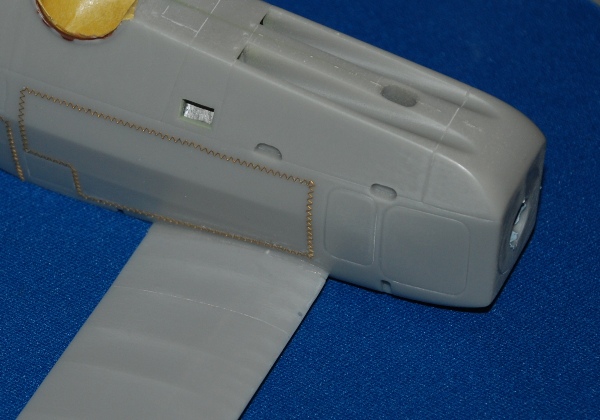
An improvement over earlier releases like the Hart that Julian built is that Silver Wings have added metal strengthening rods to the insides of the wings and undercarriage struts. This is an excellent development as it vastly strengthens the joins and subsequent rigidity of the model. The metal comes perilously close to the resin surface but on my parts it had only just broken through to the surface but didn’t seem to affect the surface contour so should be fine to use. I’ll prime them soon to make sure but for now the lower wing sections are cleaned up and the three locating pins on each lower wing join lined up for a test fit. The centre hole on each side designed to take the metal rod sections isn’t located in quite the right location, it needs to be opened up slightly so that the pins slide home into their correct position. This is a small task easily completed using a drill bit in a hand-help pin vice drill. The fit is excellent now and cyano secures the two lower wing sections. Take care to align the wings to the fuselage so that the wing tips sit 6.5mm above the horizontal as per the instructions.


