Lower wing preparation
This part of the process shouldn’t in fact take you too long but there’s some musing over the instructions and any references that you can lay your hands on to try to locate exactly where each rigging line will be anchored. More of this in a moment but first locating the main wing struts.


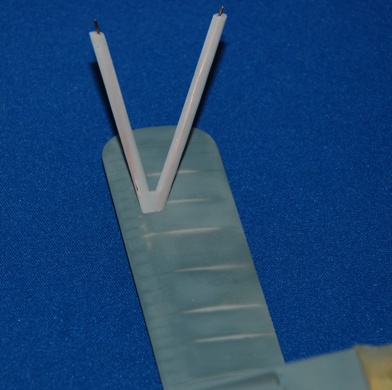
You can see from this image that the main wing struts are angled outwards and upwards towards the upper wing tip. The location point on the lower wing is marked and that’s a great help. I drilled the location hole for the copper rod that emerges from the bottom of the twin-strut assembly so that it is seated firmly on the top of the lower wing. A few test fittings and the assembly is set aside to be attached later. What I want to avoid is any main fettling and messing around trying to get a good fit later when attaching the sprayed, decaled (and largely) weathered upper wing section.
Drilling out the rigging location holes

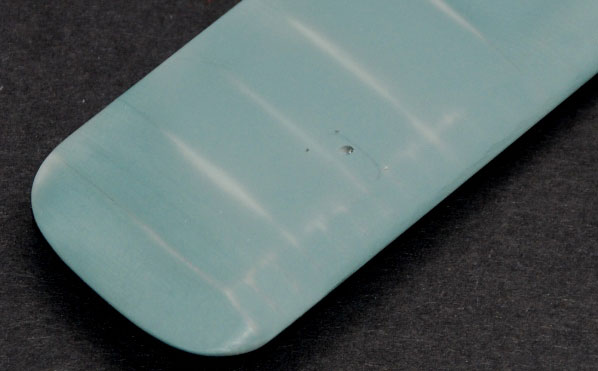
Again a small 0.3mm drill bit used in my pin vice drill was used in much the same way as above – drilling in at an appropriate angle so that when I insert the turnbuckle later it will run out in line with the rigging wire. You can see in the attached image (I hope!) the largest of the three holes angled as indicated above. The smaller holes are for the rigging wire turnbuckles.