Prepping the upper wing
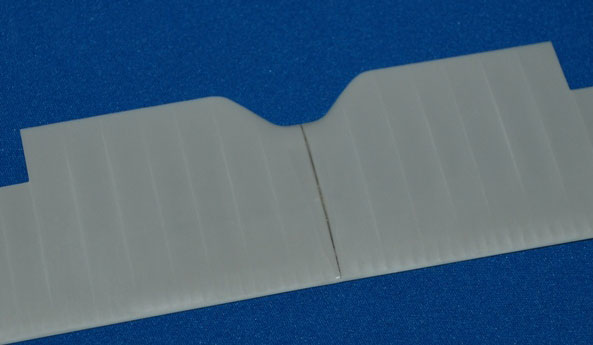
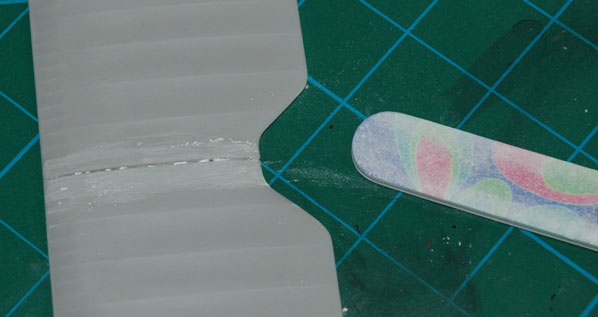
The upper wing comes in two halves and is pretty well moulded; I did find that there were quite a few air bubbles along the forward edge and especially around the forward wing tips but some cyano soon filled these. Minimal sanding is needed before you can get to work by joining the two large sections. The wing tips have a slight 5mm dihedral at their tips but there was still a gap that needed to be filled on the upper join. Cyano and activator again here with nail sanders and buffers used to restore the surface.
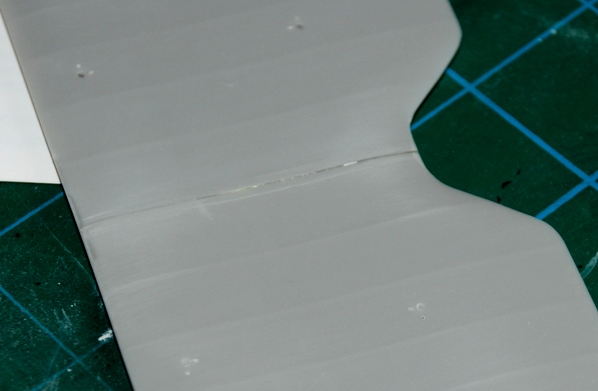
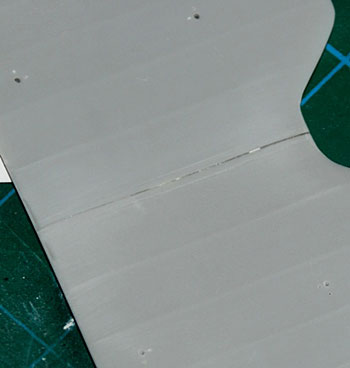
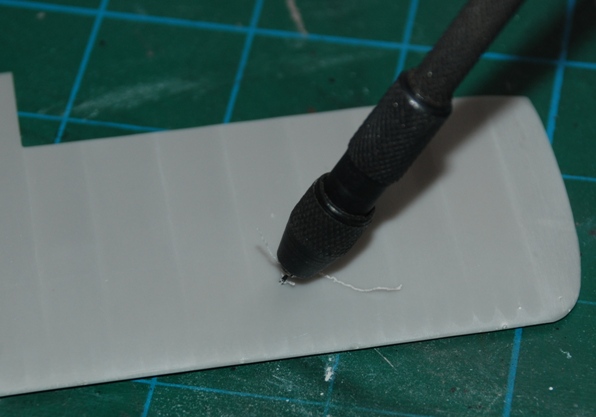
Exactly the same approach is used as for the lower wing to create the locating holes for struts and rigging wires/turnbuckles.
Moving on… Ailerons
Helpfully most of the excess moulding block has been removed, leaving just traces of excess resin to sand off. When offering up the separate ailerons to the rear of the upper wings I spotted a couple of things. Firstly that the inboard rib line on the aileron doesn’t match up with the one on the upper wing – it’s moulded slightly outboard. To be honest I’ve no idea if this is accurate or not but I am not about to start moving that fine moulding – it stays as is!
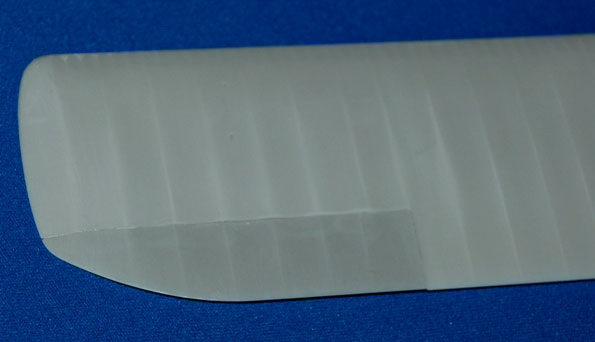
Secondly the aileron is slightly wider than the main wing section but this is easily corrected by gentle sanding once each part is attached firmly to the wing.
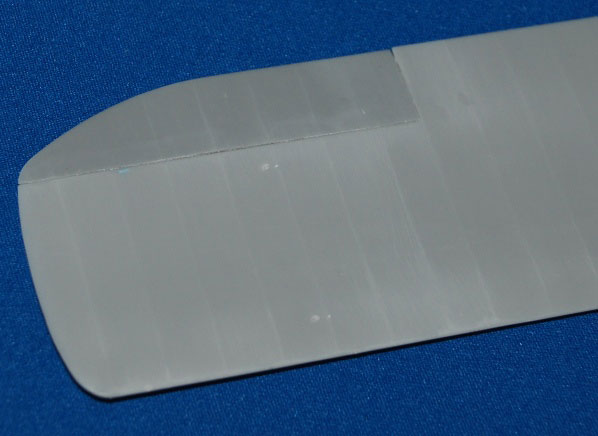
Some final sanding and buffing and the now one-piece upper wing section and struts / undercarriage parts are sprayed with Tamiya Light Grey.
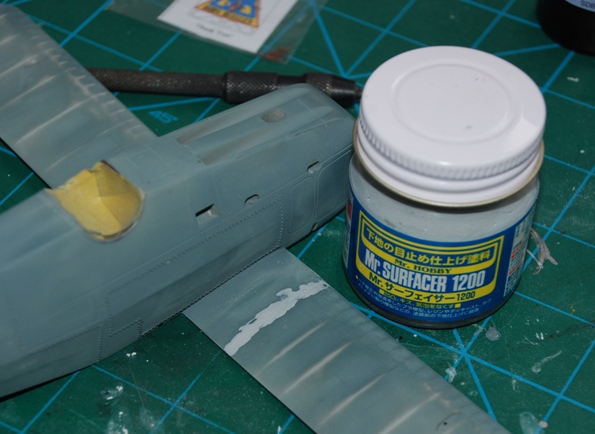
Just ahead of that I noticed that on the upper surfaces of the lower wing, about 1in (20mm) outboard of the wing join there are two prominent gaps – one on each wing. Again, I can’t see from the few pics I have if they should be there but I wanted to reduce their appearance and used Mr Surfacer 1200 liquid filler. Simply applied with the back of an old paint brush handle and in about 30 mins is ready for a quick sand with a sponge buffer – job done.


