Small examples and tips are:
- Finding the parts – this may sound odd, but all the smaller parts are supplied in several poly bags and this is great but, sadly, there is no parts plan where all the individual parts are numbered or can be identified. Also, there’s not a huge amount of logic to which part can be found in which bag so you’ll need to hunt for them. So far I have found everything (eventually) that I have needed and they are well moulded, it’s just that a lot of time is lost searching and I do think this is something the manufacturer can think about
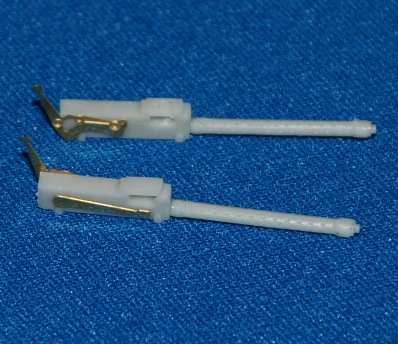
- The gun barrels – My advice is to leave these off and add them much later once all the fuselage cleaning up and main assembly is finished as the chances of getting them to sit exactly right first time is unlikely and they can be added through the large holes in the forward upper cowl. The guns are shown here assembled and look quite good
- Cockpit – (what look like) cartridge ejector chutes and instrument boxes on side walls only shown being fitted on Page 6 after the fuselage is closed on Page 5 – small but significant things like that can catch you out so read well ahead and plan what you want to add and when
- Small details – I wouldn’t add many (or any) of these until much later in your build to avoid them being damaged or broken off
- Main painting – suggest assembling the wings and fuselage and paint separately before assembly. Many of your experienced bi-plane modellers will know this and much more but I want to give a steer to anyone who wants to build this kit who isn’t so sure.
Let’s make a start… oil cooler
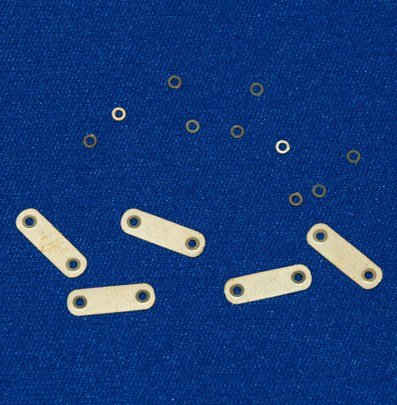 So, let’s make a start and that oil cooler looks very nice, some fine etched brass and separators for each vane and they slip over two small resin parts (start searching!). all goes together well and the finished assembly is sprayed dark grey and dry-brushed with Citadel Colour Chainmail.
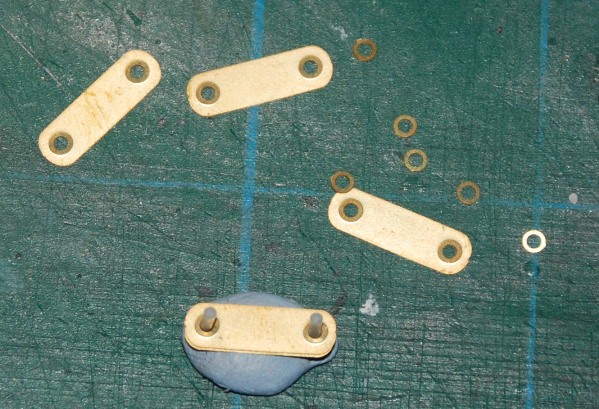
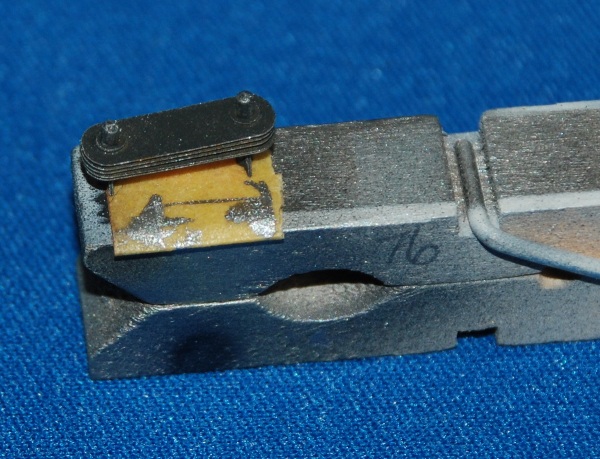
So far so good – now to tackle the cockpit structure…
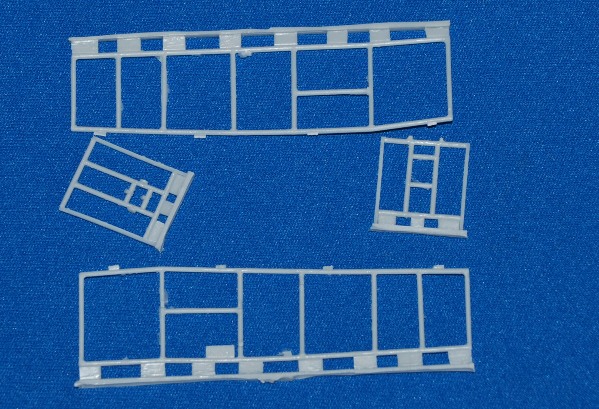 You need to be very careful with removing the parts from their mould blocks but the gates are nice and thin pretty much across the whole kit so far and that’s great – easily being removed with a sharp scalpel. The minimal flash is very easily removed with a quick swipe from the edge of a scalpel blade. Usefully the instructions guide you with a clear indication of how long each of the resin rods supplied needs to be. Once removed from the casting blocks (cut generously to allow fine adjustment down) the parts were prepared and then carefully attached to create the main ‘cage’. The fit is good and although there was slight warpage on the one-piece side frames this has no effect on your final assembly or look of the cockpit when fitted so don’t worry or try to correct it. I used cyano throughout the assembly process and activator (‘kicker’) to set the cyano immediately once I was sure it was lined up. Handle with care and you will be fine.