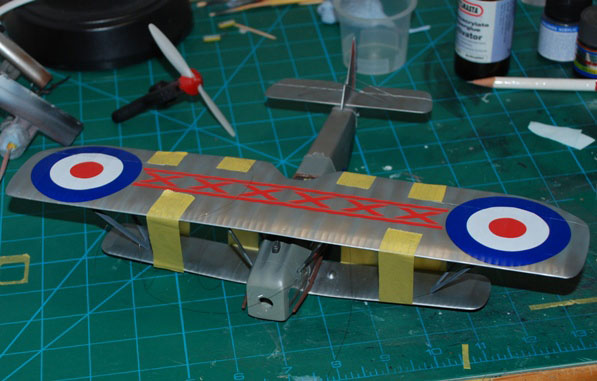
Shiny metal panels!
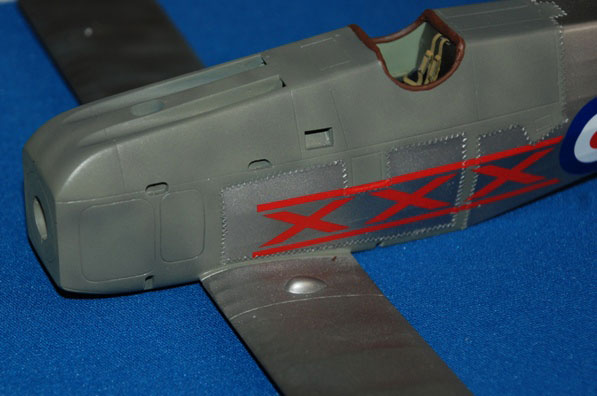

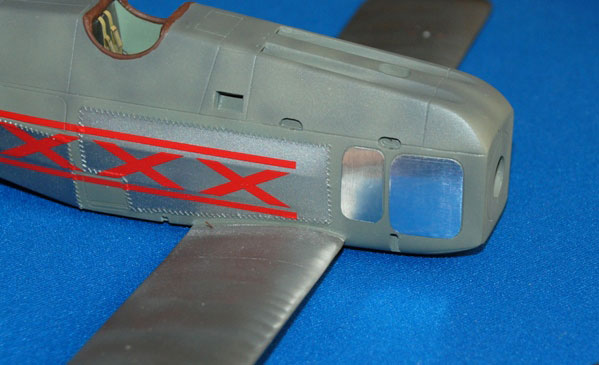
Either side of the forward fuselage appear to be two panels that are much shinier than the remaining airframe. I decided a good way to replicate these was to make some templates from Tamiya tape. Just place a section of tape over the panels and using a sharp pencil mark the outline, remove and stick onto some fine metal foil. Using sharp scissors I cut around the template, gently refined the corners using a fine nail buffer and removed the tape.
Exhaust pipes
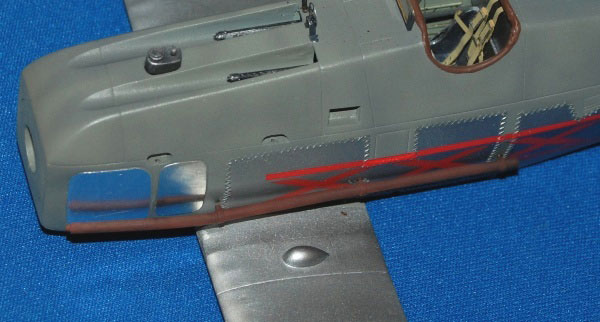
I had painted these ages ago and now it’s time to attach them ahead of adding the upper wing. It’s very frustrating that there aren’t location holes marked for the attachment points – I spent ages trying to measure and line up where I thought they needed to go so that when the engine goes on and the two exhaust pipe arrays that extend back from each cylinder go on, it all lines up correctly. My strong suggestion is that you get all this measuring and marking done and drill the long exhaust pipe holes much earlier in construction. You’ll remember that engine I detailed up a long time ago? Well it was far too delicate to stand much faffing around now, so take heed! As I have the long pipe in the photo here it is set about 1.5mm too far back and should be located forward that much than you see here.
That huge upper wing goes on!
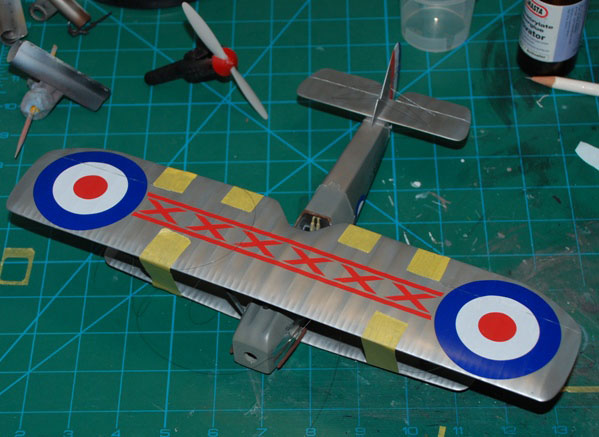
At last… the main upper wing can be attached to the cabane and outer main wing struts; I found the wing attached quite well, although make sure, whatever you do that you get the outer main wing struts around the right way. Cyano glue and Tamiya tape holds everything in place for 24 hours while the glue dries – double, triple checking to make sure all lines up to your satisfaction. I had a lot of faffing around trying to get everything lined up, but got there in the end. When dry the end result is very secure and stable.
