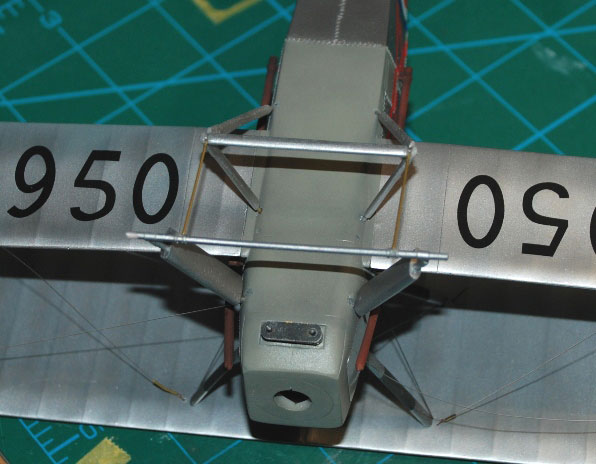
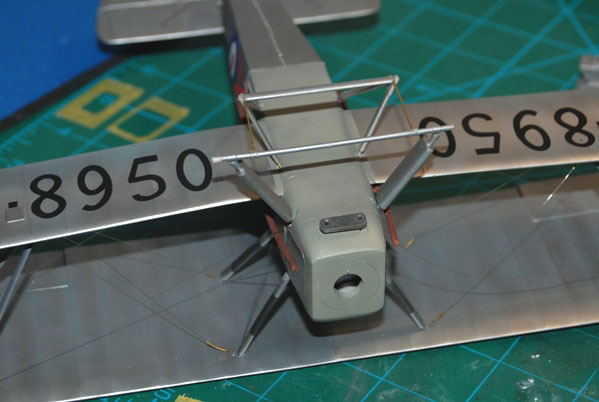
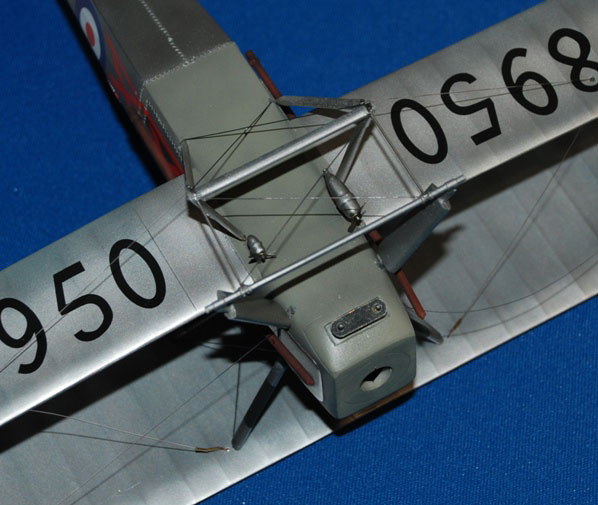
Tie off your rigging wires
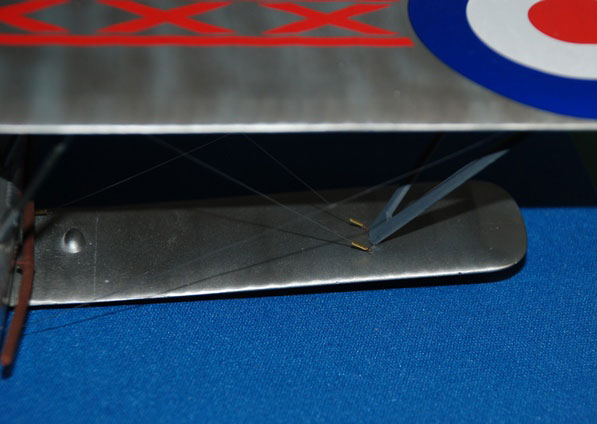
the lines are tied off and the buckles straightened out so that they are tensioned in the right direction to the rigging lines but the lines themselves are slightly slack. I will apply the gentle heat treatment later to tighten each one up as a final part of the build and once that undercarriage is on.
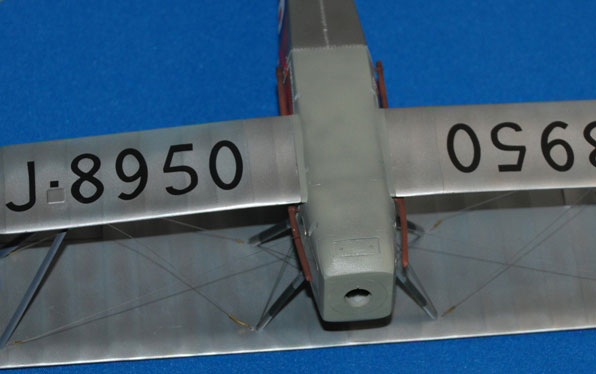
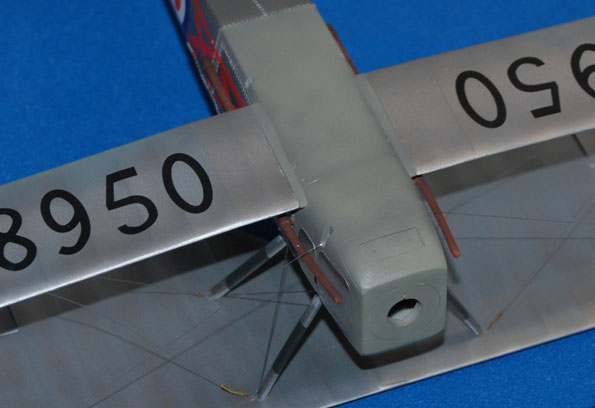
Final assembly and undercarriage
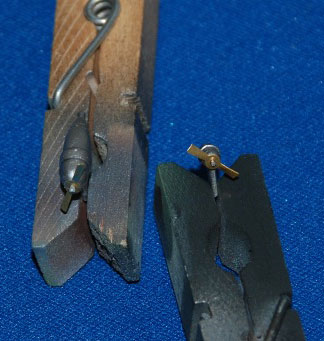 To be honest, looking at the undercarriage assembly it is pretty complex and has some fine cross-bracing rods running front to back that didn’t look too strong. Helpfully though SW has added a metal strengthening rod within the main undercarriage parts and this adds greatly to the overall stability of the model, but it still looks quite delicate. For that reason I didn’t want to attach the landing gear assembly earlier in construction (like Julian did on the Hart). I’m glad that I made this judgement call because the aircraft wing assembly is very sturdy, allowing you to work unhindered on the u/c assembly while your model is inverted. Again, I had to make some adjustments here and there, the main one being to add replacement brass rods that connect the forward wheel unit to the rear leg assembly. The resin kit items seemed too short and using brass replacements also added much needed strength to the model. While your model is upside down you can add the two small propeller-driven units that sit beneath the forward fuselage.
