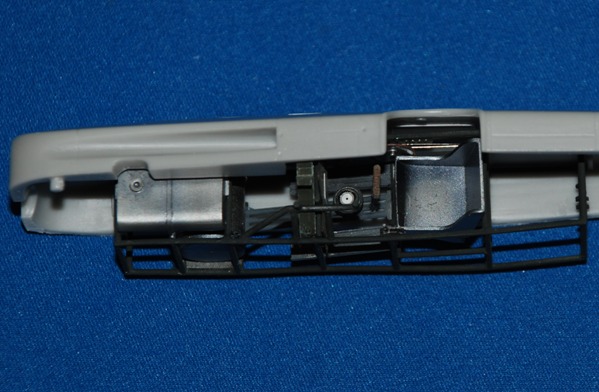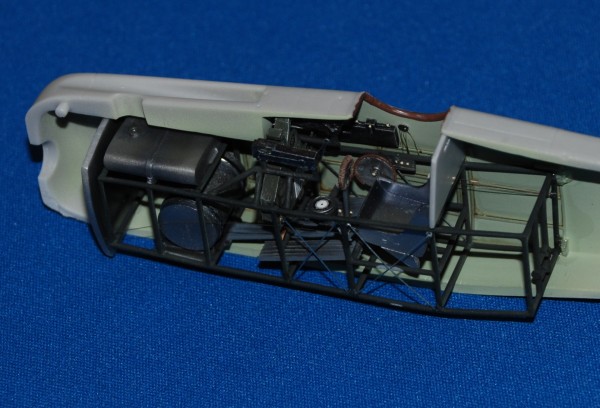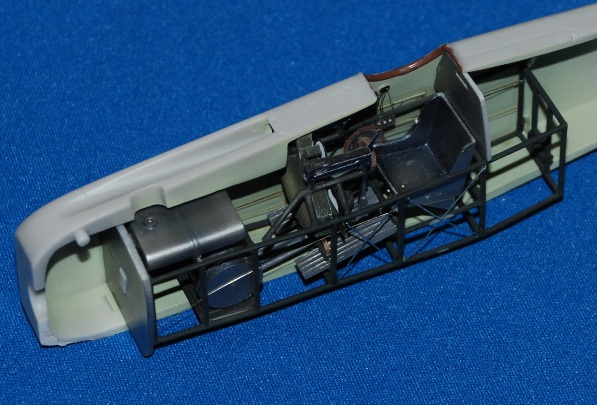
Finished cockpit assembly…
Here are some close ups so you can see how I’ve done? The side bracing lines between the frame ‘squares’ are just fuse wire cut to length and attached with cyano. Theses should extend further forward and aft of where I have added them but, as I’ve said, what’s the point when they can’t be seen?
Interior…

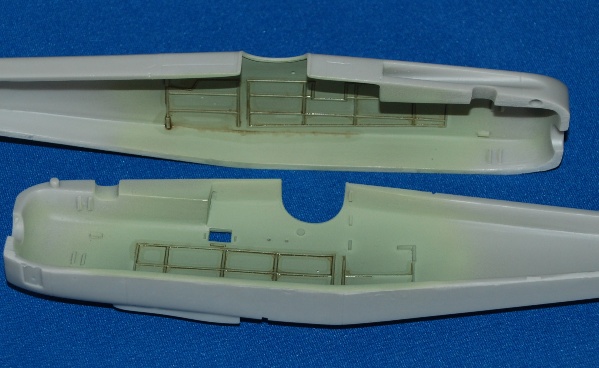
It’s clear that the interior is quite dark and so I’ve used a lighter interior colour – Sky rather than RAF Interior Green. Having used Tamiya acrylics here I mixed an oil wash using Burnt Umber and carefully added this along the frame lines moulded into the fuselage sides. The whole completed cockpit is added to the right fuselage half and the forward engine fire wall added along with the armour plating / bulkhead behind the pilot’s seat (attached to the fuselage rather than the seat as there would be a slight gap if added to the cockpit frame as indicated in the instructions. 


