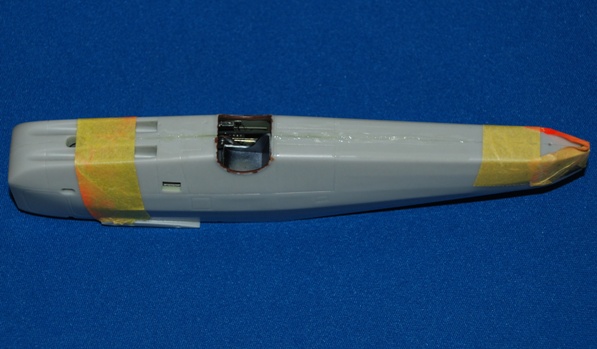
Glue and tape up the fuselage…
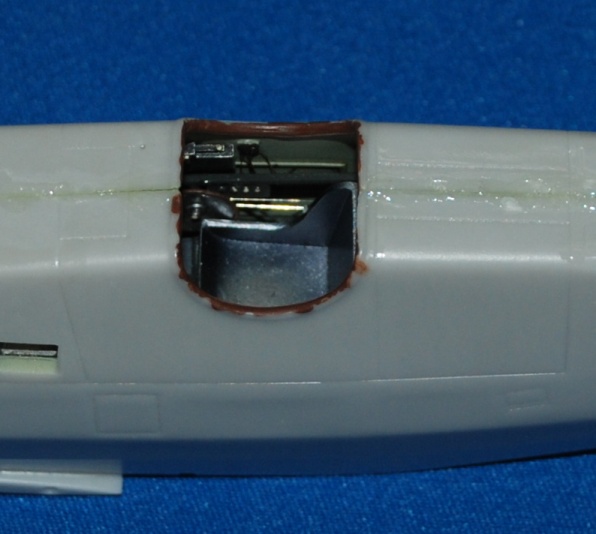
Cyano again used here and it’s set aside to dry. I have added some extra along the join lines that I’ll sand back later. There is etched brass stitching to go along the joins but I don’t want to take any risk in a join showing. Notice in this pic how very little will be visible from the outside – a shame as there’s a lot of detail in there, but some like the throttle wires can just be seen from some views. And that’s it for this first instalment! 

More on the fuselage…

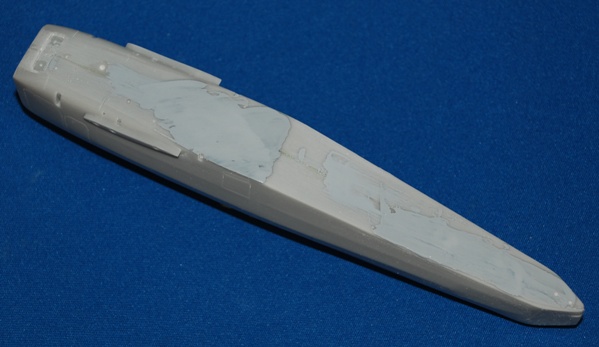
The fuselage halves aren’t a perfect match, nearly, but not quite with one side slightly proud on the underside – I wanted the best fit along the more visible upper fuselage join for obvious reasons. The cyano sanded back fine but I encountered some air bubbles in the resin that kept reappearing after sanding. So inevitably cleaning up the fuselage joins takes longer than expected, finishing off the prep with some Mr Surfacer 1000 grade liquid filler. This sanded easily when dry leaving a nice smooth finish onto which those PE stitching sections are going to go – more of that later.
Scribing…

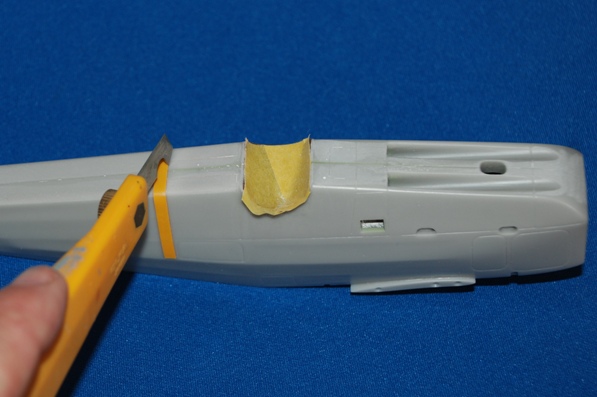
A limited amount of re-scribing is needed to replace some of the moulded detail but as you’d expect on an aircraft of this type they didn’t have a lot of visible detail. You can see me using thick sticky Dymo label tape as a bendy rule to prevent my Olfa P-Cutter slipping.