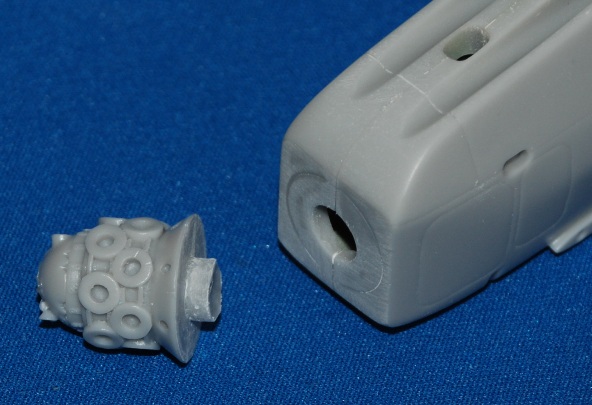
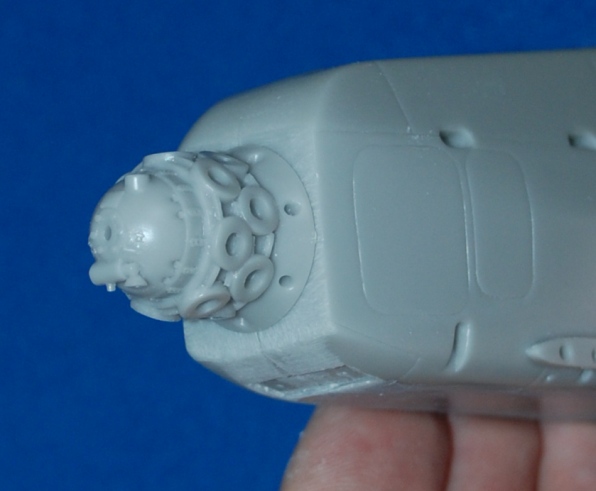
Tailplane and rudder prep…
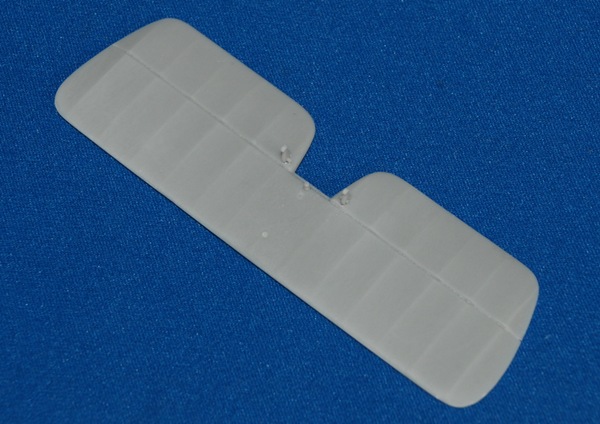
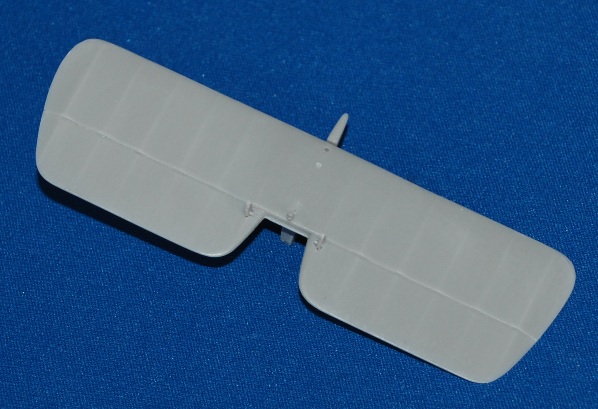
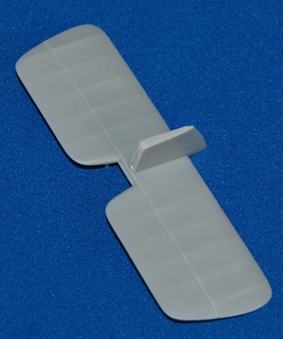
These parts need little cleaning up – just some sanding and buffing around the edges of the parts. I drilled small holes to accept the resin control wire mountings, securing with cyano and set aside to dry.
The engine marathon begins…
I’ve got to be honest, there’s nothing more I love than to (occasionally) spend loads of time getting the detail onto an area of a model that is visible and worth all that effort. In the case of the Siskin, it has to be that AS Jaguar III engine. The parts supplied are well moulded and probably the best part of the package and the instructions hint at additional detail like the spark plug wires and other metal work on the forward underside that will complete the job. These latter items you’ll need to fabricate from your spares box but easily done and at no expense. The push rods are supplied but not shown in my pic.
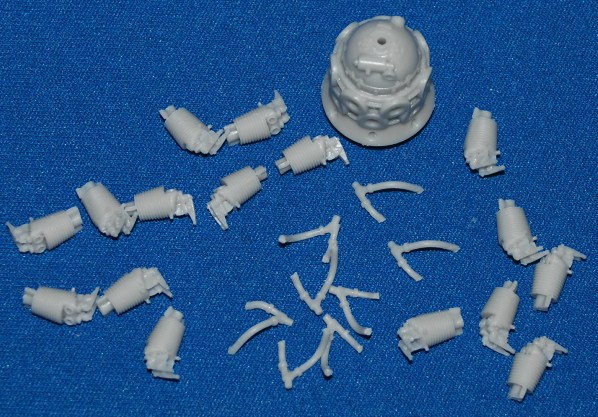
The instructions are infuriating in my opinion – oh how much better it would be with just a few more scratch drawings – better still a couple of decent images of the real thing to help the builder. I eventually found these two references that will help not only with the engine, but the whole build:
http://s362974870.onlinehome.us/forums/air/index.php?showtopic=113564 – engine
http://smg.photobucket.com/albums/1003/lasermonkey/Siskin%20Stuff/ – several areas
Engine assembly starts…
