The cylinder pins are slightly too long for the crankcase and need to be trimmed to sit properly – again the instructions looked like they might sit proud but I dismissed that after trawling through the references I found. Once you’ve decided where the parts go and have a plan it’s time to get gluing! Initial construction is swift and soon you’ll have the basics of a nice Jaguar engine. I test-fitted the crankcase first to make sure it would sit well and it does – very well.
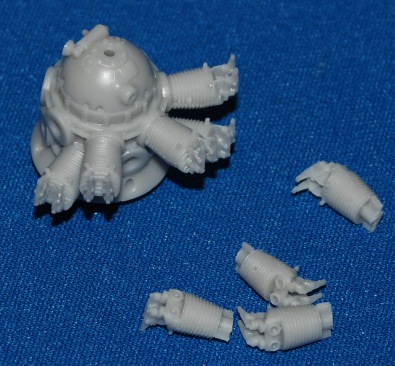
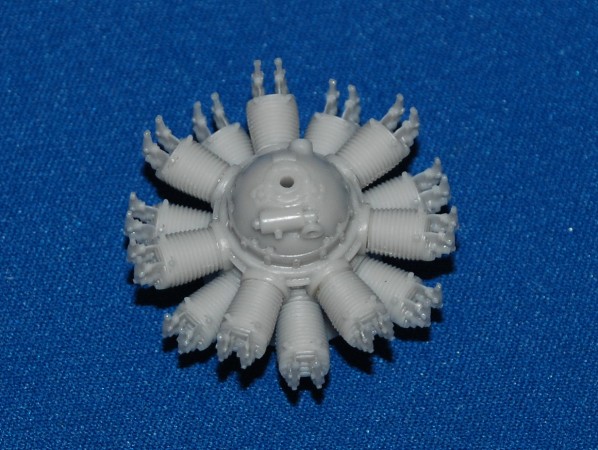
You need a plan…
You definitely need one of these and I decided to build the engine in manageable sections, painting as I go to avoid unnecessary risk of damage, especially to the small parts like the spark plug wires to come later.
Engine painting…
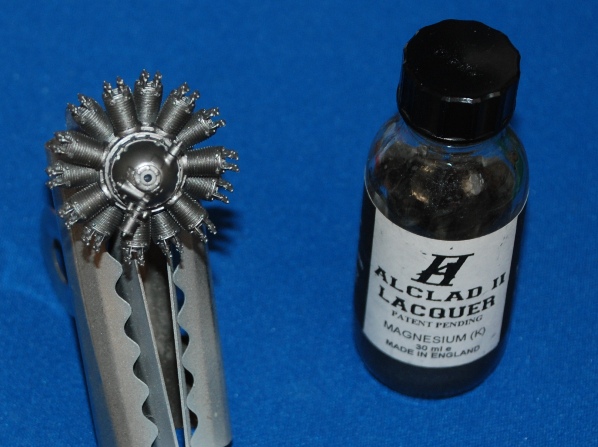
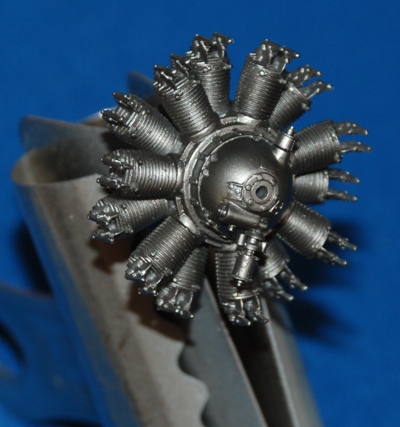
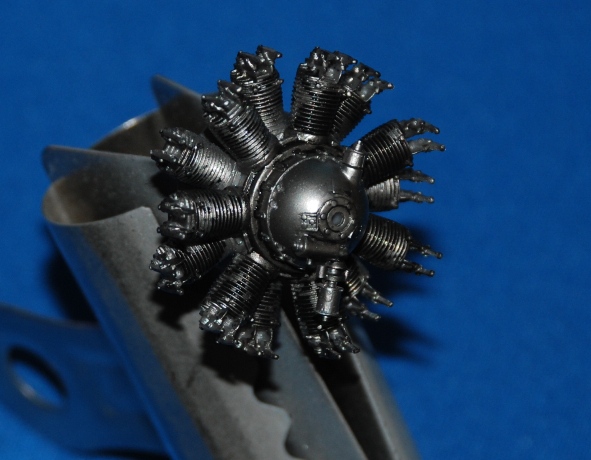
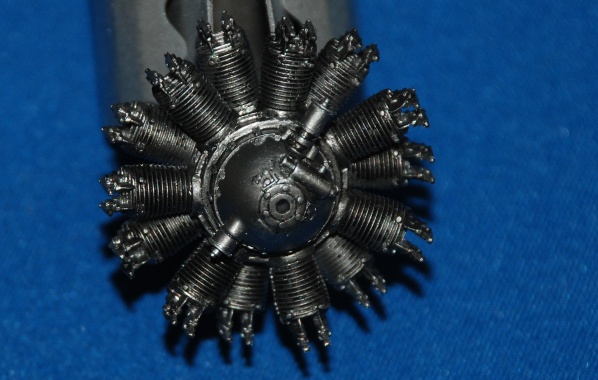
The engine seems to be a dark metallic grey colour and so I chose Alclad2 Magnesium for the base colour. It’s a great dark metallic that just sprayed straight onto the resin without priming. You should normally use a primer but I chanced it and it worked beautifully as you can see, giving a lovely rich metallic lustre to the base finish. Note the large metal ‘bulldog’ clip that acts as a great handhold throughout the engine painting and detailing stages.
Engine weathering…
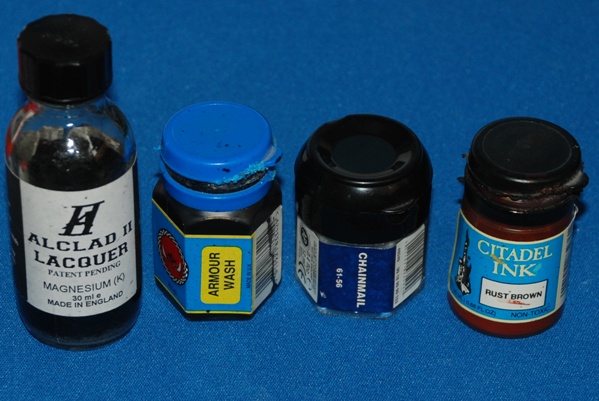
You can see here that I have used 4 products for the engine painting and weathering. The Alclad2 Magnesium for the base colour; Citadel Colour Armour Wash; Citadel Colour Chainmail (dry-brushing) and Citadel Ink Rust for selective application to tiny recesses. 