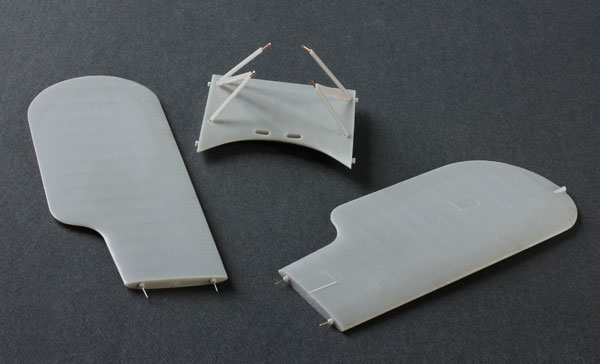
I lined up the supports on the upper wing middle (the cabane?) and test fitted them to the fuselage. The fix was not straight. I adjusted the length of the wire inserts and refitted, they were better but I will have to concentrate when I do the final installation. Again, I have inserted wire into the wing lugs just to add a little more strength to the fix.
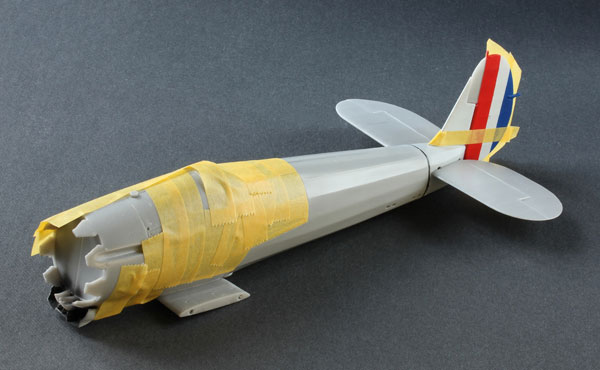
Fuselage assembled, tailplane fixed, insignia painted on I didn’t fancy the decals here as they had to be cut to shape and I thought that it would look messy.
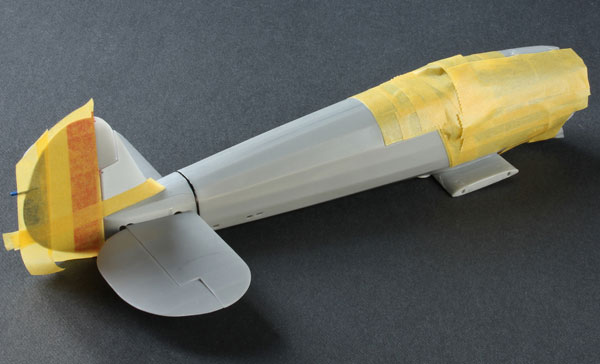
Fuselage masked up ready for painting the non-metal parts. I chose to paint it Airframe Aluminium which, being dark in tone, will give a better opportunity for dry brushing later. It will be finished with a satin coat after the decals are put on.
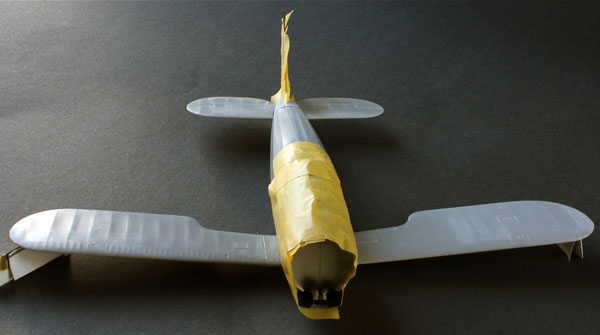
Lower wings fixed. I did tape the fuselage to a base to level it and then put 11.5mm card into place. This is where the extra wire came in handy as any adjustment was kept in place by them. These will also be painted the non-metal fuselage colour.
ZOOM - Move your mouse over image
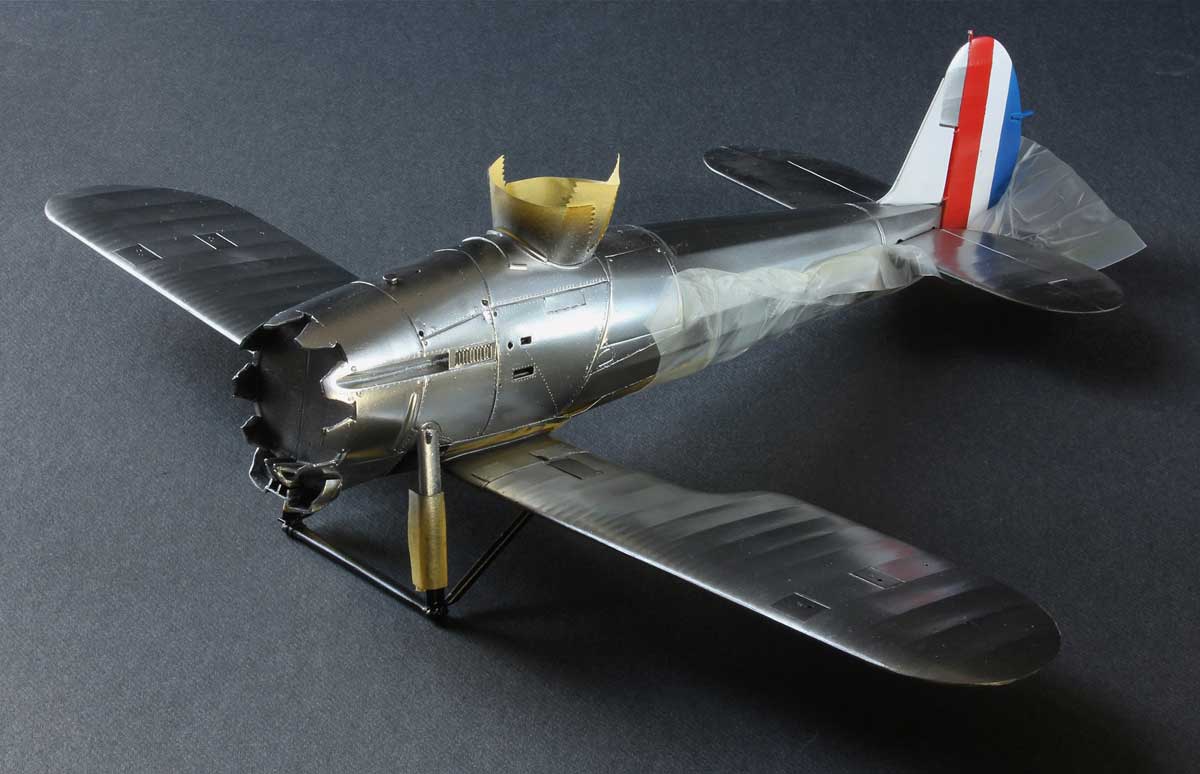
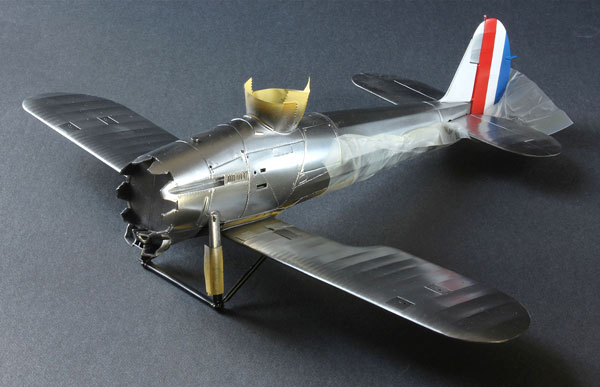
Metal parts painted with Alclad Chrome. Once again this allows me to bring down the shine to polished aluminium colour. I find that the Alclad polished colours degrade when applying gloss coats. At present the non-metal parts have not been satin coated.
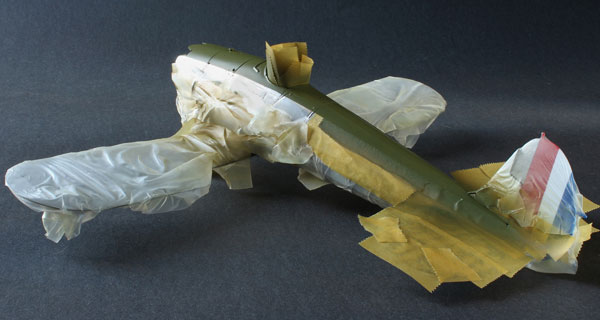
Everything was masked up to paint the green. I have got it slightly wrong here – the green line is too high – will lower it. I was also testing how strong the Alclad Chrome was when sticking Tamiya tape to it. It stood up extremely well not showing any loss to the tape.
ZOOM - Move your mouse over image
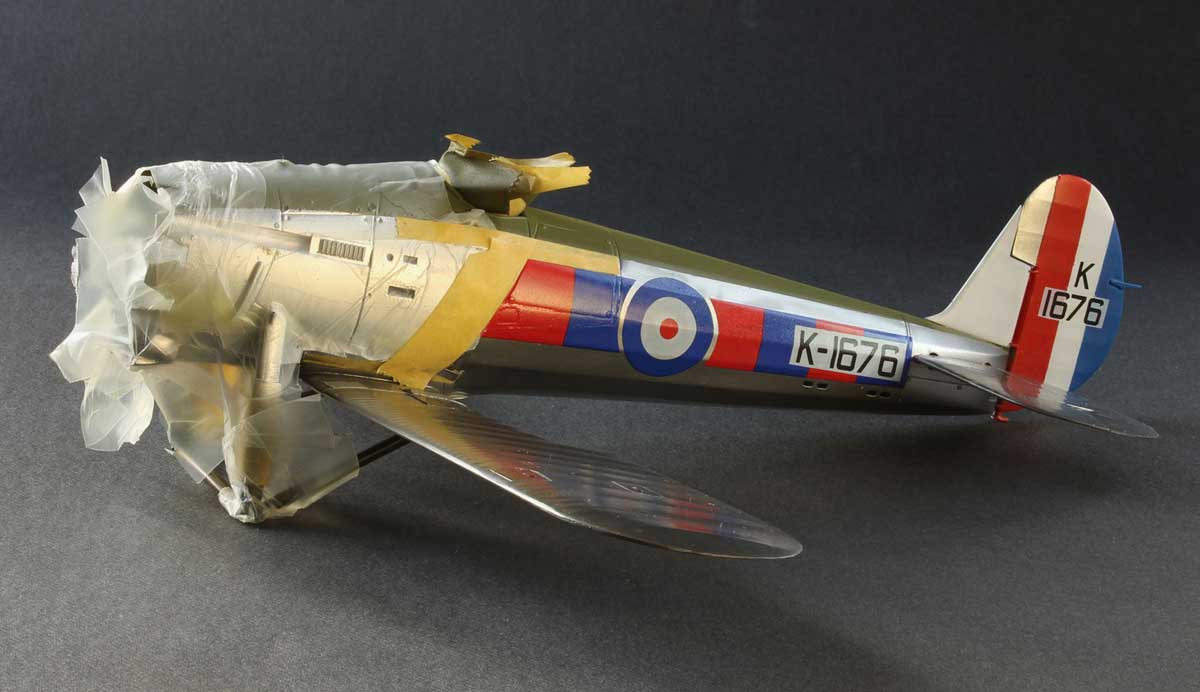
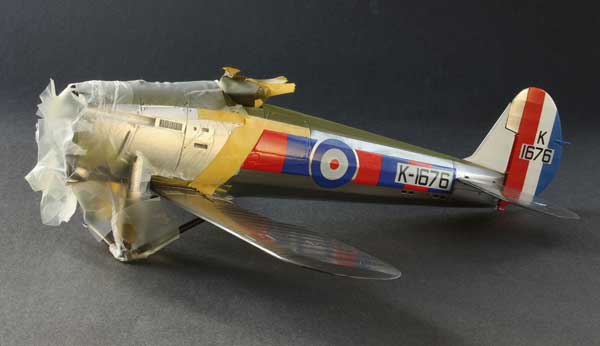
Green realigned fuselage and tail decals on. When I painted the tail fin I had forgotten that the aircraft number is part of the decal. I had to cut it out carefully and fix it separately. Unfortunately there is a small amount of show through, which, of course, would not happen if you used the decals supplied.
It is masked up ready for the satin coat.
