We now move on to a part of the construction where I had the most problems.
The instructions for the fixing of the wings are below.
The difference between my build and that of Doug Nelson (DN) is that, because I am rigging and painting the aircraft, I am handling it much more than, I guess, he did.
If you look at the instructions, you will see that the angle of dihedral is included in them on page 8. I used the suggestion of DN to make a simple rig that excluded the undercarriage touching a surface.
I then cut a 11mm piece of card and placed it under the wing I was fixing, gluing it in place.
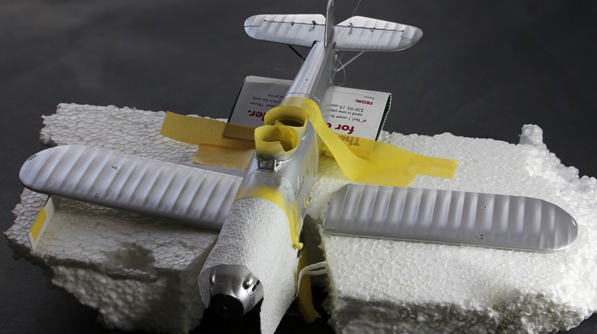
Now, in this close up of the wing there is a small problem…
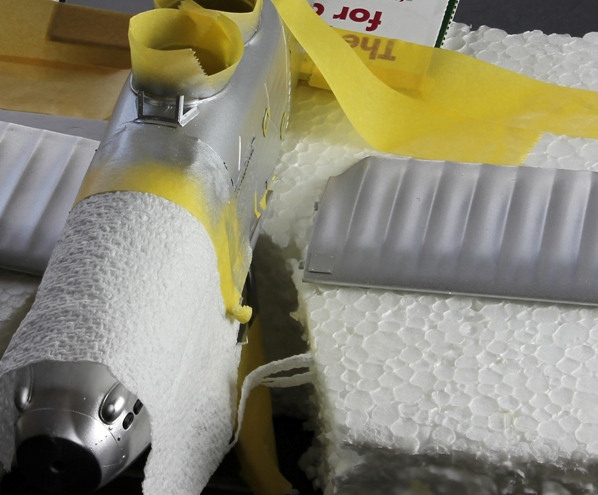
You can see that the fixing lugs on the end of the wing are very short (c. 3 mm). Good for locating, not so good for a solid bind. The problem arises later!
Before fixing the wings, I drilled out the small holes that take Bob’s buckles; you can see these on the upper surface of the lower wings.
I then glued the upper wings to the centre section using a similar system to the lower wings (this time the dihedral), which is a card 3.5 mm high under each wing.
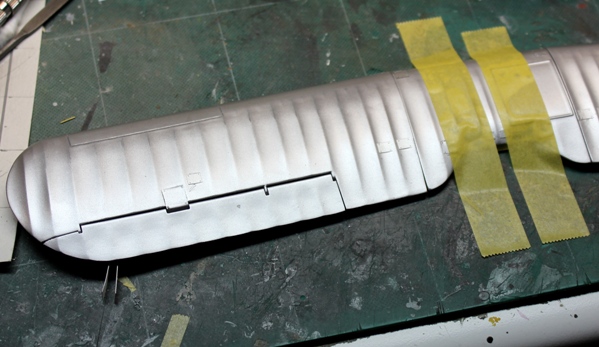
I then started to drill the holes for the buckles. Mistake!
Although I wasn’t applying much pressure, the port wing snapped off, leaving the locating lugs in the fuselage.
I drilled out the lugs and replaced them with longer lengths of cocktail sticks. That worked; but I wonder whether super glue is right for this. There is going to be some movement in the wings as one fits the struts and superglue is not good where there is lateral pressure.
Once that was finished, I drilled the buckle holes in the upper wing. This time I did not put pressure on the wing joints, but eventually they broke off just as a result of the handling.
This time I used plastic plugs. Incidentally, the actuators for the forward slats are not shown correctly in the plans as they should have the longer pin forward. DN has copied the error on to his build.
Anyhow, all is ready now for installation…
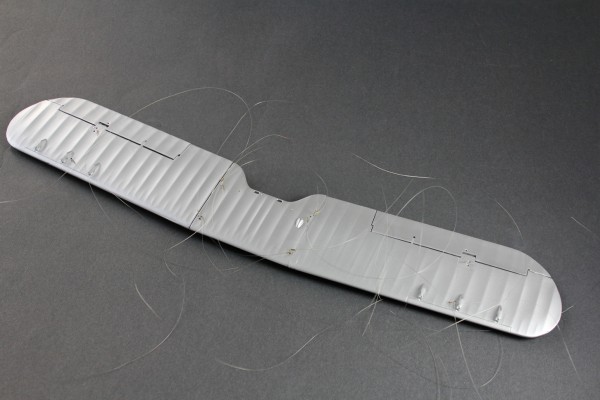
My next error was entirely down to me. I was chatting to a friend as I was putting the fuselage decals on and, despite having carefully sorted out which ones go where, I placed each on the wrong side!
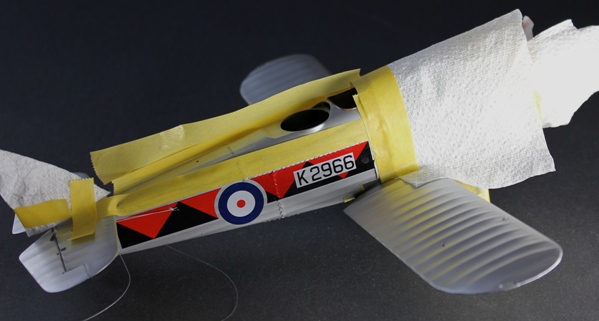
By this time, it was too late to sand them off as I had placed all the etch stitching on the side, so the only solution was to paint over them.
It is a credit to the quality of the decals that this was successful with no impression left of them at all – that is truly thin! I e-mailed Wojtek at Silverwings and he promptly promised to send me a new set!
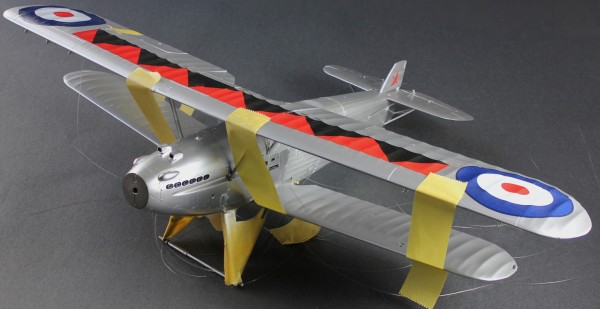
Finally, the wings are installed.
Like DN, I left the wires protruding out of the struts for added strength. The cabane struts that support the centre of the upper wing section are very strong and easily hold the wing in position whilst installing the outer struts (this will be shown shortly).
There is not a lot more in the instructions to do. The rigging seems to have been taken off a later member of the Hart family, perhaps the Demon, but it is a fairly representative rendition of the wires.
There are no real painting instructions. I painted the interior grey and aluminium. The outside, as I have said before, is Alclad over the metal parts and I put Humbrol 11 over the fabric.


