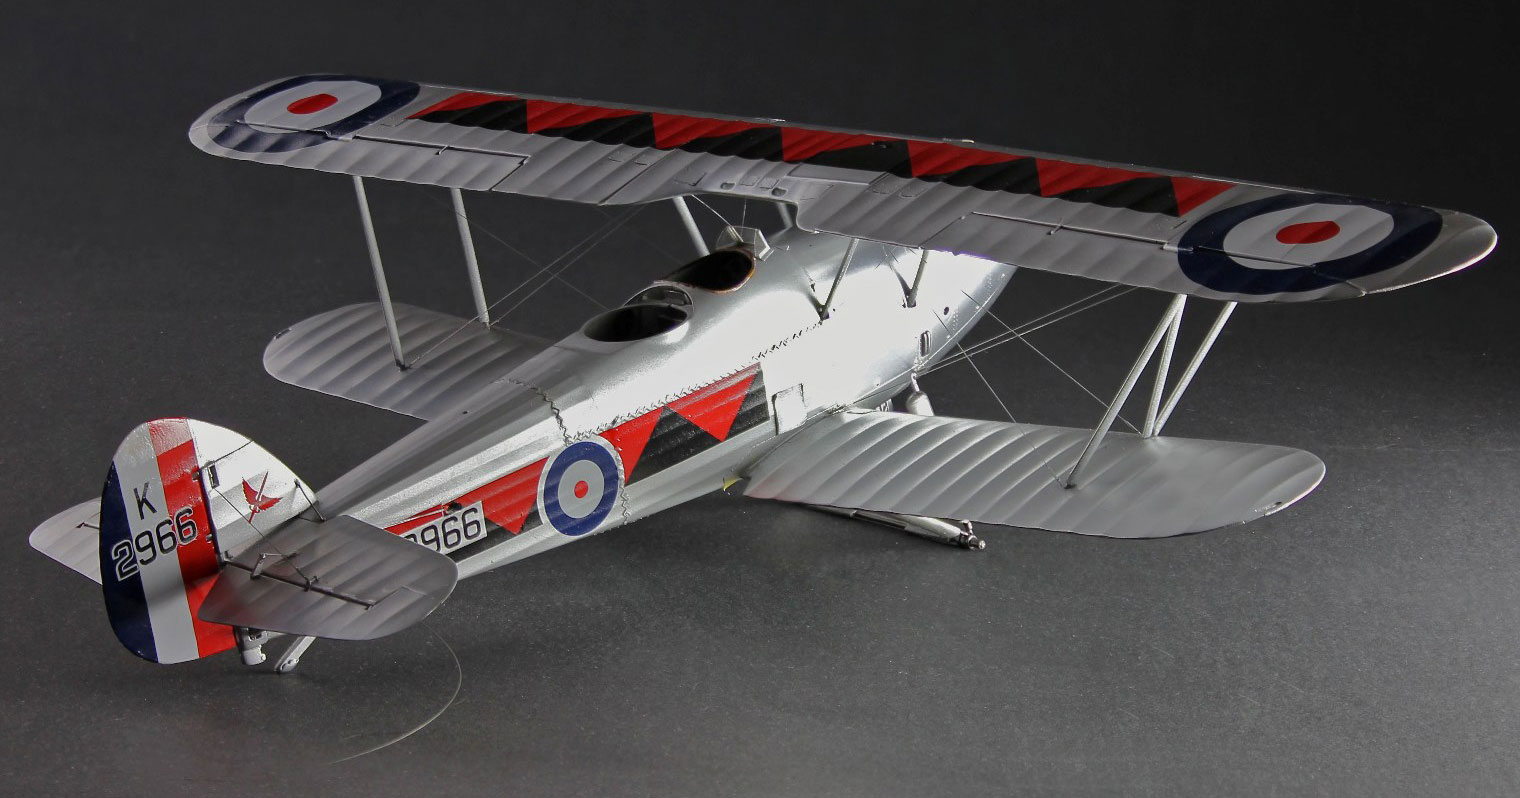
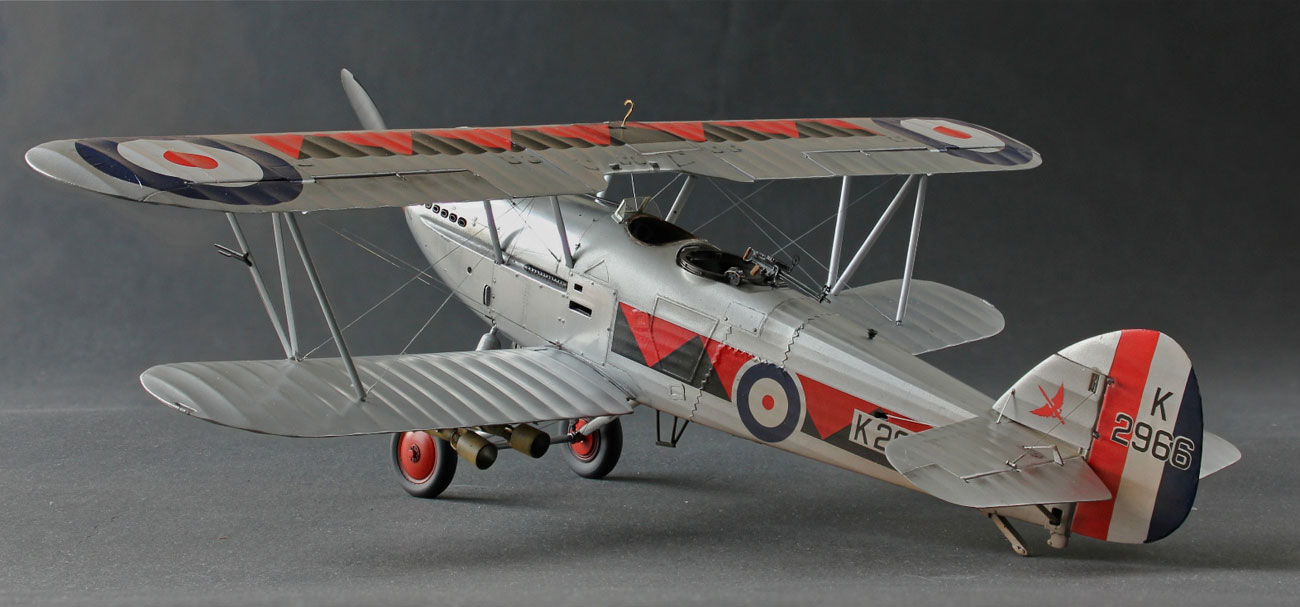
Rigging
This is new to me and I had to hunt around the internet to learn the basic principles. I had already used Bob’s Buckles for aerials on aircraft, so I continued to use what seems to be the best product on the market for this.
I drilled the lower halves of the upper wings and the upper parts of the lower wings. I used the Mushroom book as a guide. I can see from that, that I should have pre drilled the engine covers. The rigging there is obviously directly onto the frame internally. Not this time!
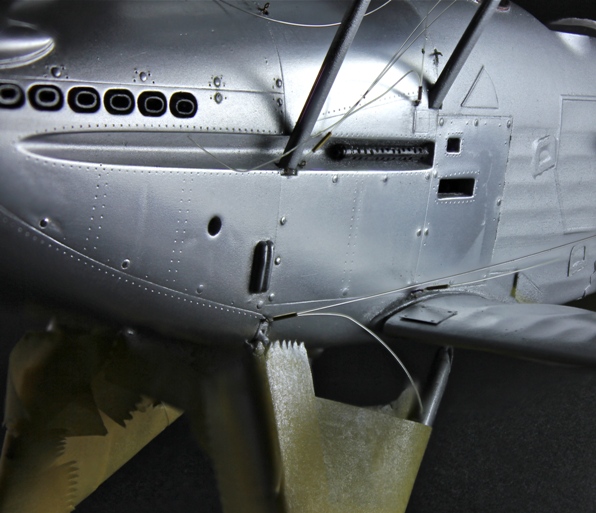
I used .03mm fishing line.
I followed the instructions on Bob’s website, except that I threaded one end into the buckle and tube. I pulled the short length of the fishing line tight by pushing down the tube towards the buckle to jam it and then glued it.
I fixed this completed end into the pre drilled holes with super glue and let it set overnight. (I did more than one at a time!)
The other end…
I threaded and left them running free, before fixing the end into the holes at the opposite end. I just glued the buckle into the fuselage and let it dry. Using tweezers, pulling the loose end and pushing the tube down tight onto the buckle and applied superglue. The lines were taught.
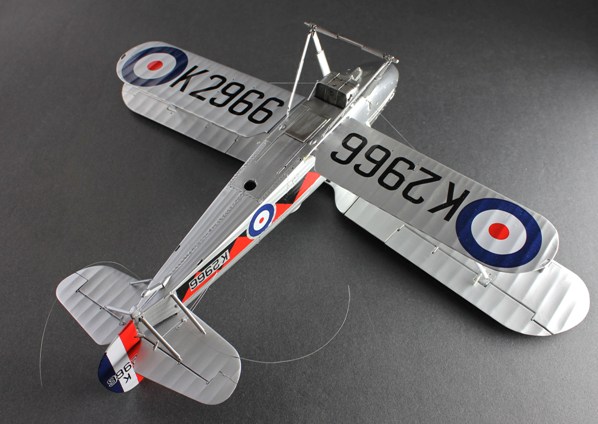
On the underside, I rigged the tail controls and applied the decals – all straightforward stuff.
ZOOM - Move your mouse over image
ZOOM - Move your mouse over image
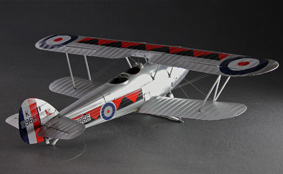
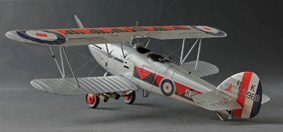
Here it is just before the last bit of rigging is complete. Time for all the small parts to be fixed, machine gun, steps etc.
For weathering (see Gallery), I sprayed a light coat of dust and shaded in some of the dips in the fabric areas of the plane.
I like the lines of the Hart and remember the pictures of them at the pre war air displays and as a result did not want to mess it up too much.
