Construction
As I’ve mentioned previously my first decision, which has to be made at the start of the build, is which nationality to do and after a look at all the options I really liked the Norwegian version with the drogue chute attachment on the spine. Additionally, you’ll need to decide which weapon option you want on your model. You can have clean (very boring), a stealth version with the bomb doors open but no wing pylons (still quite boring), an air-to-air mode with the bomb boors open and sidewinders on the outer wing pylons (getting better) or ‘Beast Mode” with the weapon bays open and the 6 wing pylons with GBU’s and sidewinders – this was an easy decision – Beast mode it was!! (Brilliant choice Dave! GC)
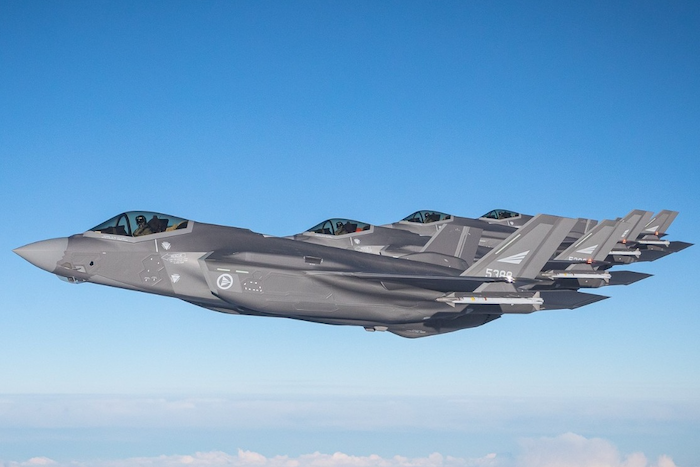
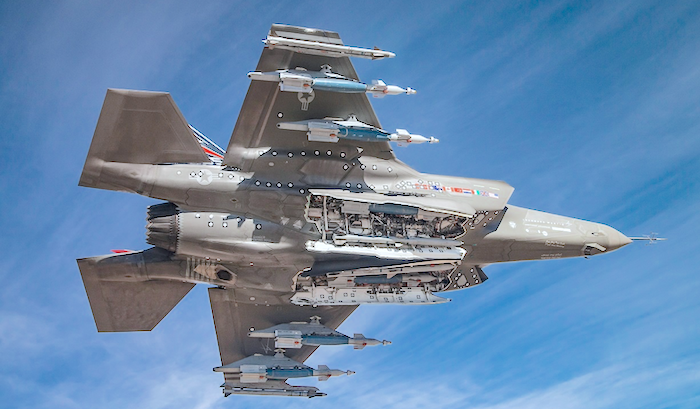
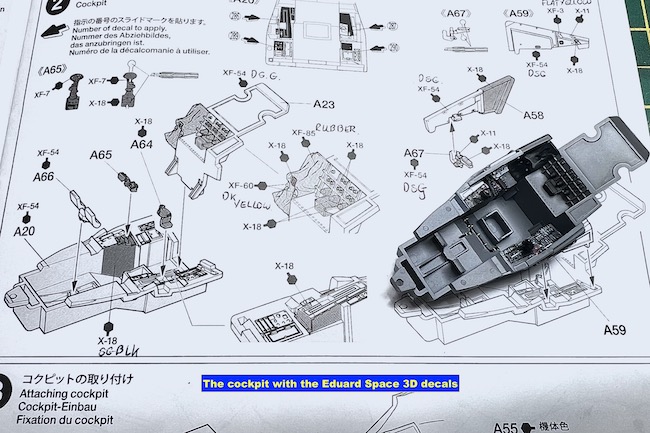
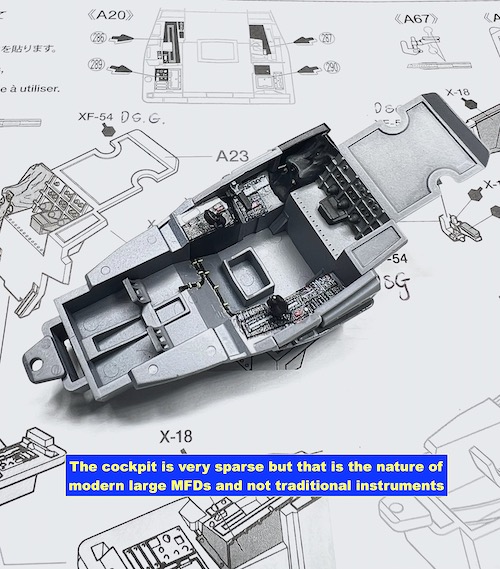
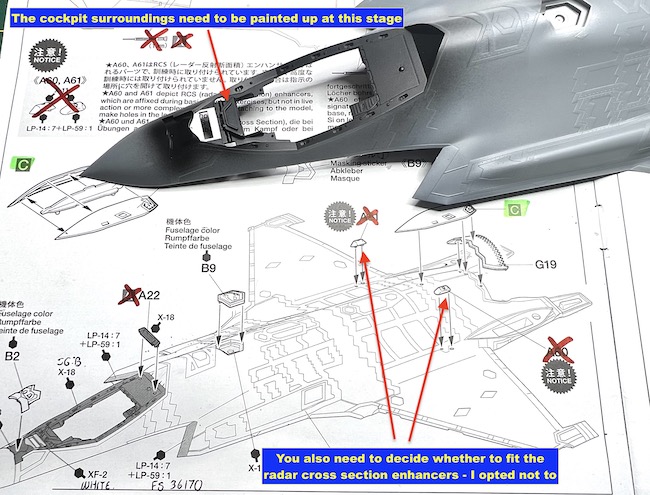
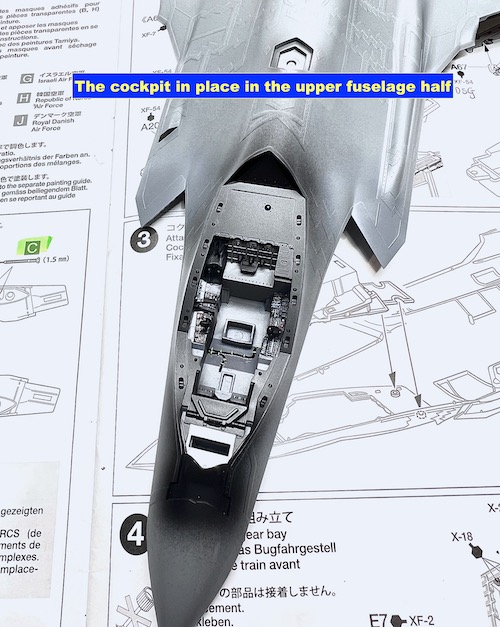
Now that the decision of what to make was done it was on with the build and this started with the cockpit. From the box this is very good but I did opt to use eduard’s Space set which uses 3D decals for the instruments – do you really need this, probably not but I had it so I used it.
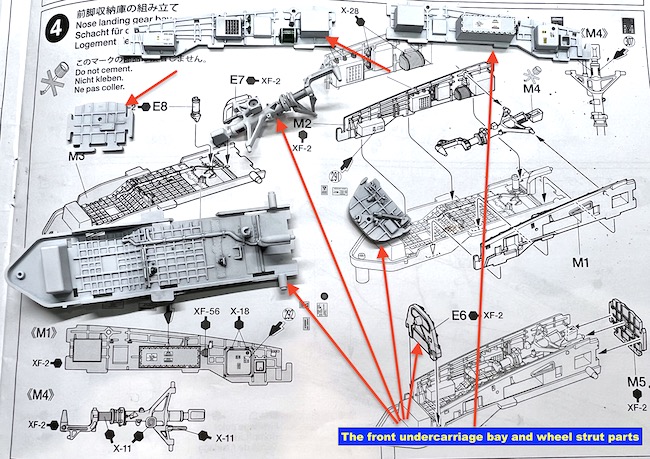
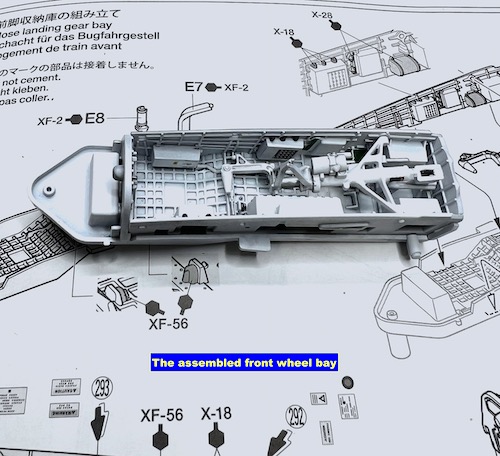
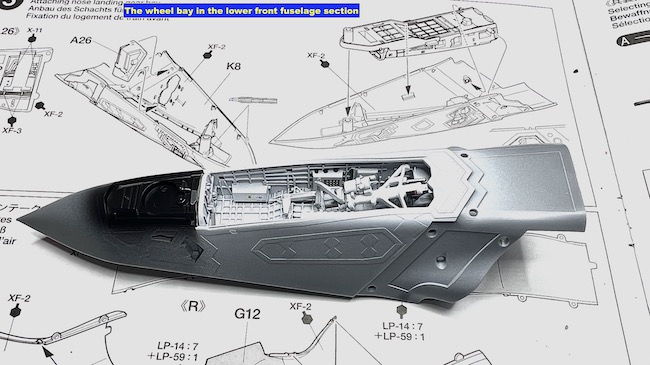
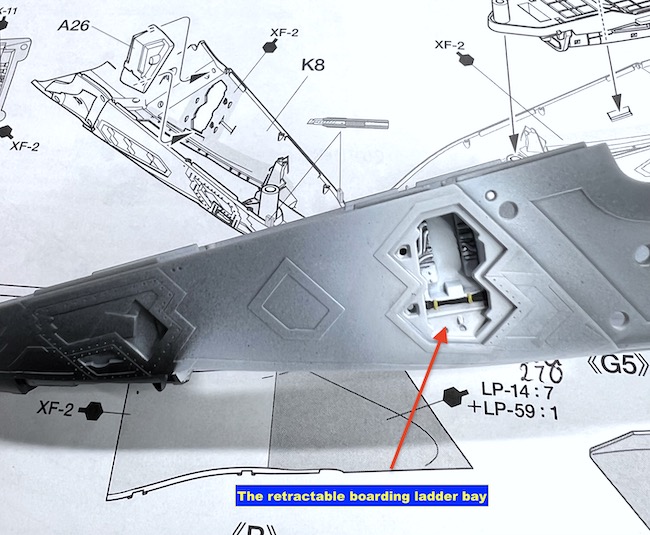
The front undercarriage bay and the retractable boarding step bay need doing next and then fitting into the lower front fuselage section. Again, the detail is expectational along with the fit.
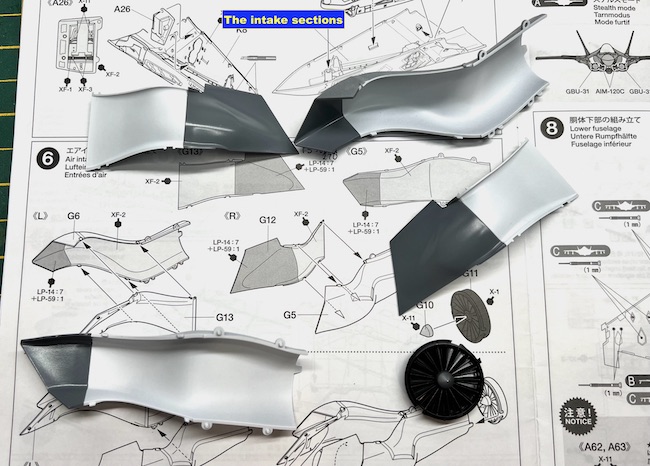
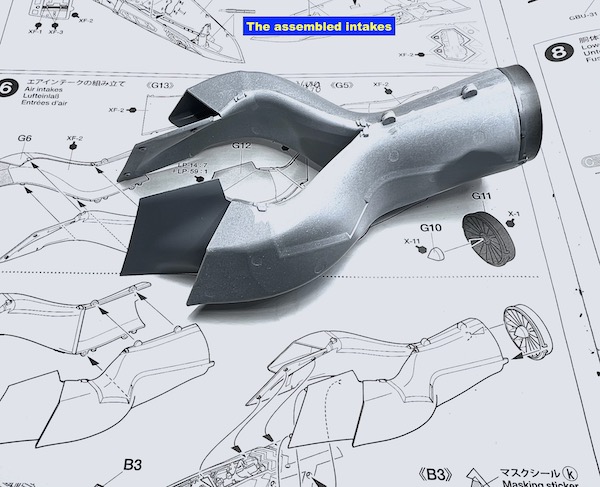
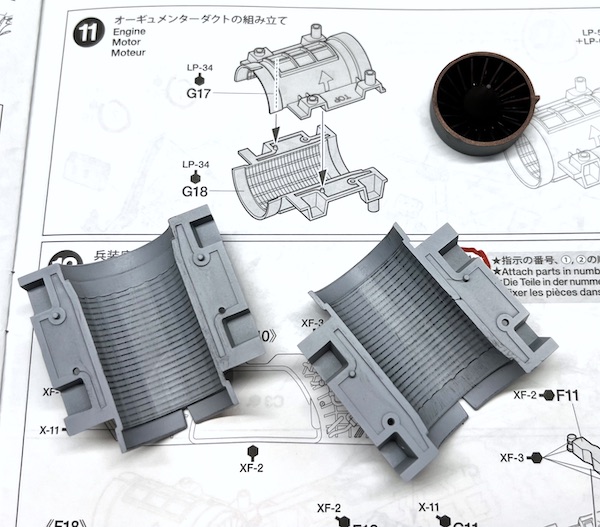
The intake trunking is a multipart affair but, as with their F-14 and F-4 it is so well designed and the tolerances so tight that the parts can be painted up first and then if you are careful with the application of some liquid cement you can join all the parts without any seam lines being visible. This is also helped by the real design of the intakes that hides the compressor blades from sight (and therefore reduces radar returns) so very little can be seen up the intakes.
The jet exhaust is both simple and complex at the same time. The jet pipe and turbine blades are simple but beautifully moulded and detailed.
Paul Ainsworth says
Hello,Dave – A masterful build as always.The photo slideshow speaks for itself.

The Tamiya F-35 certainly is a ‘state of the art’ kit with a price tag to match and you’ve done great justice to it and the real subject.
Best Regards,
Paul.
davecoward says
Hi Paul, thanks for the comments. Your right about it being expensive but you do get what your pay for with Tamiya kits and as an exercise in ‘how to produce a kit’ Tamiya’s kits just set the standard that everyone else tries to follow – just my opinion ;-)
Rob Ruscoe says
Hi Dave. Not normally into these modern jets. These days it seems ‘if it doesn’t look right, the computers will make it fly right’ mantra has taken over. Having said that, you’re build is just outstanding and I congratulate you on what you have achieved with this build.
Rob R
Willi Meyhoff Garcia says
spectacular build! absolutely brilliant, even for a “boring” grey subject!
How would you say the Have glass finish look like, compared to the real thing? MRP says to use a specific paint underneath, if I remember right, to make the effect as close as they can get it, to the original paint (as far as you can get by eye), and I was wondering how the reflection looks like from those different angles. Hope the question makes sense!
davecoward says
Hi Willi,
I’ve seen the real thing and its finish changes with both the angles you look at it and the weather conditions. I don’t think the MRP have glass varnish gives the really metallic finish you see in some photos when in the sun but it’s more of a subdued finish that you see on the more weathered aircraft or on a dull day. It doesn’t really change as the real finish does with perspective and light. I don’t recall MRP advising on any special paint underneath the varnish as I just used the recommended base paint FS colours.
Dave