Painting
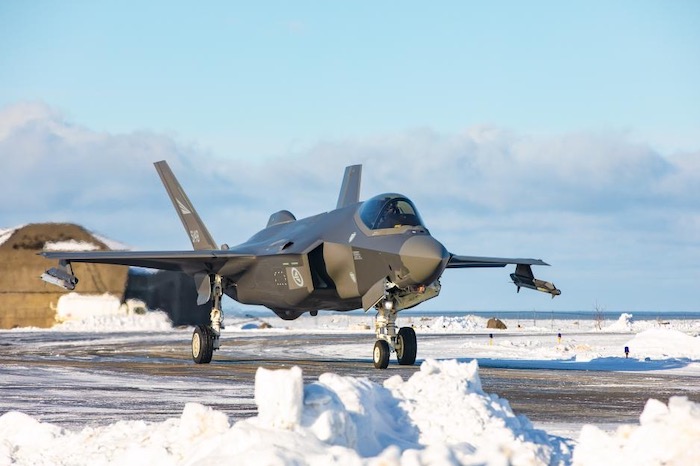
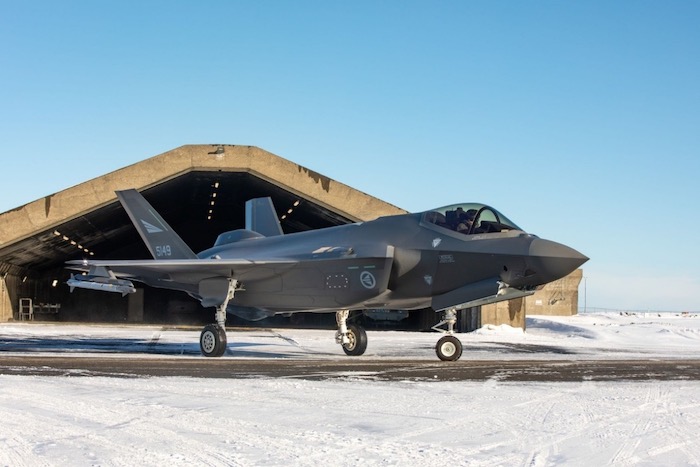
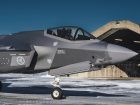
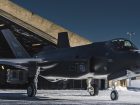
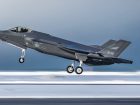
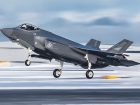
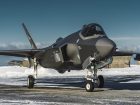
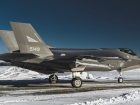
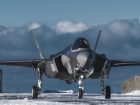
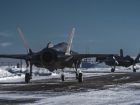
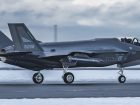
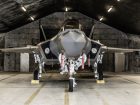
The first part of this process is references, references and more references. I found some great photos courtesy of NATO of Norwegian F-35’s which you can see below. Points to note are:
- How clean they are
- The obvious difference in the shades of grey
- The metallic sheen to the paint work
- The later RAM scheme as shown in the instructions
Gallery Grid
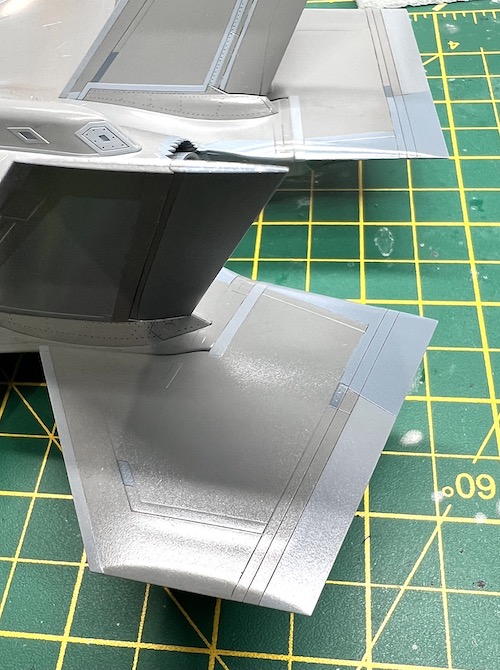
The kit has decals for most of the RAM panels (the early US and Japanese versions have A LOT of RAM decals) but rather than use the decals I decided that I would mask and paint all these panels. I highly recommend using one of the pre-cut RAM masking sets if you are going to down this route as it will make the process a lot easier. I opted to use two sets from NEW WARE. The generic expert set (NWAM 1037) for the common areas for both the early and late RAM versions and a specific set for the late RAM markings (NWAM 1040). There is also a set for the early RAM markings if you decide on this version (NWAM 1039).
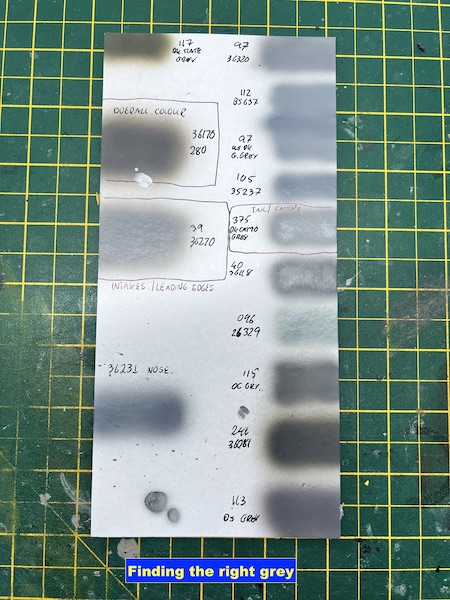
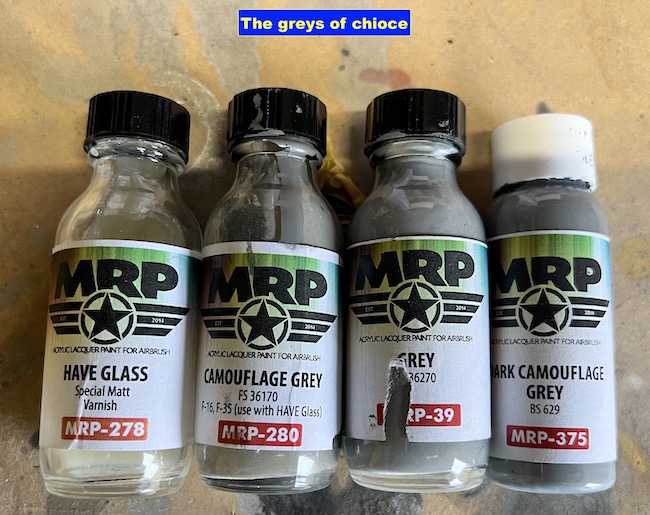
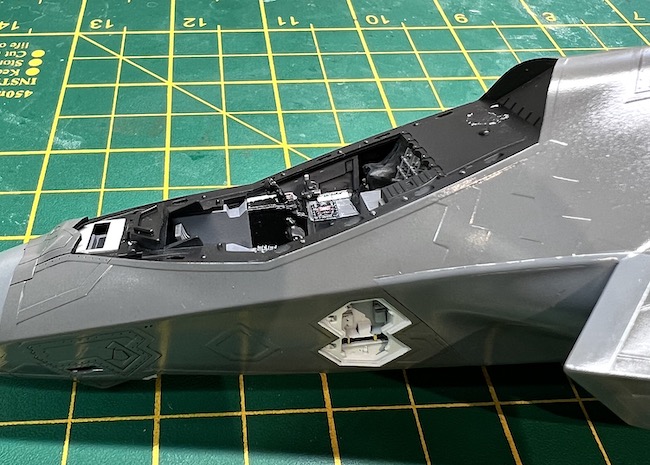
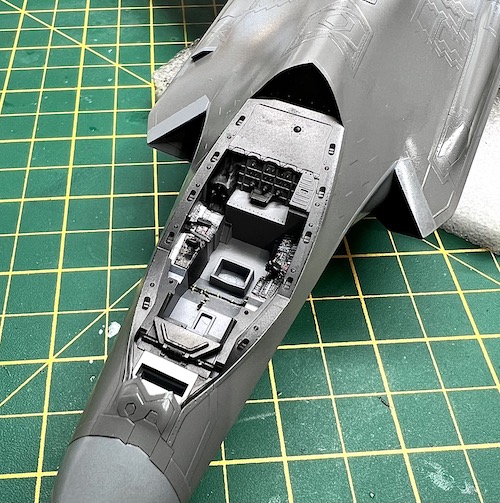
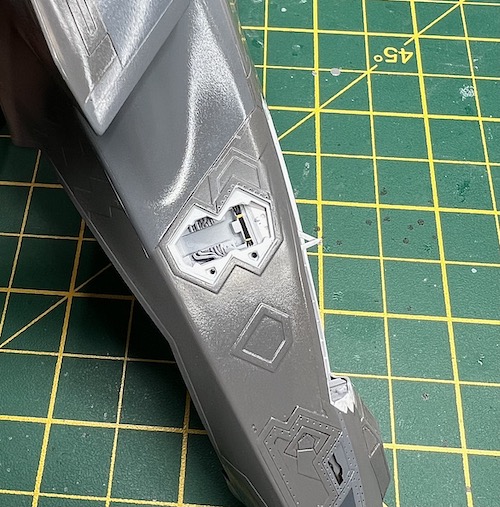
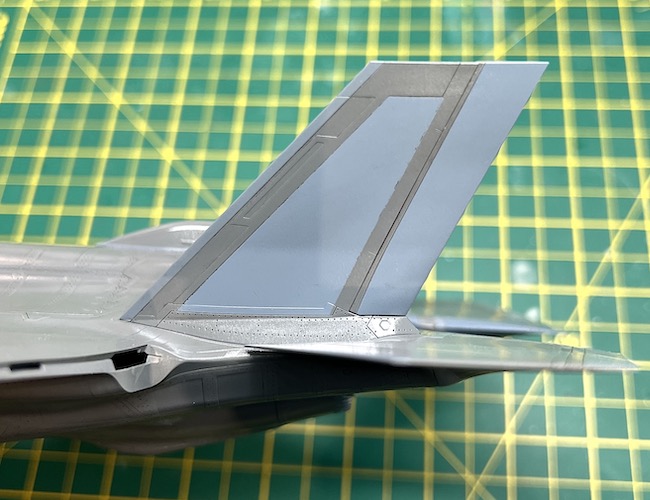
Now it was time to work out what paints to use. My go to paints are MRP (Mr Paints) and fortunately they make the main grey colour (FS36170 MRP-280) and the metallic sheen varnish, or Have Glass finish as it known (MRP-278). The other shades of grey proved to be more of a conundrum and a lot of trial spraying using other shades of grey was done as you can see from the paint shade board below. In the end I settled on FS 36270 (MRP-39) and BS629 (MRP-375) for the other shades of grey for the leading edge, engine intakes, canopy, nose and the area around the engine exhaust.
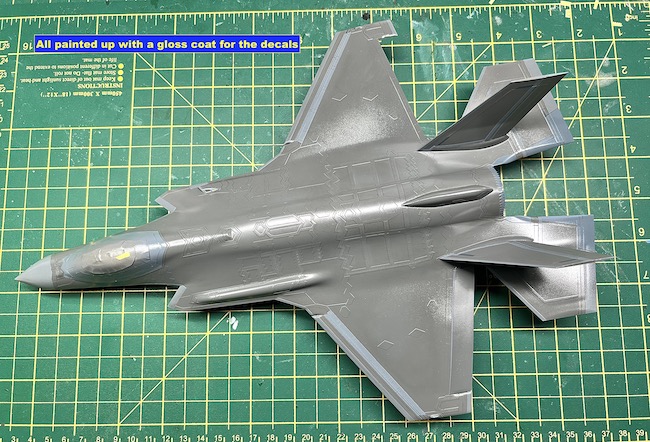
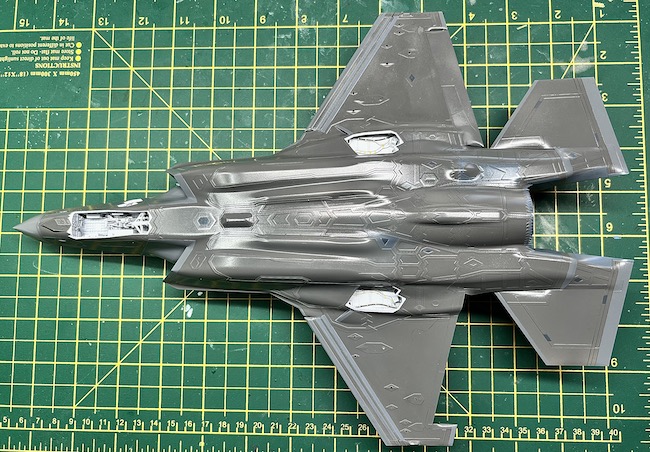
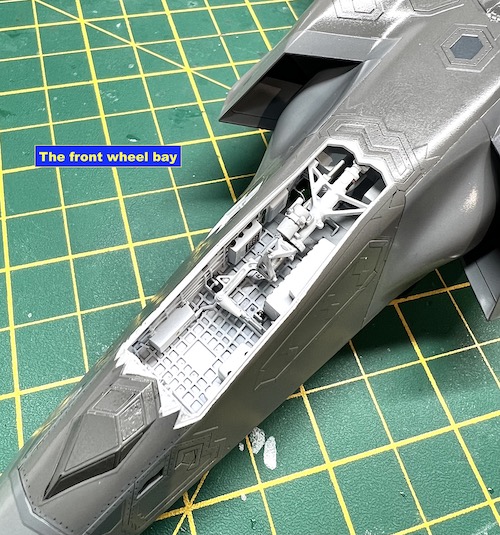
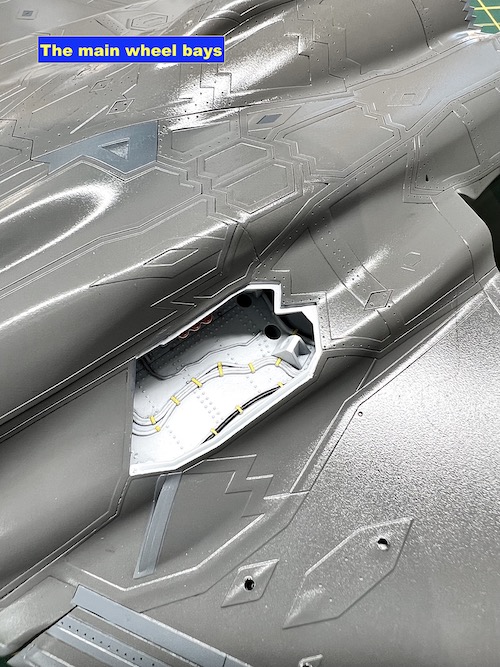
With the paints decided on it was then just a case of painting the base colour and then masking, spray, mask spray and repeat until all the paintwork was complete. The completed model was then given a coat of gloss varnish in preparation for the decals.
Paul Ainsworth says
Hello,Dave – A masterful build as always.The photo slideshow speaks for itself.

The Tamiya F-35 certainly is a ‘state of the art’ kit with a price tag to match and you’ve done great justice to it and the real subject.
Best Regards,
Paul.
davecoward says
Hi Paul, thanks for the comments. Your right about it being expensive but you do get what your pay for with Tamiya kits and as an exercise in ‘how to produce a kit’ Tamiya’s kits just set the standard that everyone else tries to follow – just my opinion ;-)
Rob Ruscoe says
Hi Dave. Not normally into these modern jets. These days it seems ‘if it doesn’t look right, the computers will make it fly right’ mantra has taken over. Having said that, you’re build is just outstanding and I congratulate you on what you have achieved with this build.
Rob R
Willi Meyhoff Garcia says
spectacular build! absolutely brilliant, even for a “boring” grey subject!
How would you say the Have glass finish look like, compared to the real thing? MRP says to use a specific paint underneath, if I remember right, to make the effect as close as they can get it, to the original paint (as far as you can get by eye), and I was wondering how the reflection looks like from those different angles. Hope the question makes sense!
davecoward says
Hi Willi,
I’ve seen the real thing and its finish changes with both the angles you look at it and the weather conditions. I don’t think the MRP have glass varnish gives the really metallic finish you see in some photos when in the sun but it’s more of a subdued finish that you see on the more weathered aircraft or on a dull day. It doesn’t really change as the real finish does with perspective and light. I don’t recall MRP advising on any special paint underneath the varnish as I just used the recommended base paint FS colours.
Dave