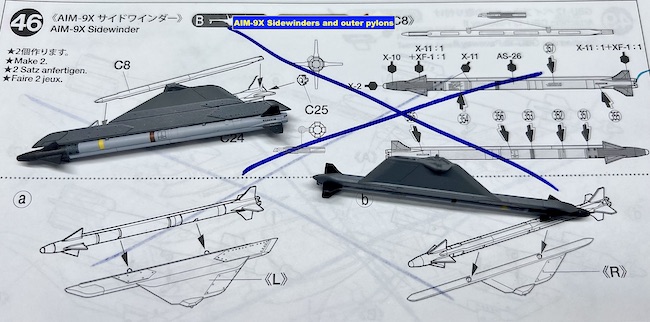
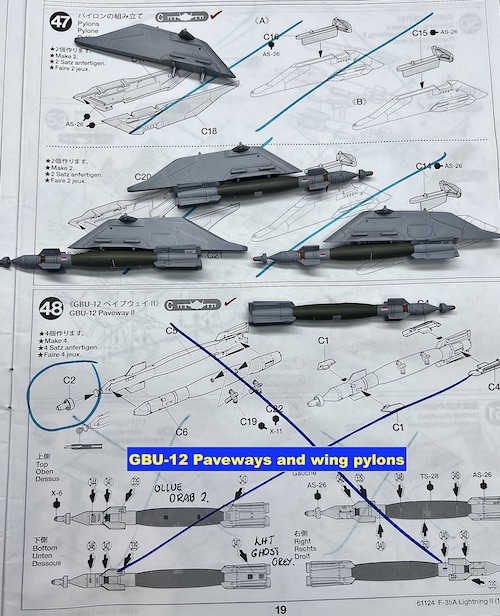
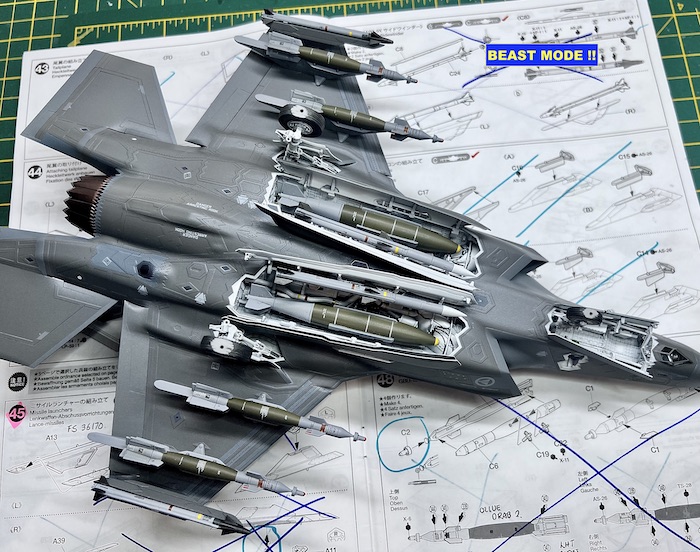
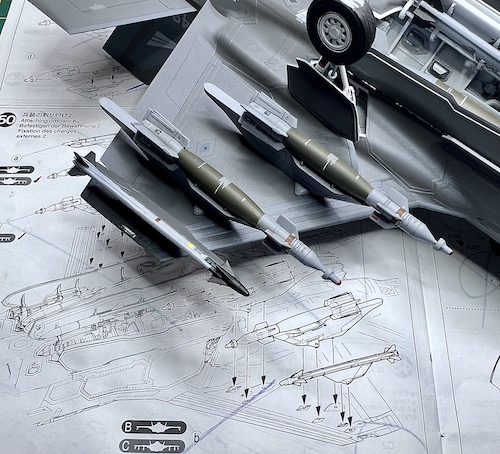
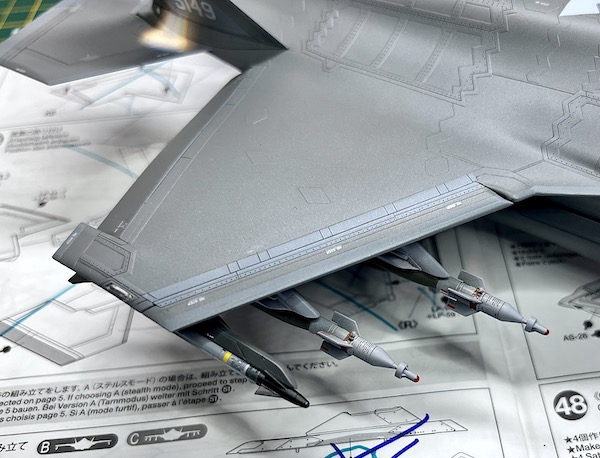
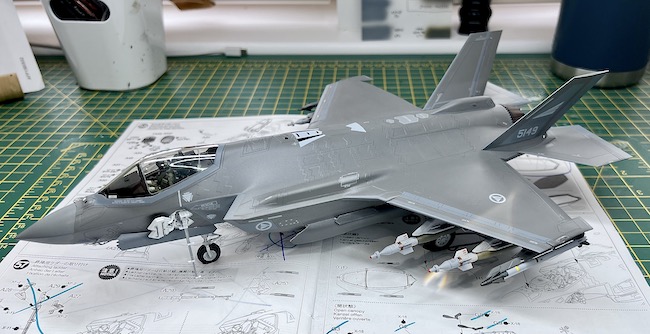
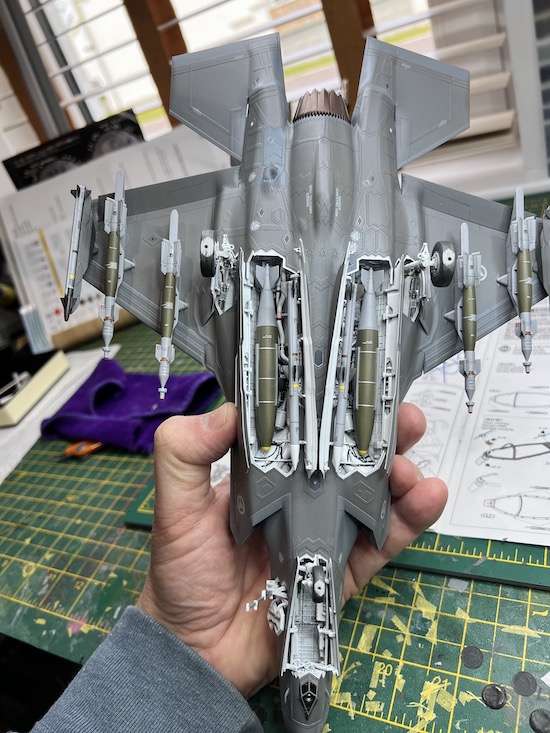
Now it’s time for the weapons if you have decided on the air to air weapon load or the full beast mode load out. The weapons are very nicely moulded but they do need some careful painting to get the best out of them.
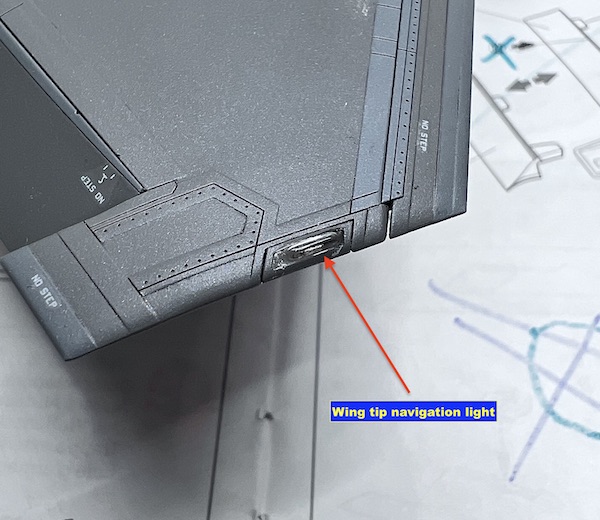
I mentioned earlier about the wing tip nav lights and how I used metallic film as the masking for these due to its pliability to conform to the shape. This can now be removed to reveal the clear parts.
Final run in
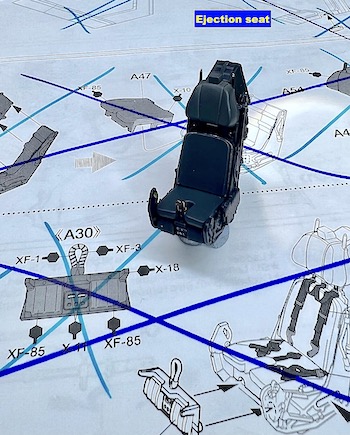
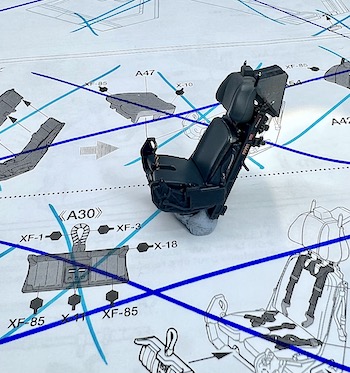
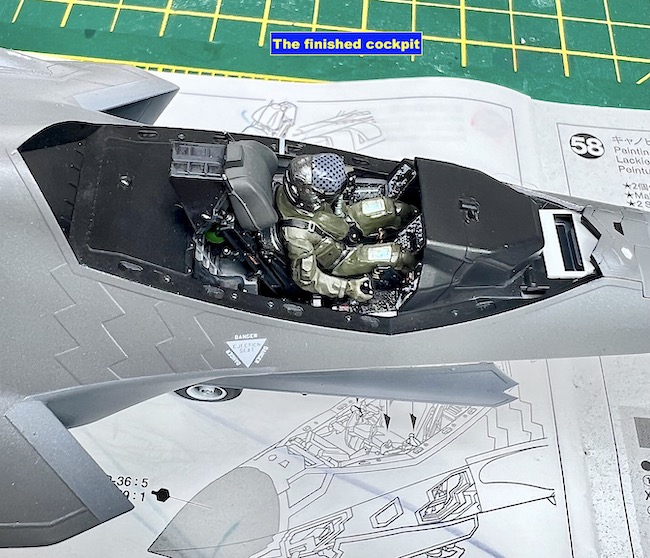
The final part of the build was the ejection seat, the pilot figure, the boarding ladder and the canopy. The seat from the box is actually very nice, the only downside in my opinion being the seat belts that are decals. They are ok but I would recommend either using the pilot or getting some aftermarket PE belts. I opted for the pilot as the figure is very nice and fits perfectly into the cockpit with the hands on the throttle and joystick.
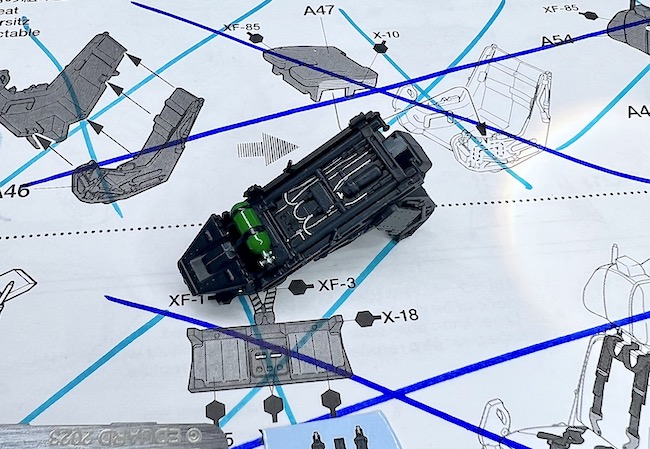
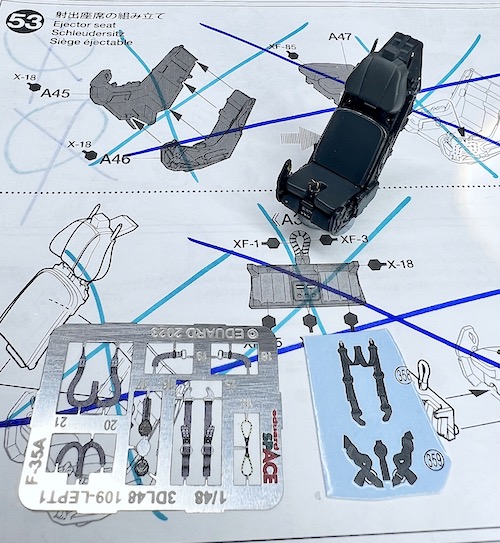
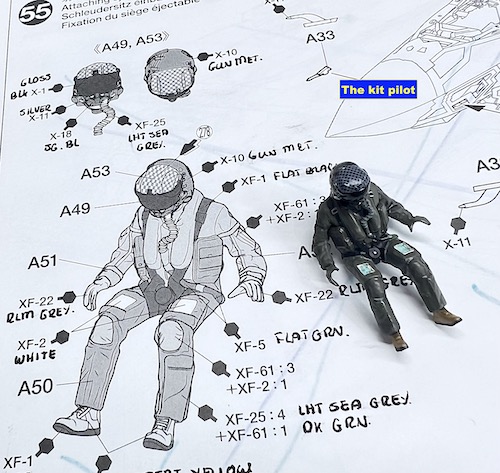
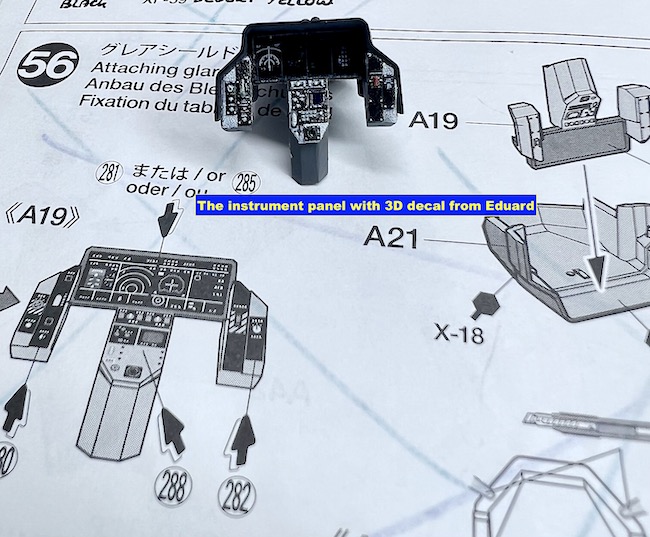
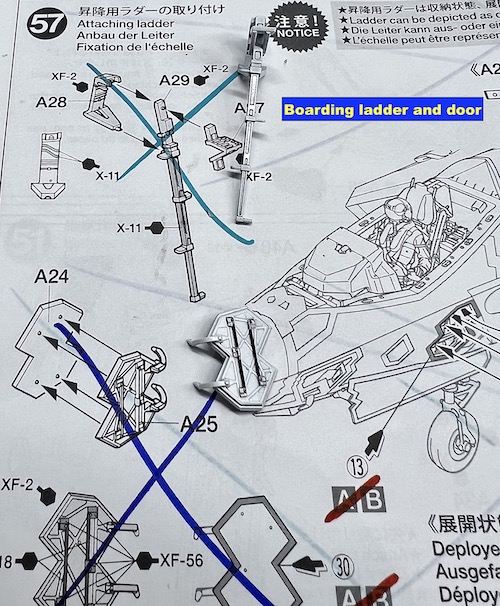
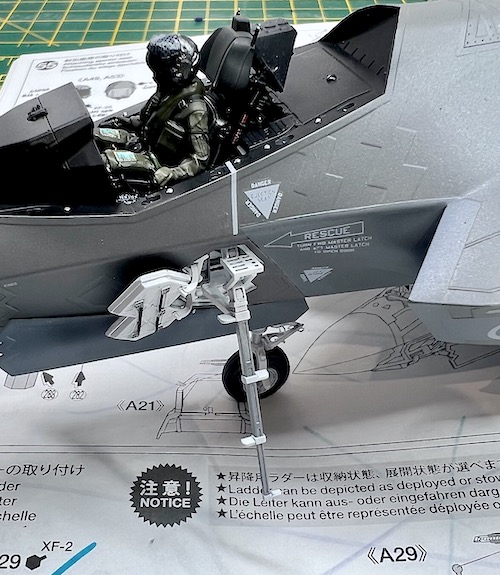
The boarding ladder can be either extended with the door open or retracted with the door closed. You have to make a choice of which option you want here as you can’t alternate between the options – I went for the extended ladder.
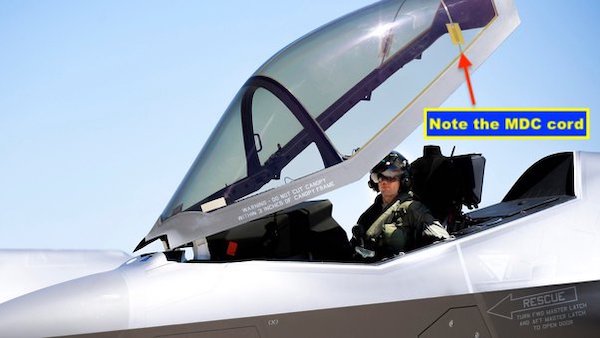
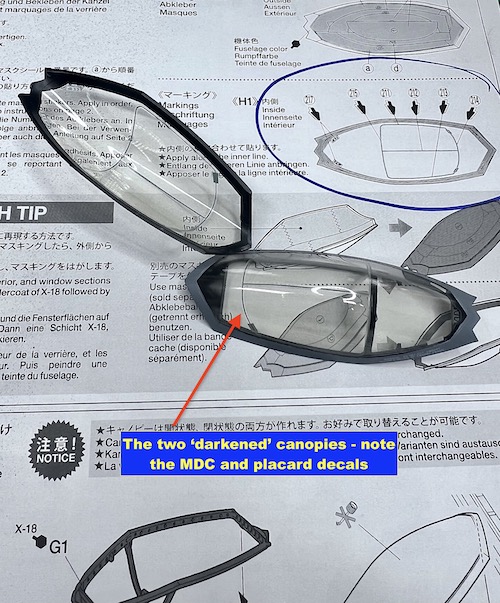
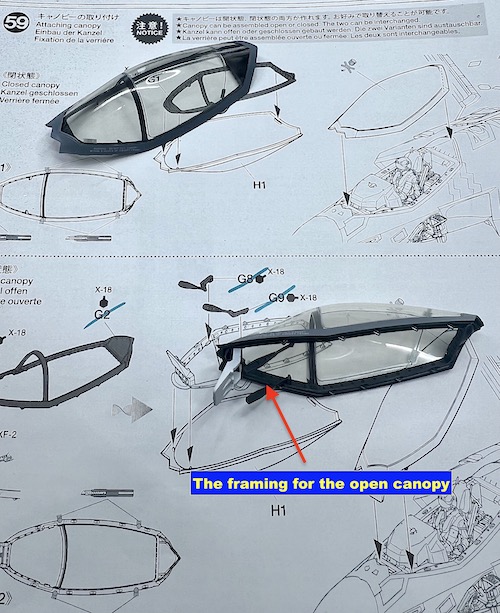
The final part is the canopy. The kit contains two clear canopies both moulded in a darkened clear plastic but they do need a mould seam removing from along the top (you could leave it if you are not comfortable doing this as it is quite minor and not very noticeable (the SMN Techniques Bank shows you how to remove this seam if you want to). The two canopies mean that you can alternate between an open and closed canopy as each canopy has a separate internal frame that allows this. Another nice touch are decals for the canopy MDC cord and warning placards.
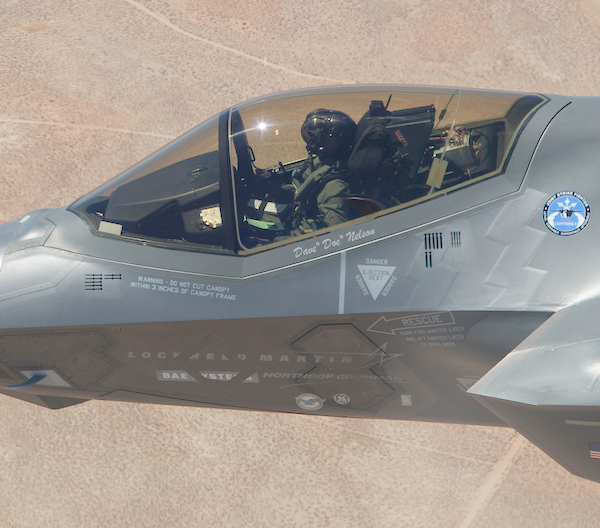
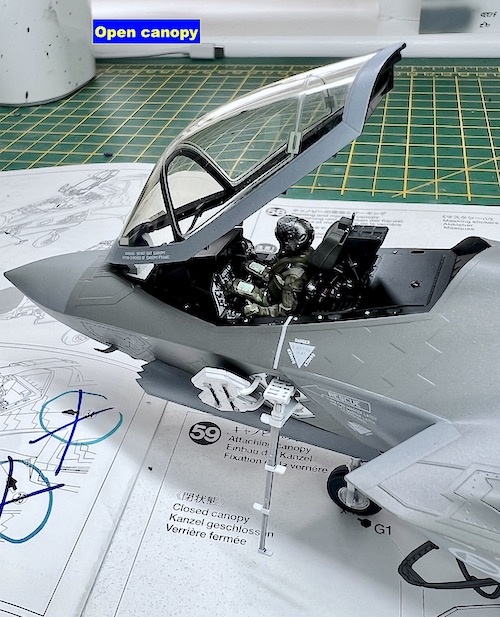
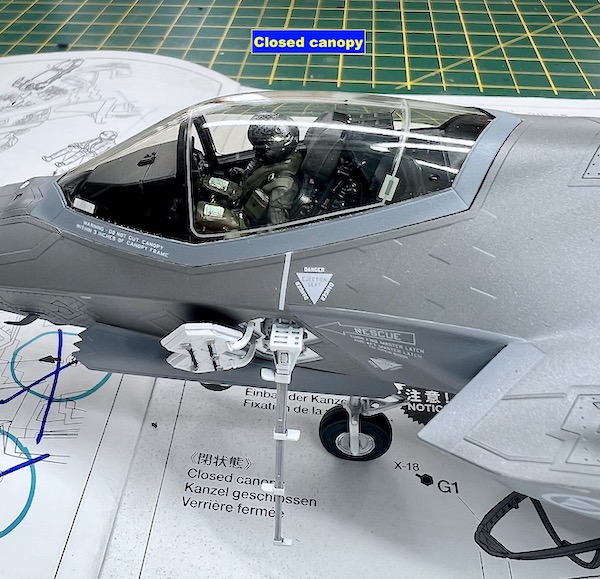
With the canopy fitted that was the model finished and I have to say for a ‘grey / boring’ jet it turned out to be a really nice and ‘interesting’ model once it was complete.
Paul Ainsworth says
Hello,Dave – A masterful build as always.The photo slideshow speaks for itself.

The Tamiya F-35 certainly is a ‘state of the art’ kit with a price tag to match and you’ve done great justice to it and the real subject.
Best Regards,
Paul.
davecoward says
Hi Paul, thanks for the comments. Your right about it being expensive but you do get what your pay for with Tamiya kits and as an exercise in ‘how to produce a kit’ Tamiya’s kits just set the standard that everyone else tries to follow – just my opinion ;-)
Rob Ruscoe says
Hi Dave. Not normally into these modern jets. These days it seems ‘if it doesn’t look right, the computers will make it fly right’ mantra has taken over. Having said that, you’re build is just outstanding and I congratulate you on what you have achieved with this build.
Rob R
Willi Meyhoff Garcia says
spectacular build! absolutely brilliant, even for a “boring” grey subject!
How would you say the Have glass finish look like, compared to the real thing? MRP says to use a specific paint underneath, if I remember right, to make the effect as close as they can get it, to the original paint (as far as you can get by eye), and I was wondering how the reflection looks like from those different angles. Hope the question makes sense!
davecoward says
Hi Willi,
I’ve seen the real thing and its finish changes with both the angles you look at it and the weather conditions. I don’t think the MRP have glass varnish gives the really metallic finish you see in some photos when in the sun but it’s more of a subdued finish that you see on the more weathered aircraft or on a dull day. It doesn’t really change as the real finish does with perspective and light. I don’t recall MRP advising on any special paint underneath the varnish as I just used the recommended base paint FS colours.
Dave