The build
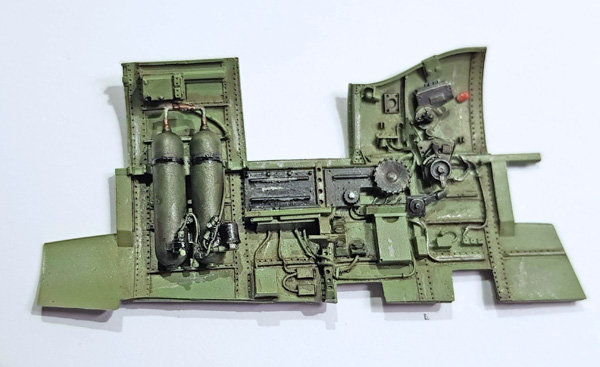
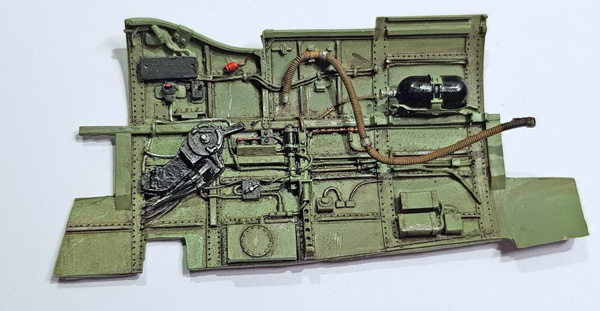
I opted to go with the Aires cockpit upgrade set as it gave more detail than the barracuda one (BIG MISTAKE) but more on that in a minute.
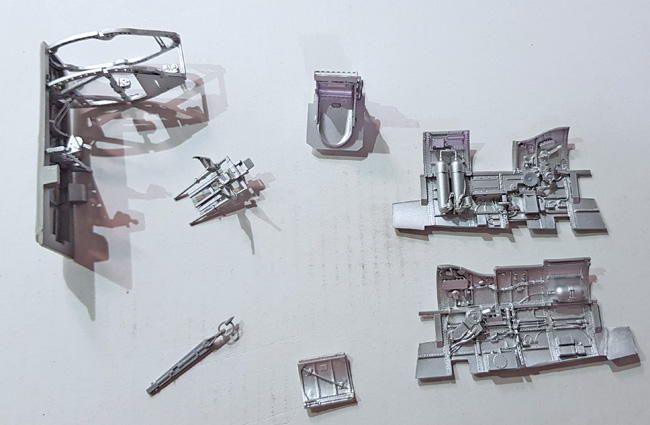
So after I made a couple of sub-assemblies I sprayed them all with decanted Tamiya TS-30
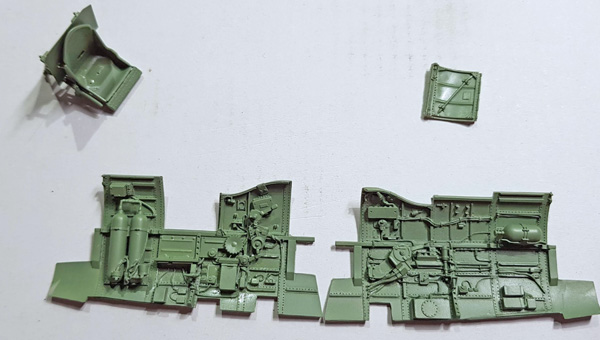
Over this I sprayed Mr. Color 364 Aircraft Grey Green
Next was some brush painting of the details, I used Revell Aqua Color for this, and you can see the Eduard colour photo-etch instrument panel. At this point I started chipping the cockpit, this was done with a fibre glass pen and a tooth pick.
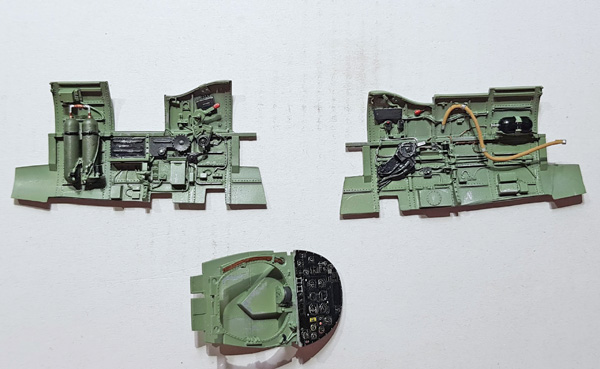
Then to grime it up some I went over the internals with Tamiya Panel Line Accent Color (Dark Brown) I then used lighter fluid (the type for zippos) on a cotton bud and paint brush to remove the excess.
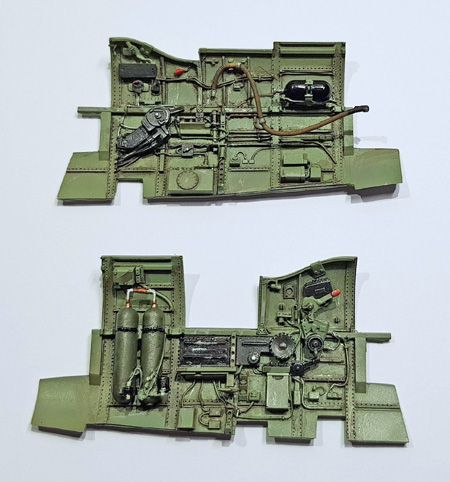
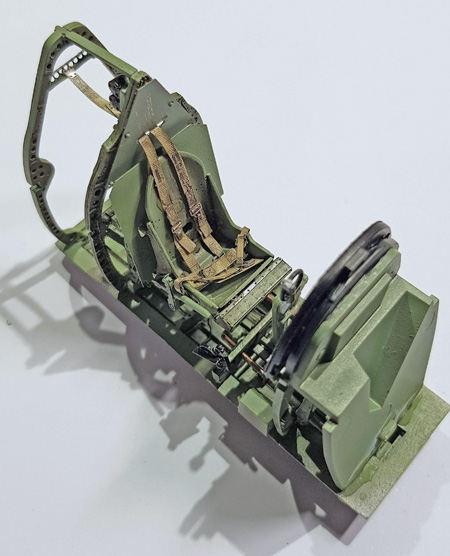
Then it was on with the fitting on the very nice Eduard seat belts, though not up to the standard of the fabric ones available they a still an improvement over the kit provided ones.
Once fitted the belts were given a coat of brown enamel wash then this was knocked back with thinners.
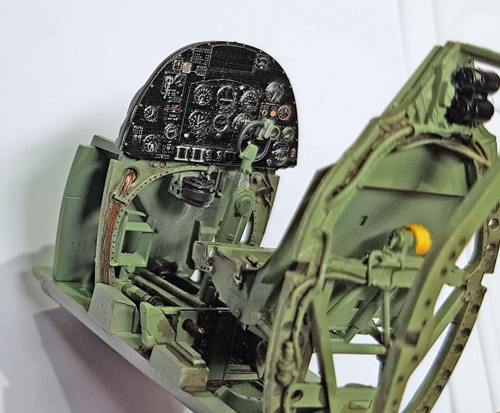
Also you can see a better shot of the Eduard instrument panel, the one thing I did to this was to place a drop of Microscale Industries Micro Kristal Klear on each instrument dial to give it the glass look.
George Eberling says
Do you have a tutorial on how to do invasion stripes?
Geoff Coughlin says
Hi George,
That’s a good question and I don’t think so – specifically in the SMN Techniques Bank, but there will be! I’ll look to create one for everyone very soon. In the meantime, do check out Aircraft-Finished Now and pick any of the finished model projects that feature aircraft with these stripes and pick up any hints and tips that you can. Best wishes, GC (30Dec21)