AND NOW THIS IS WHY I WILL NEVER BUY AIRES EVER AGAIN
I should start by saying this is the 2nd 1:32 Tamiya kit I’ve used Aires resin on and it was nothing but a disaster and £40 down the drain when trying to use it for my F-16 and now this…
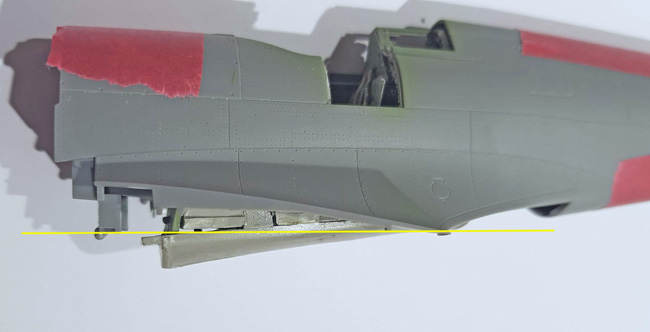
The yellow line shows where the lower fuselage fits, as you can see I have a tad too much cockpit hanging down. I would love to say it wasn’t fitted correctly up top but sadly that is not the case.
The 2nd problem being that I sanded all the details off the side walls to allow for the resin tub to fit so I can’t back track and go with the Barracuda set. So how did I go about fixing it? I got my jolly big Tamiya saw and …
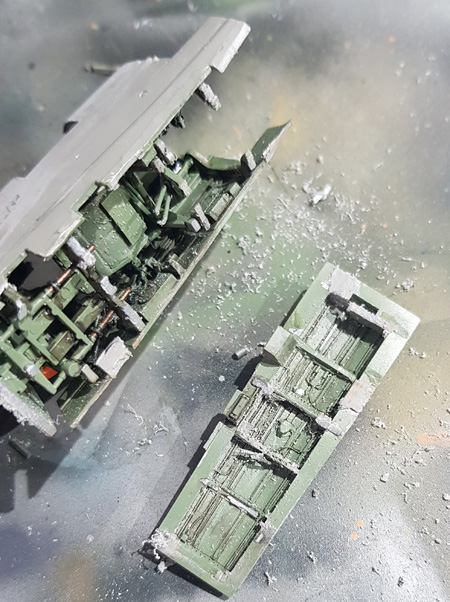
Yep no messing about I hacked it off. And now it fits, though now a bit dusty. But lesson learned.
Fool me once, shame on you; fool me twice, shame on me, and yes I was fooled twice but I do learn eventually.
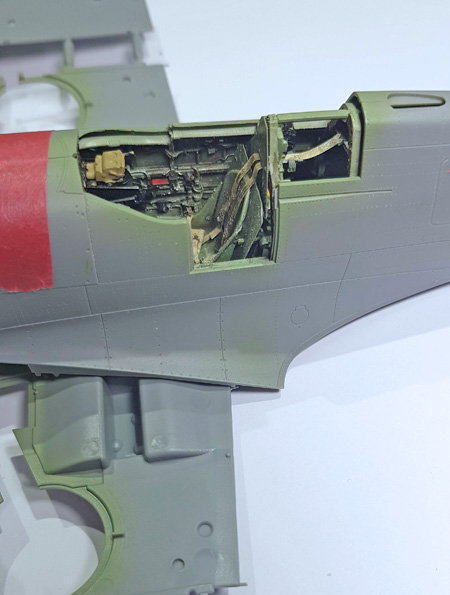
Well after that debacle its back to the normal fun of working with a 1:32 Tamiya kit. A quick bit of spraying and masking preps the lower fuselage before the upper wings are added.
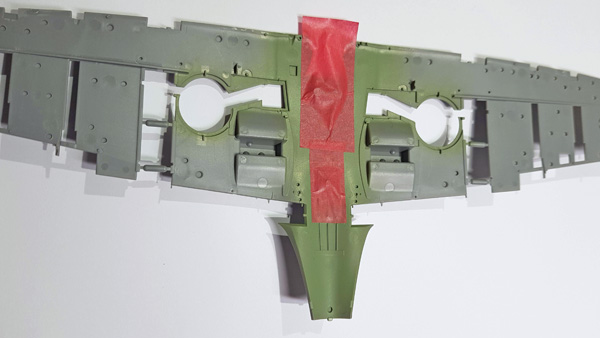
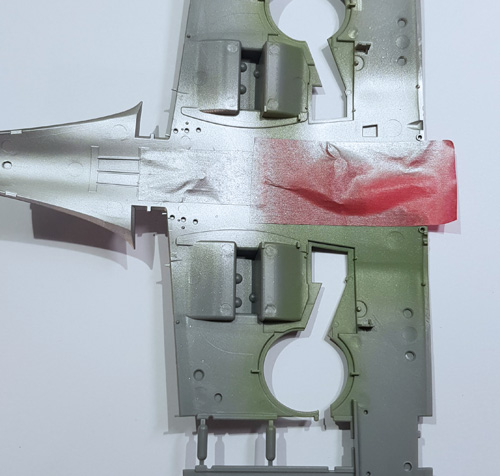
The wheel wells were painted with my usual technique of an undercoat of TS-30 followed by the required topcoat in this case Mr. Color C363 Medium Sea Grey. Then I give it a bit of a scratch with a tooth pick. This will also be given a brown wash to dirty it up.
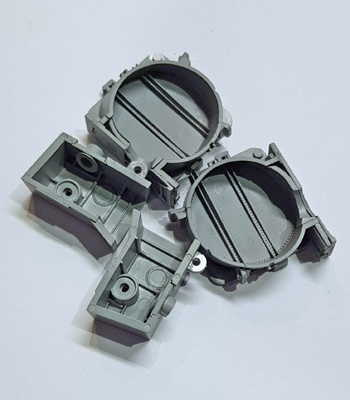
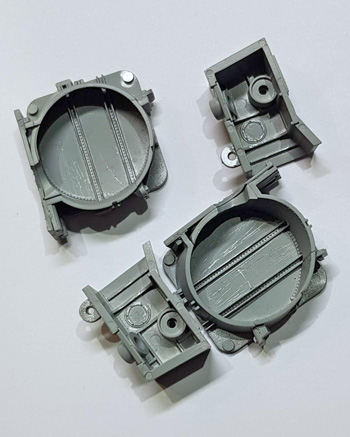
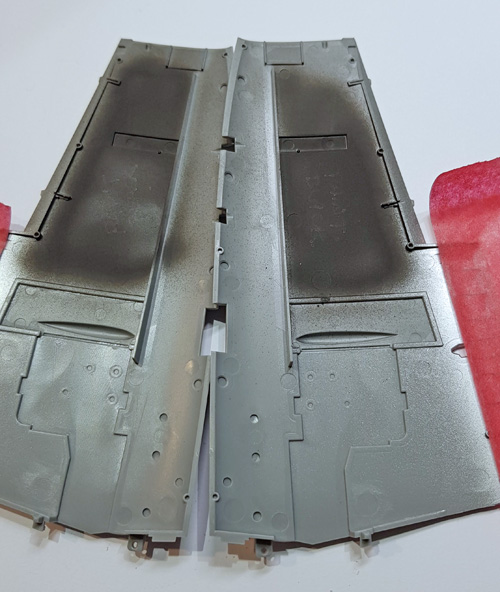
The inside of the upper wing is sprayed black to give some back ground to the ejection ports.
George Eberling says
Do you have a tutorial on how to do invasion stripes?
Geoff Coughlin says
Hi George,
That’s a good question and I don’t think so – specifically in the SMN Techniques Bank, but there will be! I’ll look to create one for everyone very soon. In the meantime, do check out Aircraft-Finished Now and pick any of the finished model projects that feature aircraft with these stripes and pick up any hints and tips that you can. Best wishes, GC (30Dec21)