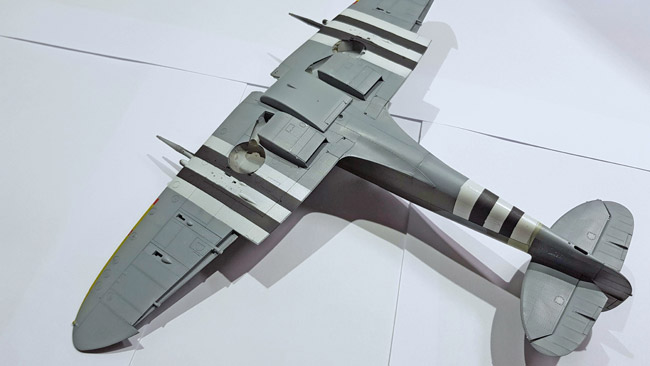
For this plane the invasion stripes are 10” bands compared to the standard 18”. this works out at 7.94mm per band so to round it up 8mm each and a 40mm section of wing and tail to mask. Here you can see the red tape used as my spacer to give me my correct outside edge – this is done on both wings and the rear.
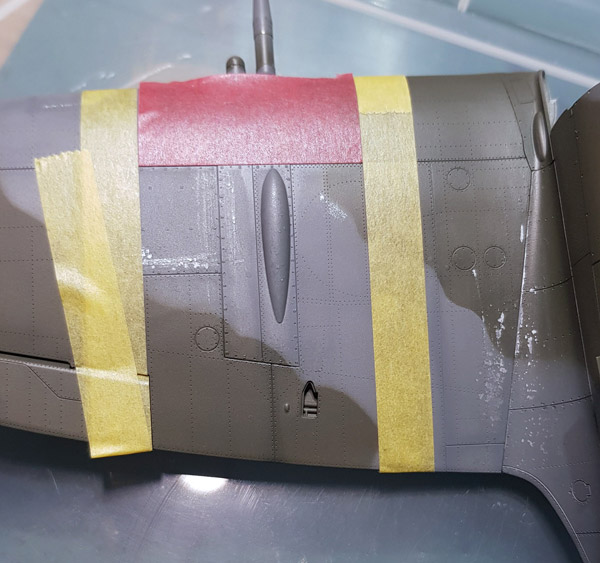
To prevent over spray I use skirting board tape which is generic yellow tape with some thin plastic sheet attached, this is just wrapped around where needed.
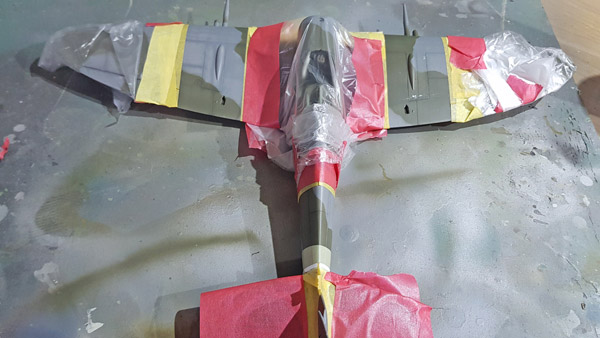
Mr. Color C69 Off White is then used for the base of the invasion stripes.
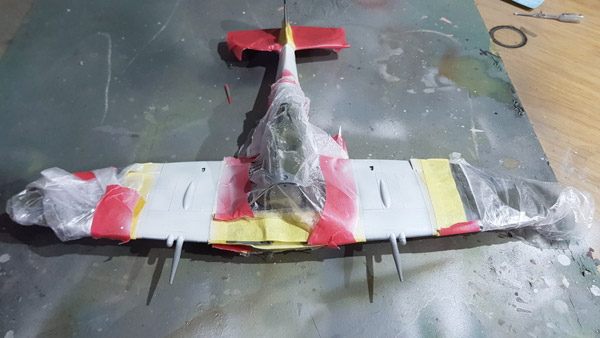
I used my Infini Easycutting Type A mat to easily cut my 8mm strips of tape, Geoff has a reveiw of the Type B here.
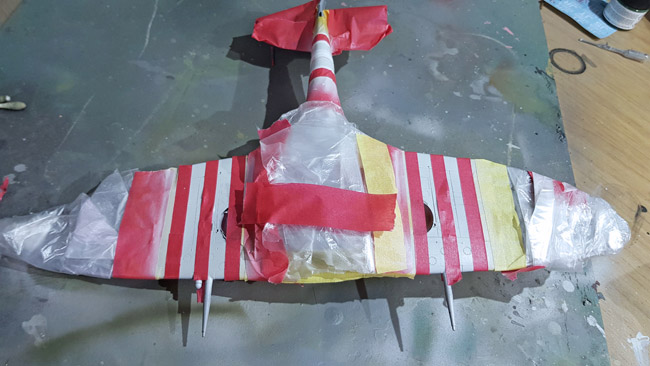
Tamiya Rubber Black was used for painting the black stripes. I really like this colour as it works brilliantly for giving a “scale black look”.
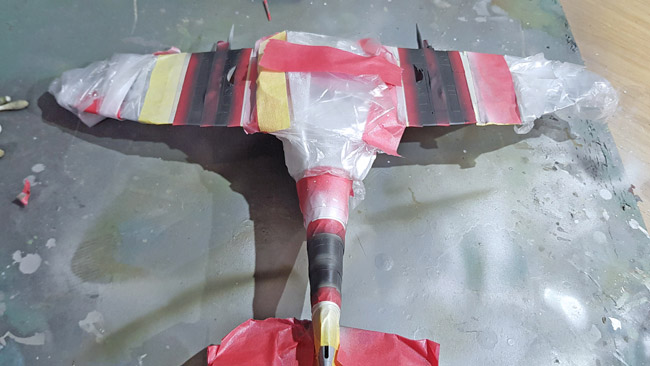
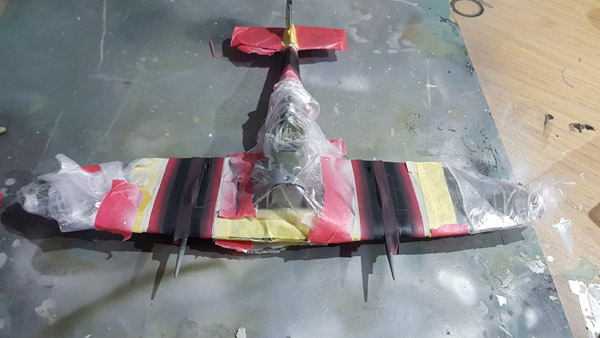
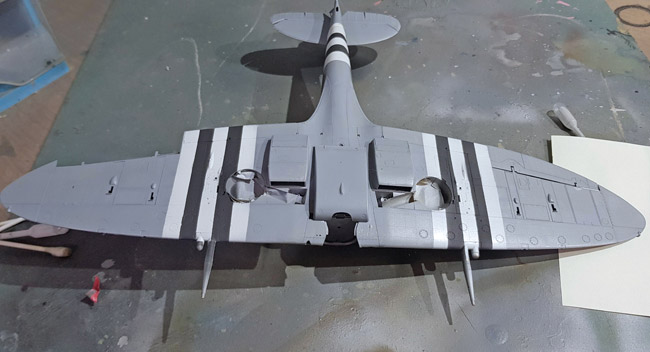
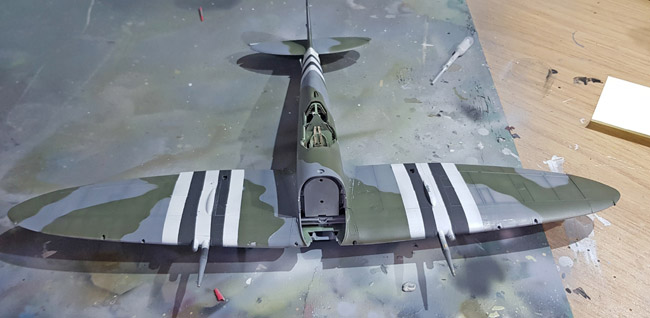
Now this is probably a bit of over kill when it comes to painting a model but I thought I would try to keep to how the real world subject was treated. Which is basically it was initially painted, invasion stripes were added then the top surface stripes were over painted again with camo so that is how I’m doing it.
So back in with the Mr. Color ocean-grey and some more of Mr. Eatons brilliant masks printed off and applied.
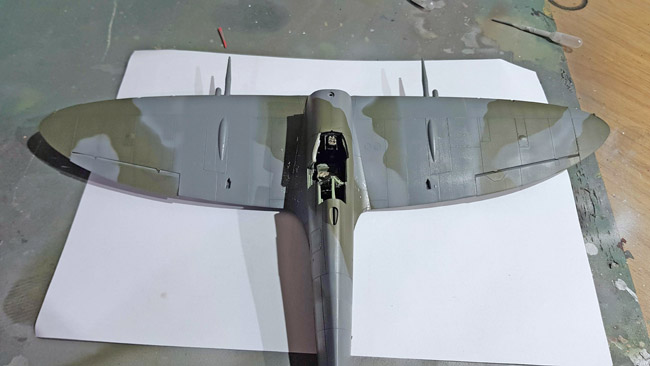
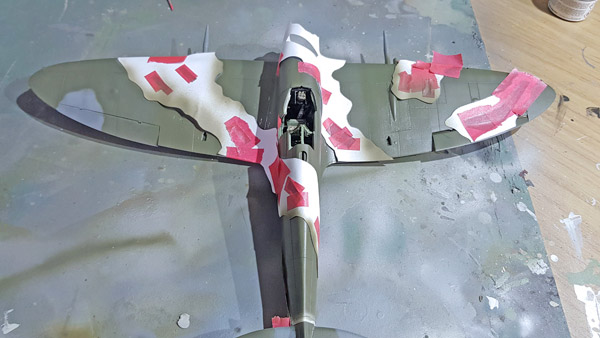
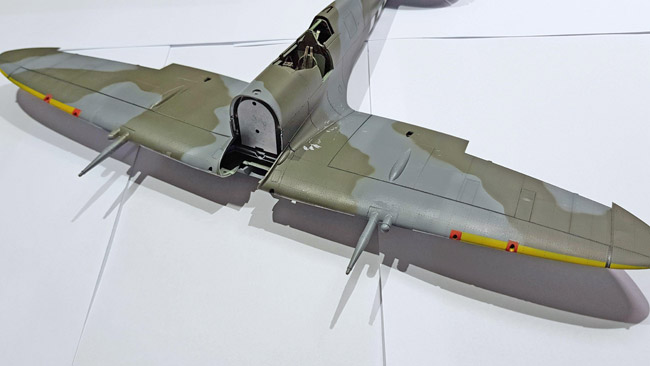
The next little step was to mask and paint the yellow on the leading edges and I also decided to mask and paint the walkway lines. You can also see where some of the chipping fluid was removed by the masking from before.
George Eberling says
Do you have a tutorial on how to do invasion stripes?
Geoff Coughlin says
Hi George,
That’s a good question and I don’t think so – specifically in the SMN Techniques Bank, but there will be! I’ll look to create one for everyone very soon. In the meantime, do check out Aircraft-Finished Now and pick any of the finished model projects that feature aircraft with these stripes and pick up any hints and tips that you can. Best wishes, GC (30Dec21)