Reviewer: Dave Coward (January 2013)
Our thanks to Alclad2 for supplying the metallic paints for this review – www.alclad2.com
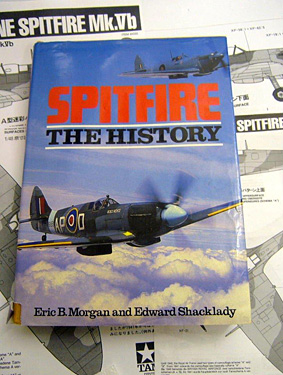
References used: Spitfire the History By Eric B Morgan and Edward Shacklady ISBN 0-946219-10-9
Construction:
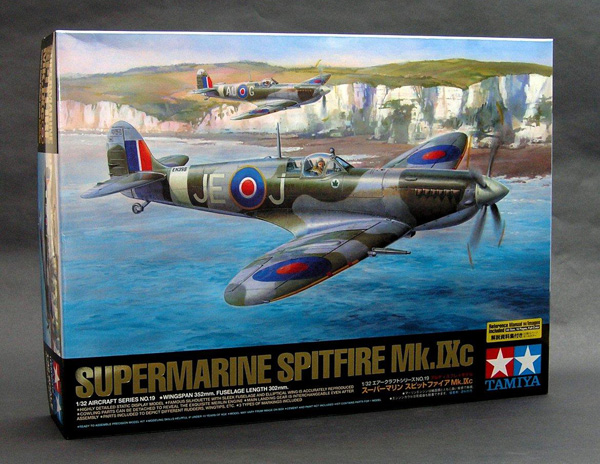
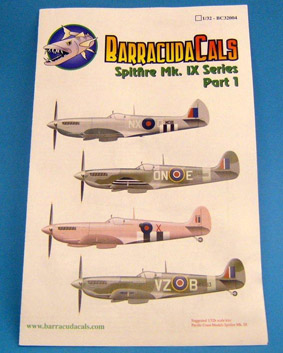
This is the second build of this kit for the magazine. Unlike Julian who is running a parallel detailed build I intend to pretty much build the kit out the box to show what you can achieve with the ‘basic’ kit. The only item I will use that is not out of the box is a set of Barracuda Decals but these will be for an identical aircraft to option A (Johnnie Johnson’s Mk.IX) so the build will be as per option.
Much has already been said and written about the quality of this kit and my initial impressions upon opening up the box back up all these observations. Rather than describe the contents of the box (See the EIR) I will get on with the build.
Cockpit
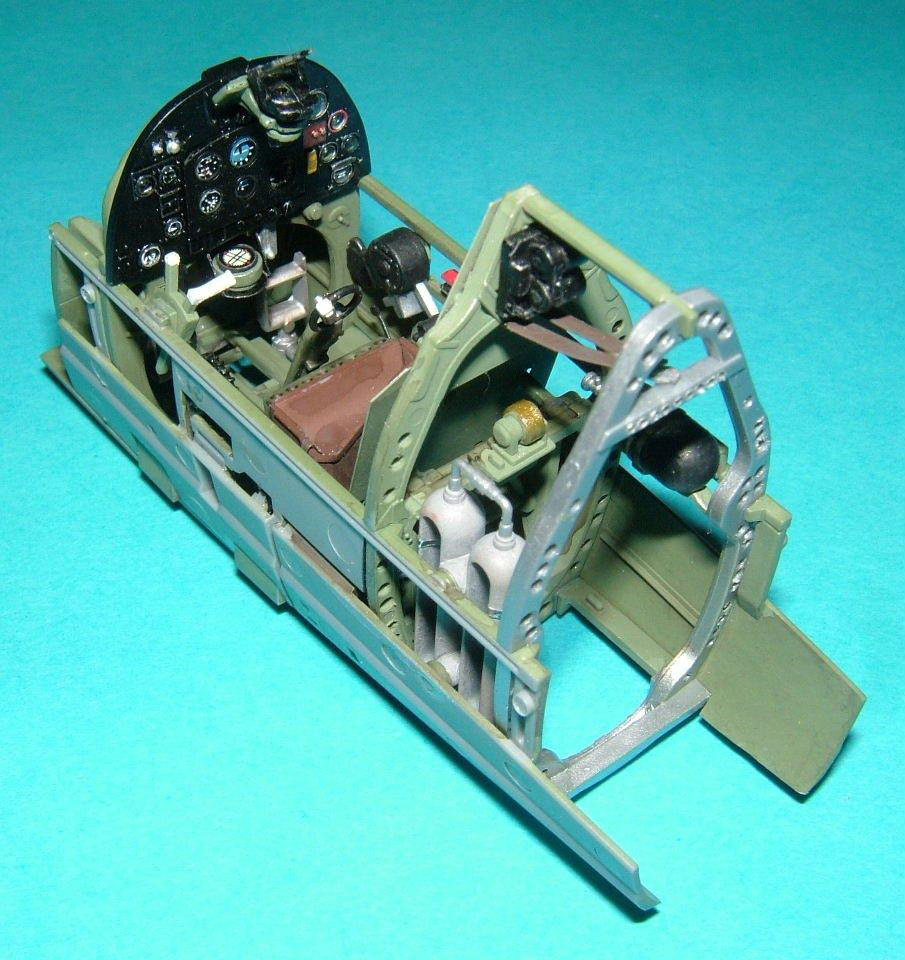
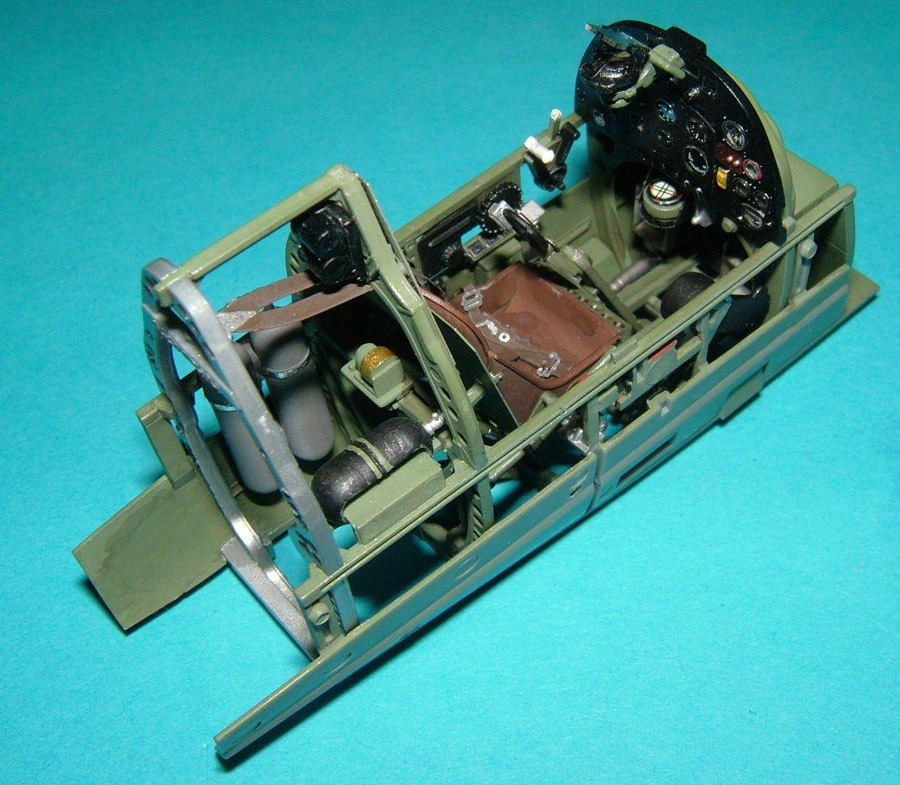
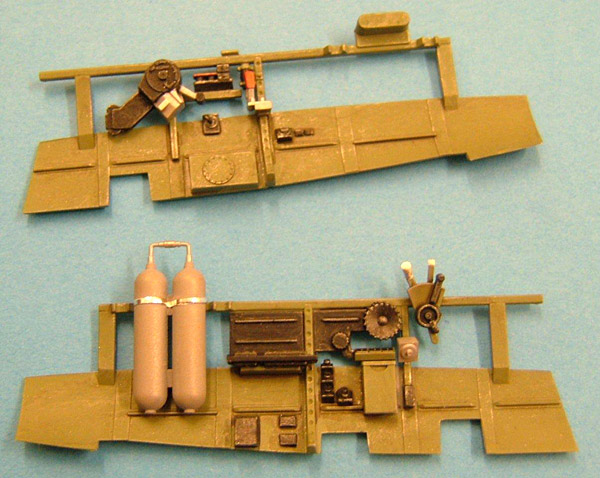
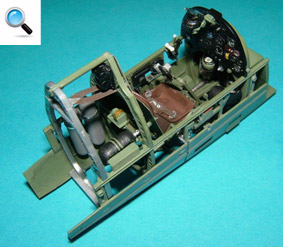
I started with the cockpit as per the instructions. This is a work of art in its own right and the fit quality has to be seen to be believed, so much so that the paint has to be scraped from mating surfaces to get a perfect fit as the tolerances are so tight. I did drill out the lightening holes in the cockpit frames before assembly but this is not really that necessary as a dark wash will highlight them just as well.
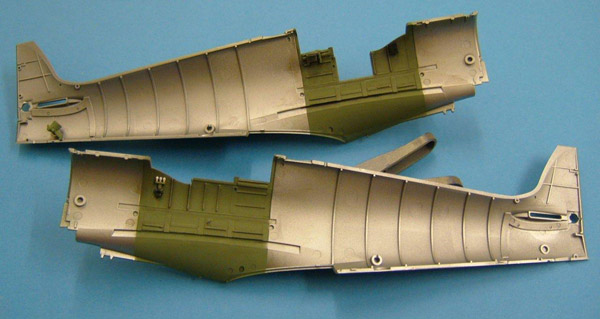
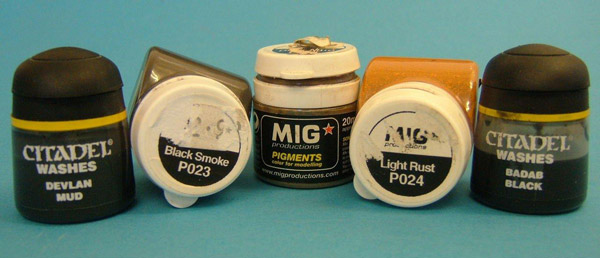
The only build observation I can comment on for the cockpit is to make sure you really read the instructions as there are a lot of parts and some can easily be missed during construction. I painted the interior with Tamiya XF-71 and weathered it using a combination of Games Workshop washes and dry brushing with silver enamels. Other useful items are Mig Pigments that can be used to dust mud onto the appropriate areas.
One area that I did have some initial concern for were the seat belts. The PE seemed to be quite thick and difficult to bend but a quick heating with a lighter until the metal changed colour soon made it a lot more malleable and the end result, once painted, is quite good.
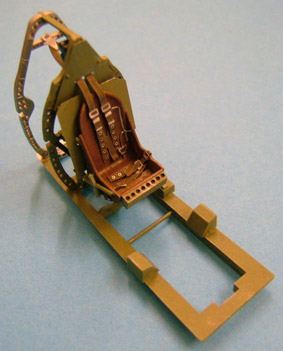
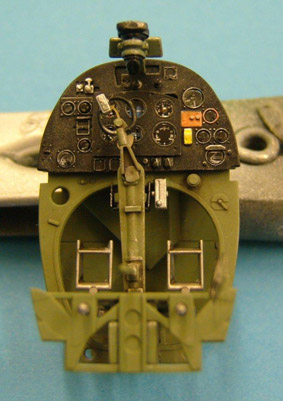
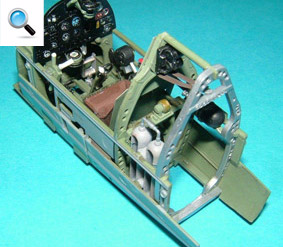
The cockpit is made up of 4 main assemblies; 2 side walls, the instrument panel and the seat/floor assembly. These fit together so well that glue is not required to hold them together but I used some Tamiya Extra Thin Cement which I capillaried into the joins just to hold them in place. The whole cockpit then sits in the fuselage sides and these can be joined together – the fit is exceptional.
ZOOM - Move your mouse over image
ZOOM - Move your mouse over image
