Construction
References used:
- The Instructions
- The Internet
Aftermarket Extras:
- Radu Brinzan PE aerofoil section rigging
- GasPatch Models RFC Turnbuckles
- Lycra Thread
- Wings RFC Standing Pilot (available from MDC)
- Modelscene grass mat base (available from Historex)
- Just Bases MDF base
- Albion Alloy Tubing
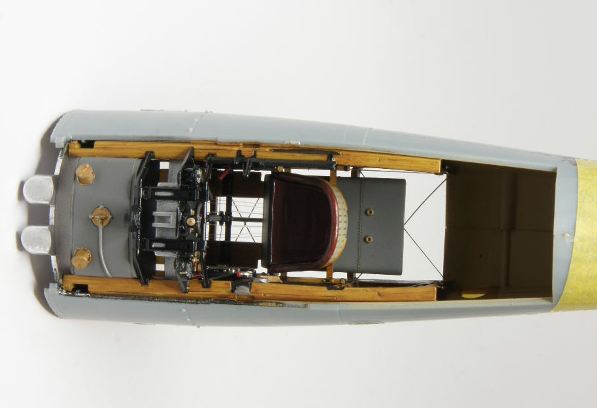
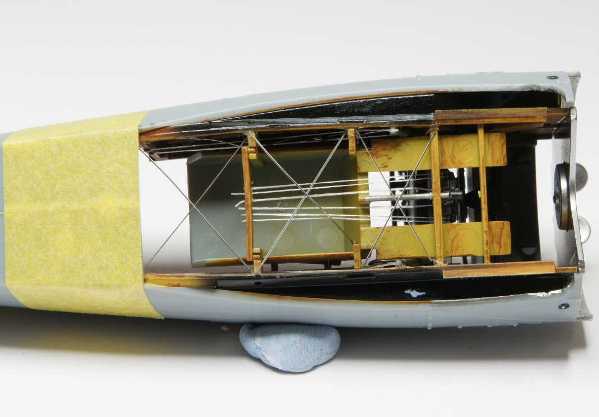
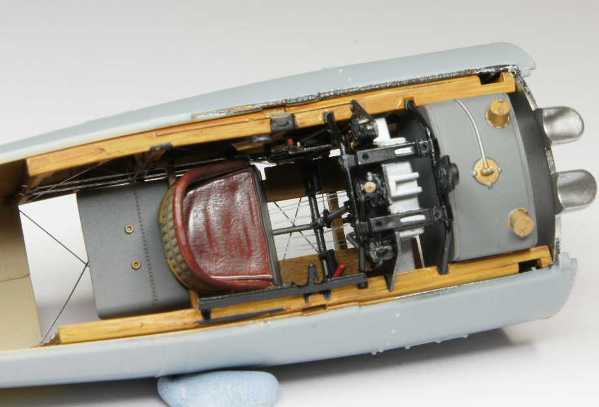
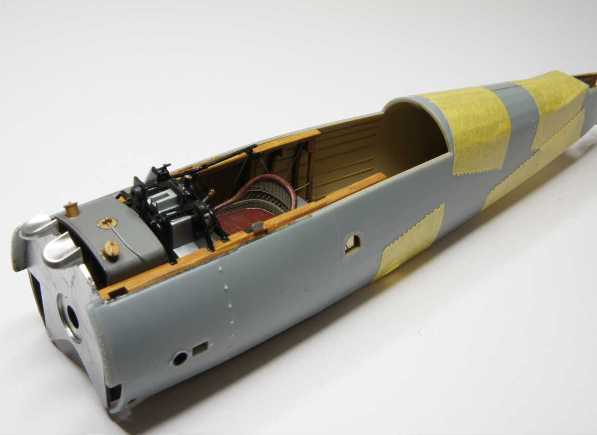
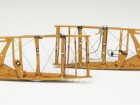
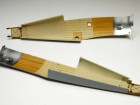
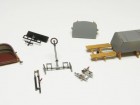
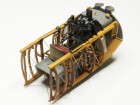
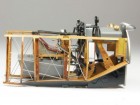
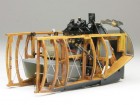
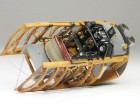
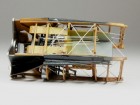
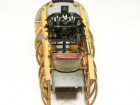
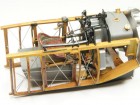
As ever we start with the cockpit. This is quite a complex structure but if you follow the excellent instructions it’s very straightforward with an equally excellent fit. The acrylic paint call outs are for Tamiya paints but these can easily be cross referenced to other manufactures (have a look at the IPMS Stockholm website). My preferred paints are Gunze Sangyo and equivalent colours are easily found. The wood effect is created using a Tan base and then oil paints that are brushed across the surface with a combination of a sponge and a flat tipped brush. The oil is worked with these until you get a nice wood grain effect. Oils can be quite slow to dry so I use an accelerator and then the effect is sealed with a coat of Klear followed by an acrylic varnish. The creation of a wood grain effect is fully explained and illustrated in the Techniques section.
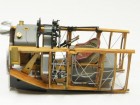
The internal bracing is made from Radu Brinzan`s PE aerofoil rigging. This is cut to length and superglued in place but you could just as easily use stretched sprue, Lycra thread or EZ line. The control surface cabling is Lycra thread, otherwise the cockpit is out of the box and some careful painting it looks amazing, and in my opinion Wingnut’s best yet.
With the cockpit complete (the lap belts were added at this point but the shoulder straps have been left off – more about these later) it can be placed into the cockpit sides and these can be sealed up. The fit again is perfect.
