Rigging
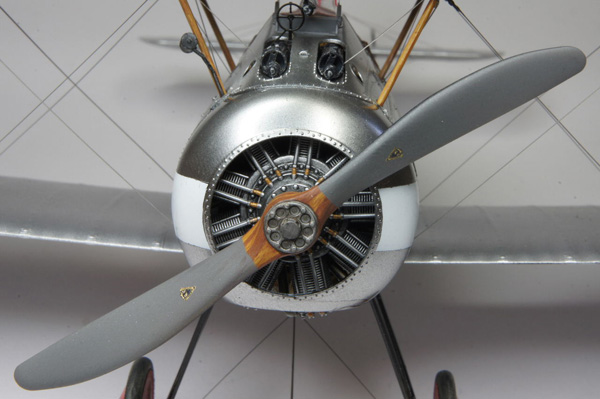
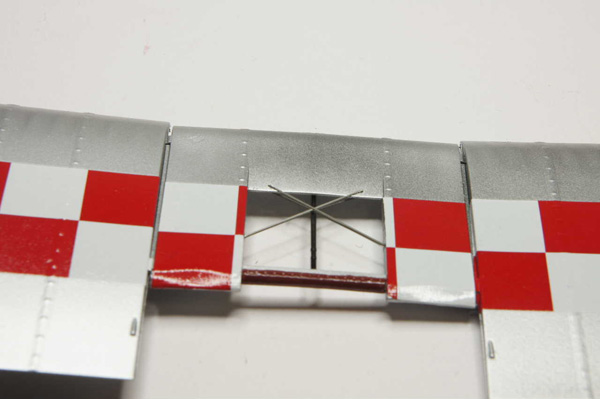
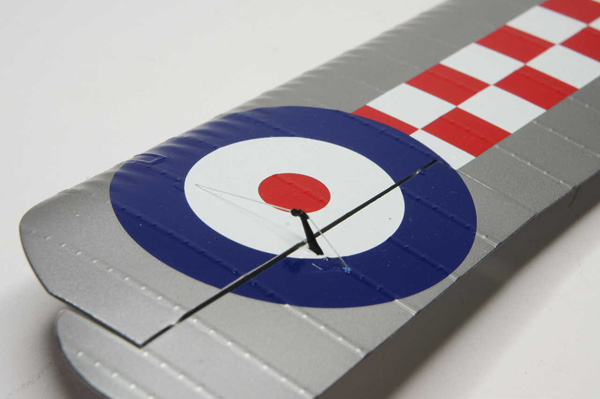
Before adding the rigging I would advise you add the telescopic sight as this needs some very careful positioning and to say it is awkward to do would be an understatement!! The final part of the airframe is to add the rigging. Again the PE rigging was used and as with the tail surfaces patience and careful measuring is required. The top part of the rigging is glued to the turn buckle first but the lower end is left unglued and resting against the lower turn buckle. The remaining rigging can be added but DON`T glue the lower joints yet. Once all the rigging is in place rest the model on its wheels and then added a small dab of super glue to each of the lower turnbuckle/ riggings joints. DON`T lift the model at any point during this process as the wings will bend and the rigging wire will be glued in the wrong place – the result will be a bow in the wire when you rest the model on its wheels again. If you get this all right you will be left with perfectly straight rigging wires and a very robust wing assembly as the rigging will actually provide the bracing strength as on the real aircraft.
Final stages – propeller
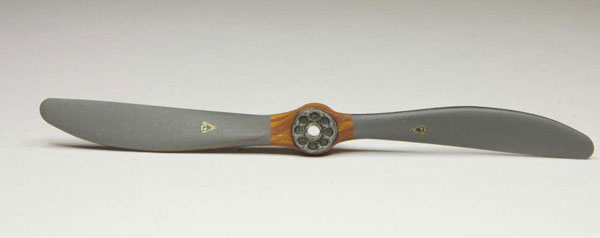
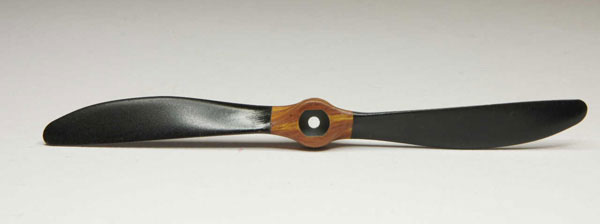
The final job is to paint the propeller. This is done by first painting the hub and centre section using a tan colour. Strips of masking tape are then added to simulate the laminated wood boundaries and a dark brown is added. Once dry and the tape is removed the grain is added using oil paints as in the cockpit and everything is sealed in using a coat of clear. The centre section can then be masked off and the front is sprayed grey. If you are careful with you airbrush angle you won`t have to mask of the front as you spray the back black. With the propeller in place that’s the kit finished. The pilot in the finished pictures comes from Wings Cockpits and the base from ‘just Bases’.
